Bike Fitting Guide 2026: Fit Your Own Bike in 15 Minutes
Guide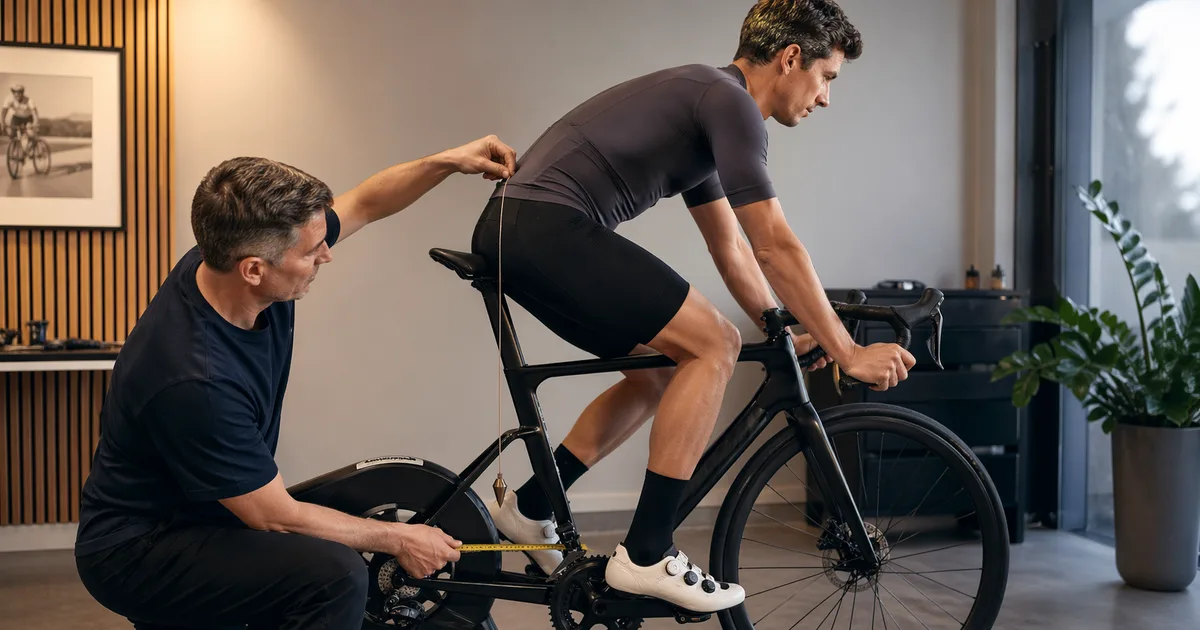
You've been riding for an hour and your lower back is screaming. Your hands are numb. You assumed this was just part of cycling - but it's not. A proper bike fit eliminates these problems and transforms your time on the bike. This comprehensive guide will walk you through professional bike fitting techniques, whether you're a beginner getting your first bike or an experienced cyclist looking to optimize your position using precise measurements and calculations.
Specialized Bike Fitting Tools
For optimal bike fitting, use our specialized calculators designed for different bike types:
- Kids Bike Size Calculator: Age-appropriate sizing for growing children
- Mountain Bike Size Calculator: Trail-specific geometry and standover clearance
- Road Bike Size Calculator: Performance-oriented sizing for speed and efficiency
- Saddle Size Calculator: Perfect saddle width based on sit bone measurements
- Stem Length Calculator: Optimal reach and handling positioning
Each calculator provides bike-type-specific recommendations to complement the general fitting principles in this guide.
The Importance of Proper Bike Fit
Professional Bike Fitting Benefits
A good fit pays off in two places: your power meter and your hands. On the performance side, a saddle set within a few millimetres of optimal height typically returns 2-5% more sustainable power and a smoother pedal stroke, while a balanced cockpit (roughly 60% of your weight on the rear wheel, 40% on the front) keeps cornering predictable instead of twitchy.
On the comfort side, the wins are even more obvious: no more numb hands or feet from a too-stretched cockpit, no nagging knee pain from a saddle that's 10 mm too low, and no lower-back fatigue forcing you off the bike at hour two. Most riders who get fit properly stop noticing the bike at all - which is exactly the point.
Understanding Bike Geometry
Five geometry numbers do most of the work in determining how a bike fits and handles. Learn to read these on a manufacturer's geo chart and you can predict roughly how a bike will feel before you ever throw a leg over it. A published reference like the Giant road bike size chart is a good place to see how these numbers shift between frame sizes.
Frame Geometry
- Stack height: The vertical distance from the bottom bracket to the top of the head tube - a higher stack means a more upright, comfortable position
- Reach: The horizontal distance from the bottom bracket to the head tube
- Head tube angle: Affects handling characteristics and front-end geometry
- Seat tube angle: Influences your position relative to the bottom bracket
- Wheelbase: A longer wheelbase feels more stable at speed; a shorter one turns more nimbly in tight spaces
How Geometry Affects Fit
Different riding styles require different geometries:
- Race bikes typically have aggressive geometries with longer reach and lower stack
- Endurance bikes feature more relaxed geometries with shorter reach and taller stack
- Touring bikes prioritize stability with longer wheelbases and relaxed angles
- Mountain bikes need specific considerations for trail riding - learn more in our Mountain Bike Sizing Guide
- Kids' bikes require age-appropriate sizing principles - see our Kids Bike Sizing Guide
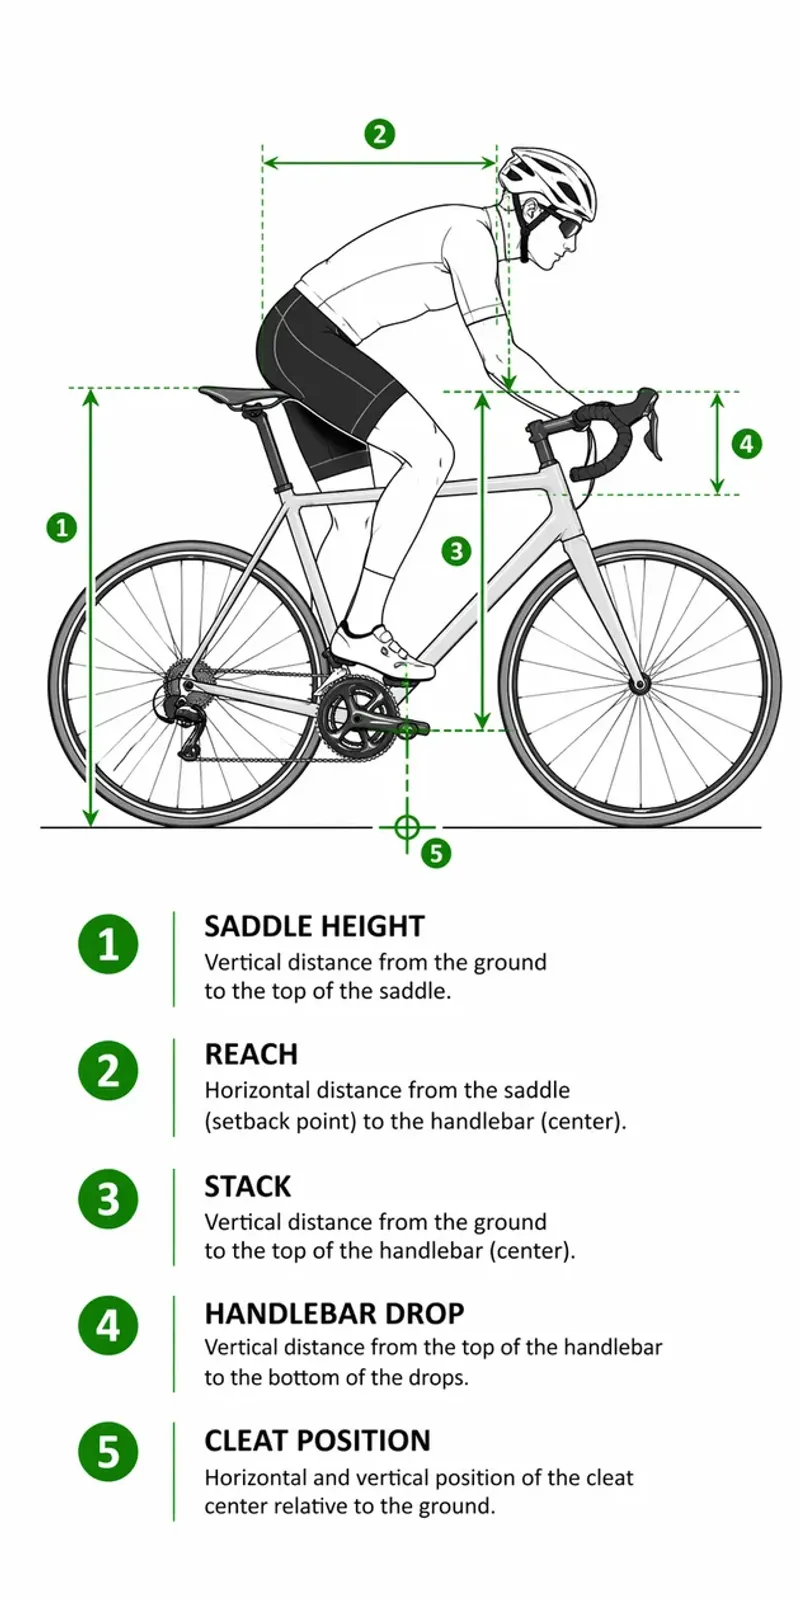
Basic Bike Fit Measurements
Five contact-point measurements decide how the bike feels under you. Get these dialled in the order below - saddle height first, then fore/aft, then reach - because each one affects the next:
- Saddle height - Affects knee extension and power
- Saddle fore/aft position - Affects weight distribution and pedaling mechanics
- Reach to handlebars - Affects upper body comfort and handling
- Handlebar height - Affects back angle and aerodynamics
- Cleat position - Affects foot alignment and power transfer
Setting Saddle Height
The saddle height is perhaps the most critical aspect of bike fit. A saddle that's too high or too low can cause knee pain and reduce pedaling efficiency.
The 109% Method (Inseam Calculator)
The most reliable starting point for saddle height calculation:
- Measure your inseam in centimeters (barefoot, back against wall)
- Multiply by 1.09 (some riders prefer 1.08-1.10)
- Measure from bottom bracket center to the top of your saddle
- Fine-tune based on comfort and pedaling efficiency
Example: 80cm inseam × 1.09 = 87.2cm saddle height
Use our free Bike Size Calculator to get your exact frame size in 30 seconds - no bike shop visit needed.
The Heel Method
- Sit on your bike while leaning against a wall or on a trainer
- Place your heel on the pedal at its lowest position
- Your leg should be straight but not locked
- When you place the ball of your foot on the pedal, you'll have the proper slight bend in your knee
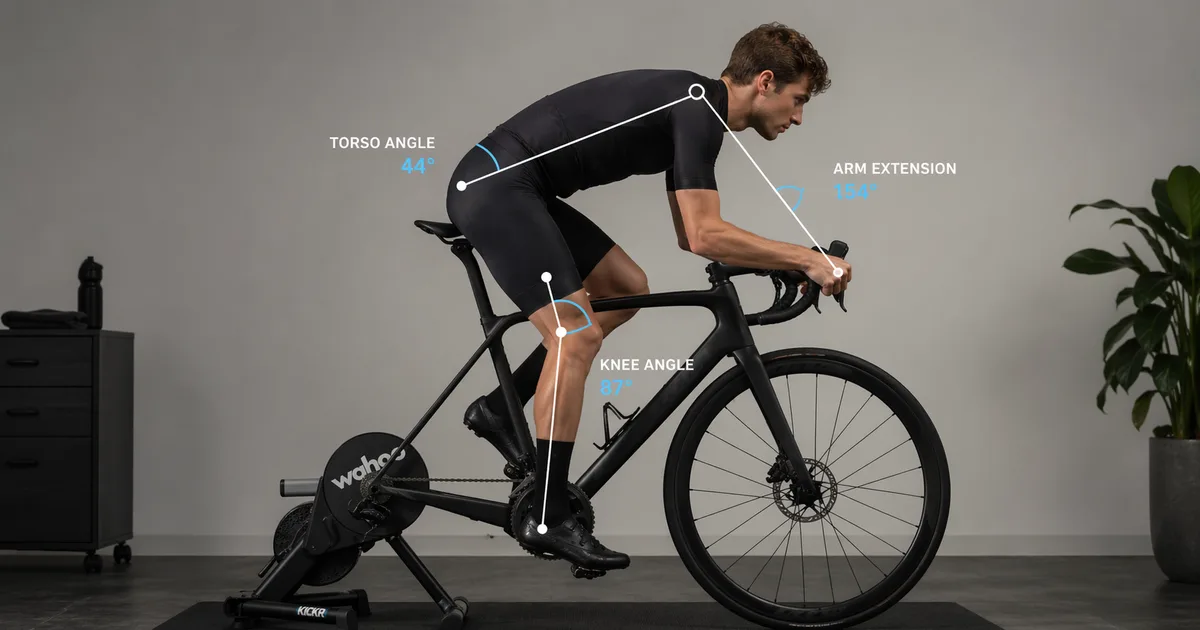
Fine-Tuning Saddle Height
Consider these factors when fine-tuning your saddle height:
- Aim for a knee bend of 25-35 degrees at the bottom of the pedal stroke
- Watch for hip rocking, which indicates the saddle is too high
- Pay attention to any knee pain: anterior (front) pain often means the saddle is too low, while posterior (back) pain suggests it's too high
- Account for cleat stack height and shoe thickness
Saddle Fore/Aft Position
The fore/aft position of your saddle is crucial for proper weight distribution and efficient pedaling.
Setting Fore/Aft Position
- KOPS Method (Knee Over Pedal Spindle)
- While seated with cranks horizontal
- Drop a plumb line from the front of your knee
- The line should intersect the pedal spindle
- Weight Distribution
- Typically aim for 60% rear, 40% front weight distribution
- May vary based on riding style and discipline
Saddle Tilt
- Start with the saddle perfectly level
- Minor adjustments of 1-2 degrees may help with comfort
- Avoid excessive forward tilt, which can cause sliding and hand pressure
- Avoid excessive backward tilt, which can cause lower back strain
For comprehensive saddle setup and comfort optimization, see our detailed Saddle Comfort Tips guide. If your current saddle just isn't working, Fizik, Selle Italia, Prologo, and Ergon all run sit-bone-based sizing systems that take most of the guesswork out - or browse our best saddles for 2026 for picks by riding style.
Adjusting Reach
The reach to your handlebars affects your comfort, breathing, and control of the bike. It's determined by stem length, handlebar type, and frame size.
Signs of Incorrect Reach
- Shoulder or neck pain
- Lower back pain
- Numbness in hands
- Difficulty controlling the bike
- Feeling cramped or overstretched
- Excessive weight on hands
- Poor handling at low speeds
Optimizing Reach
- Start with frame size
- Ensure proper frame stack and reach measurements
- Consider your torso and arm length
- Stem length adjustment
- Typical range: 70-120mm
- Shorter stems improve handling but may affect weight distribution
- Longer stems provide stability but can slow steering
- For detailed stem length calculations and optimization, see our Bike Stem Length Guide
- Handlebar selection
- Width should match shoulder width
- Consider reach and drop measurements
- Different shapes suit different riding styles
Warning
A reach that's too long can cause you to overstretch, while a reach that's too short can cause cramped positioning and reduced breathing capacity. Take time to find the right balance for your body proportions and riding style.
Handlebar Setup
Proper handlebar setup is crucial for control and comfort:
Width
- Match approximately to shoulder width
- Wider bars offer more control but less aerodynamics
- Narrower bars improve aerodynamics but may compromise handling
Height
- Higher position improves comfort and visibility
- Lower position reduces drag
- Consider flexibility and riding goals
Rotation
- Ensure drops are parallel to ground or slightly angled
- Brake lever position should allow comfortable access from both tops and drops
- Consider wrist angle in all hand positions
Cleat Position and Setup
Proper cleat setup is often overlooked but crucial for power transfer and comfort. Pedal system also matters: clipless platforms from Shimano (SPD-SL and SPD), Look (KEO), Time (XPRO), Wahoo Speedplay, and Crankbrothers (Eggbeater) each have different float, stack height, and release tension. See our best pedals for 2026 for road, gravel, and MTB recommendations across price tiers.
Fore/Aft Position
- Place cleats under the ball of your foot
- Can be adjusted slightly forward for more power
- Can be adjusted slightly back for more comfort
Rotation
- Start neutral (parallel to foot)
- Adjust based on natural foot rotation
- Watch for knee tracking during pedaling
Float
- Choose appropriate cleat float based on knee health and riding style
- More float can help prevent knee issues
- Less float can improve power transfer
Professional Bike Fitting
While basic adjustments can be made at home, a professional bike fitting can provide a more comprehensive analysis of your position on the bike.
What to Expect
Professional fittings typically include:
- Detailed body measurements
- Dynamic analysis of your pedaling
- Video analysis of your position
- Adjustments to all contact points
- Recommendations for component changes if needed
- Follow-up adjustments as needed
Types of Professional Fits
- Basic Fit (1-2 hours)
- Essential measurements and adjustments
- Good for beginners or casual riders
- Comprehensive Fit (2-3 hours)
- Detailed analysis and adjustments
- Video analysis
- Pedaling efficiency assessment
- Advanced Dynamic Fit (3-4 hours)
- Motion capture technology
- Pressure mapping
- Advanced biomechanical analysis
When to Get a Professional Fit
- When first getting serious about cycling
- After purchasing a new bike
- Following injury or surgery
- When training for a significant event
- If experiencing persistent discomfort
- When changing riding styles or disciplines
Saddles for a Better Fit
A saddle that matches your sit bone width is the fastest comfort upgrade after dialing in your fit.
Avasta
AVASTA Kids Bicycle Saddle
Standard saddle rail spacing fits most kids' seatpost clamps. Designed primarily for 12-20" wheel kids' bikes; larger riders may prefer a wider adult saddle.
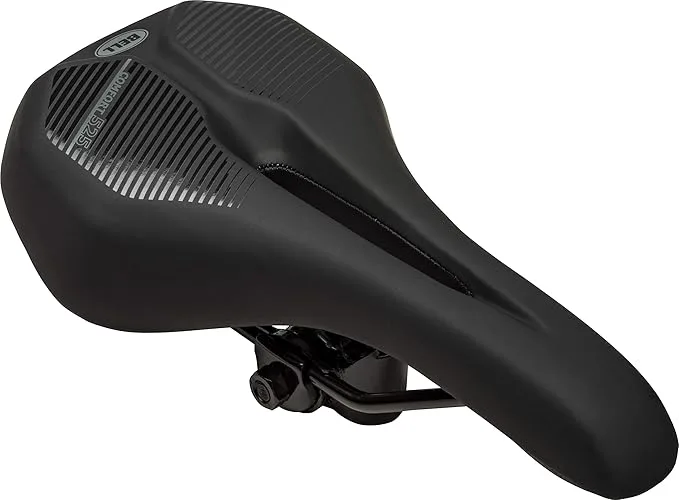
Bell
Bell Comfort 525 Sport Saddle
Comfort sport profile for road, mountain, and hybrid bikes; confirm rail compatibility with your seatpost.
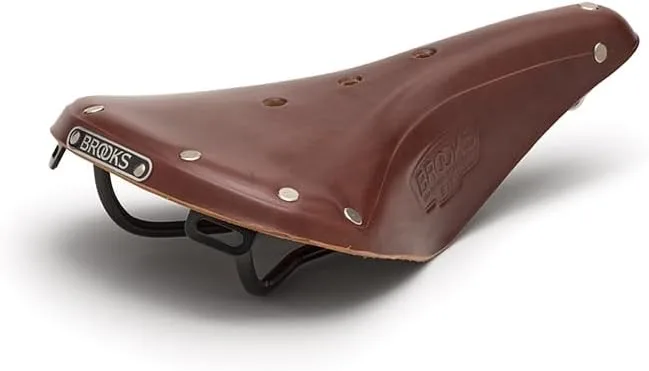
Brooks England
Brooks England Brooks B17
Fixed width 155 mm; fits sit-bone 130-160 mm; requires break-in period (50-100 miles)
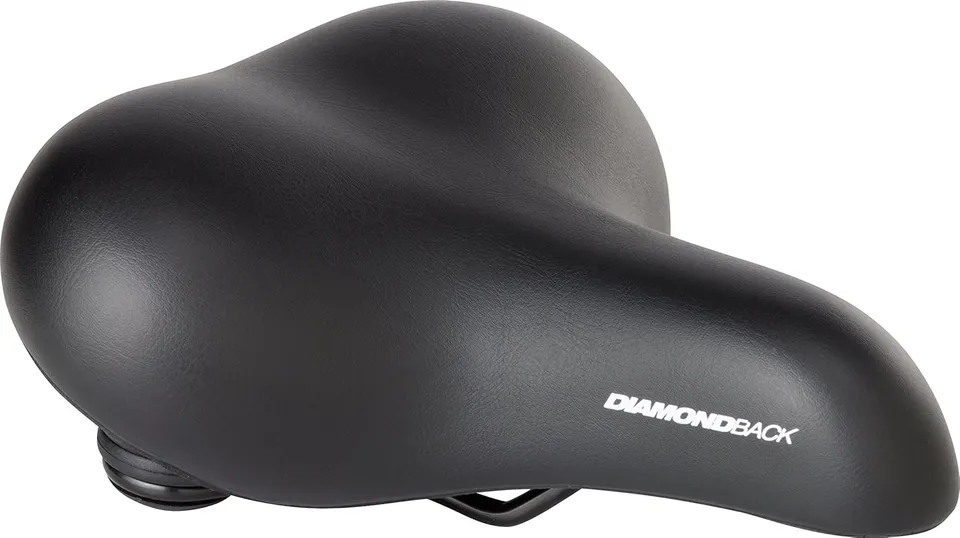
Diamondback
Diamondback Bicycle Saddle
Mid-width recreational saddle - best suited to upright hybrid, comfort, cruiser, or commuter bikes. Steel rails fit any standard 7 mm seatpost clamp.
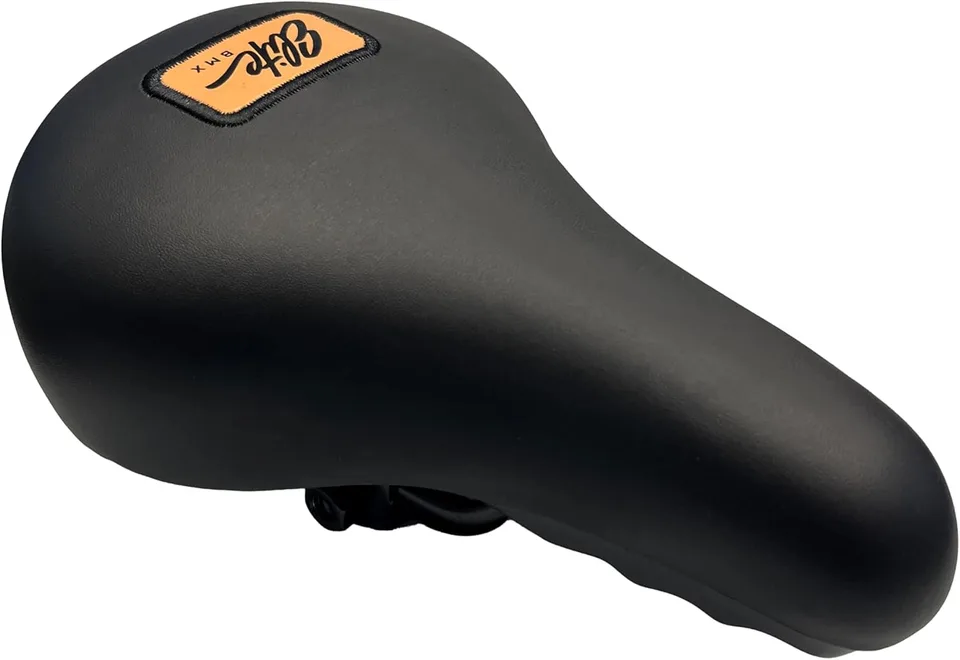
Elite Bmx
Elite Bmx Elite Bicycle Saddle
Standard rail mounting fits Elite BMX Stealth, Pee Wee, Destro, and Outlaw frames as well as most other BMX seatpost clamps. Saddle height for street BMX is typically inseam × 0.7-0.85.
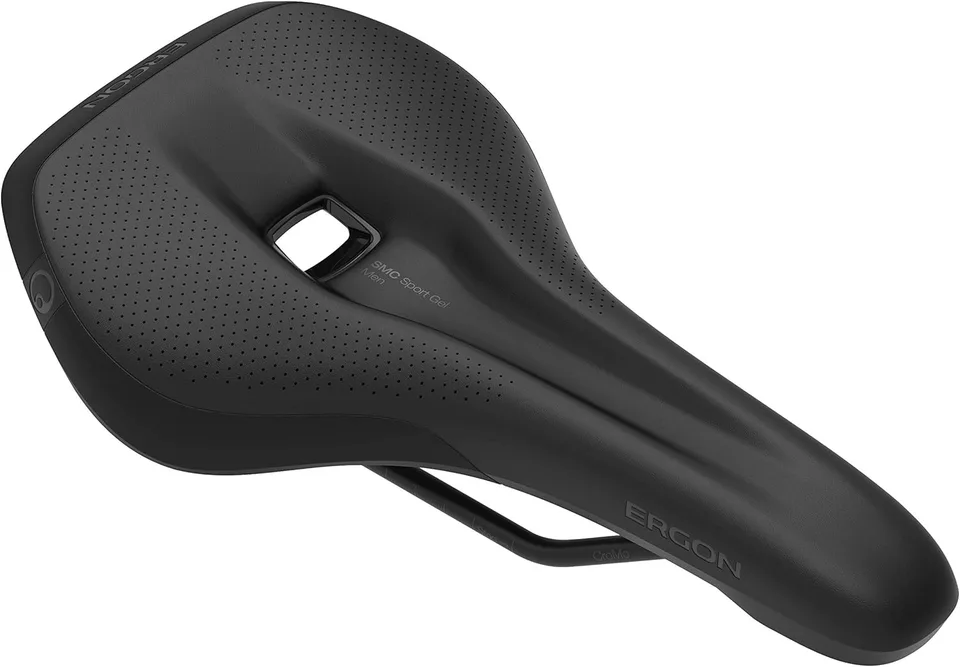
Ergon
Ergon SM Sport
Available widths 130, 140, 150, 160 mm via sit-bone width measurement; fits sit-bone 110-170 mm
As an Amazon Associate we earn from qualifying purchases. This helps support our free calculators.
Frequently Asked Questions (FAQ)
Related Bike Fitting Tools & Calculators
Enhance your bike fitting process with our specialized calculators:
Essential Calculators
- Bike Size Calculator - Complete frame sizing based on height and inseam
- Saddle Size Calculator - Find your ideal saddle width and height
- Stem Length Calculator - Optimize reach and handling
Additional Resources
- Choosing the Right Bike Guide - Select the perfect bike type for your needs
- Saddle Comfort Tips - Advanced saddle setup and comfort optimization
Common Fit-Related Issues and Solutions
Knee Pain
- Front knee pain: Often indicates saddle too low or too far forward
- Back knee pain: May suggest saddle too high or too far back
- Side knee pain: Could be related to cleat alignment
Back Pain
- Lower back pain: Often related to reach or saddle angle
- Upper back pain: May indicate excessive reach or high handlebar position
Hand Numbness
- Check handlebar height and reach
- Evaluate saddle position and angle
- Consider padded gloves or different bar tape
Foot Numbness
- Evaluate cleat position
- Check shoe fit and cleat tension
- Consider insoles or wider shoes
Conclusion
A well-fitted bike disappears under you. The 109% inseam method, a 25-35° bend at the bottom of the pedal stroke, and a 60/40 rear/front weight split aren't arbitrary numbers - they're the difference between finishing a four-hour ride fresh and limping home with a sore neck. Treat fit as a moving target: revisit your numbers whenever your flexibility, weight, or riding style shifts noticeably.
Key takeaways for perfect bike fit:
- Use precise measurements and calculations for saddle height
- Maintain 25-35° knee bend at bottom of pedal stroke
- Ensure proper weight distribution (60% rear, 40% front)
- Start with professional guidance when possible
- Make adjustments gradually and test thoroughly
For personalized bike sizing recommendations, use our comprehensive calculators:
- Complete Bike Size Calculator - Full frame sizing analysis
- Saddle Size Calculator - Personalized saddle measurements
- Stem Length Calculator - Optimal reach calculations
Start with the saddle-height formula, ride for a couple of weeks, then reassess the fore/aft and reach. If you're still chasing discomfort after that, book a session with a qualified fitter - the $200-$400 fee usually pays for itself in the first month of pain-free riding, and they'll catch issues (cleat stance, leg-length discrepancies, saddle pressure mapping) that are hard to diagnose at home.
And once your fit is dialled, make sure the rules of the road are too - our state-by-state bike laws hub covers helmets, lights, lane use, and other rules you'll want to know before clocking your first long ride.
Put your fit into practice
A few steps to take once you know your numbers.
Related Calculators & Tools
Find your optimal saddle height using inseam measurements
Match your sit bone width to the right saddle
Optimize your reach and handlebar position
Compare frame geometry across bike sizes
Get your ideal road bike frame size
Find the right handlebar width for your shoulders
Continue Reading

Reach, stack, and trail-specific sizing explained
Fine-tune your reach and handling with the right stem

Solve discomfort with proper saddle selection and positioning

Frame size, standover height, and reach explained