Bike stem length: worked reach and rise comparisons
GuideSee horizontal and vertical changes before choosing parts.
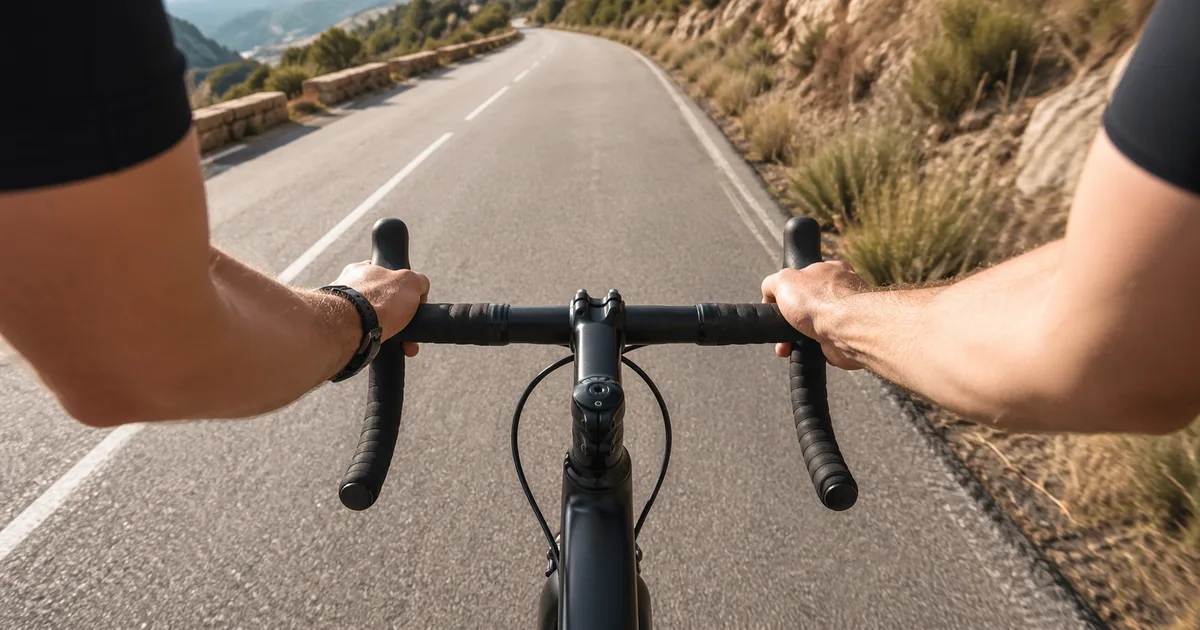
A stem swap changes handlebar position, but the printed length alone does not tell you how far the bars move. Head-tube angle, stem angle, spacer height and handlebar reach all matter. Compare a measured setup with a proposed setup in the stem-comparison tool before buying parts.
The examples below use that existing tool's coordinate model. They show position changes, not an ideal fit prescription. There is no reliable universal formula that turns torso and arm lengths into the one correct stem, and pain cannot diagnose a stem as too long.
Record what is on the bike now
Measure stem length center to center, from the steerer clamp center to the handlebar clamp center. Read its marked angle and note the installed orientation. A stem marked 6 degrees is not necessarily 6 degrees above the ground: the steerer already leans backward. Use the exact model-year geometry chart for head-tube angle.
Record spacer stack using the tool's definition: spacers below the stem plus half the stem's steerer-clamp height. Use the same reference for both setups. If the replacement stem has a different clamp height, the relevant center moves even with the same spacers. Keep headset and other fixed reference heights consistent.
For drop bars, record published handlebar reach separately. The tool treats it as an optional horizontal offset; it does not reconstruct the exact hood contact point, bar rotation or lever placement. A handlebar-width estimate addresses a different dimension. A narrower bar with a longer reach may still put the controls farther away.
Three comparisons you can reproduce
All examples use a hypothetical 73-degree head-tube angle. Setup A has a 100 mm stem at −6 degrees, 20 mm spacer stack under the tool's definition, and handlebar reach set to zero to isolate the clamp movement. Each row changes only the stated input from A. Positive vertical change means higher; negative horizontal change means closer.
| Setup B compared with A | Horizontal change | Vertical change |
|---|---|---|
| 90 mm stem, same −6° angle and 20 mm stack | 9.8 mm closer | 1.9 mm lower |
| 100 mm stem changed from −6° to +6°, same stack | 6.1 mm closer | 20.0 mm higher |
| Same 100 mm/−6° stem, stack changed from 20 to 30 mm | 2.9 mm closer | 9.6 mm higher |
A shorter stem is not a purely horizontal change
In the first example, the 10 mm shorter stem moves the clamp 9.8 mm closer and 1.9 mm lower. If your aim is less reach with unchanged height, that second number matters. Enter 100 and 90 mm in the comparison tool with the other inputs above, then repeat with your actual head-tube angle. Do not assume the example's output applies to every bicycle.
Flipping changes reach as well as rise
In the second example, changing the same length from −6 to +6 degrees raises the clamp 20.0 mm while bringing it 6.1 mm closer. It is not equivalent to shortening the stem by 20 mm. Compare the two orientations before deciding whether the proposed position addresses your goal. This calculation does not establish that your stem may be flipped; check its manual and cable routing first.
Spacers move along a sloping steerer
In the third example, 10 mm more stack raises the clamp by 9.6 mm and brings it 2.9 mm closer. Adding height is not a strictly vertical move. It is also not always possible: the steerer may lack usable length, or the fork maker's spacer limit may prohibit it. Model the spacer change only as a position comparison until a mechanic confirms compatibility.
Decide which problem you are trying to change
"I want the hoods about 10 mm closer without a large height change" is a testable aim. "I need a 90 mm stem because I am short" skips frame proportions, bars and controls. Compare the whole frame with the reach-and-stack tool or geometry comparison. Read reach, stack and standover if the terms are unfamiliar.
Stem length also changes the position of your hands relative to the steering axis. Handling depends on the frame, fork, bars and rider position together; "shorter is twitchy" and "longer is stable" are too crude to predict a specific bike. Check control at low speed before judging the new setup on faster terrain.
Follow the fit checklist before using a stem to compensate for another contact point. Keep saddle position appropriate for pedaling rather than sliding it forward to shorten reach. The fitting guide and saddle setup checks help separate those decisions.
A good-looking result is not installation approval
If changing the cockpit also changes how you sit, use the saddle measurement and shape guide to reassess that contact point separately. A predicted bar-position change says nothing about pressure on a particular saddle.
Confirm steerer and handlebar clamp diameters, stem clamp height, permitted bar material and shape, fork spacer requirements and any expander-plug requirements. Integrated cockpits and internally routed hoses may require model-specific parts or substantial workshop work. The calculator does not check these constraints or remaining hose length.
Use the exact component's instructions, such as the manuals listed on Zipp's Service Course SL stem service page, alongside the fork and handlebar manuals. Do not borrow a bolt torque, faceplate gap or tightening sequence from a different stem. If instructions conflict or compatibility is unclear, stop and ask the manufacturers or a mechanic rather than choosing an average value.
Check controls, then make a short test
Recheck steering, cable and hose clearance and brake access after any approved change. A closer handlebar does not necessarily bring the brake blade closer to your fingers; see the small-hand brake-lever guide. Finish the mechanical safety check before a controlled ride.
Log the old and new measurements, the tool's predicted change, and what you observed. Return to a known safe setup if control worsens. Do not use a fixed adaptation period to dismiss pain or numbness. Seek a fitter for position questions and medical advice for persistent or recurrent symptoms. If no approved cockpit position works, reconsider the frame with the bike selection guide rather than fitting increasingly extreme parts.
Common questions
Frequently Asked Questions
Reviewed November 4, 2026. Worked outputs use BikeSize's existing stem-comparison model, not a separate formula. Zipp's linked service page supplies model-specific installation documentation.