How to Fix a Flat Bike Tire (Tubed): A Beginner's Guide
How-To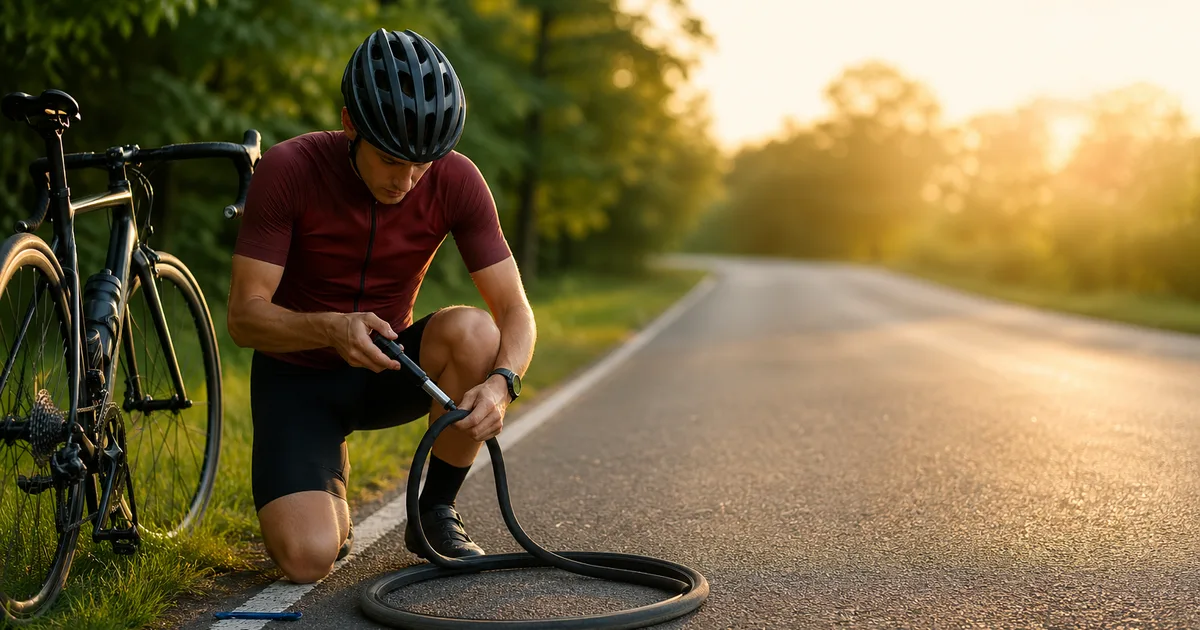
A flat tire is the single most common roadside breakdown in cycling - and the easiest one to fix yourself once you've done it twice. With two tire levers, a spare tube or patch kit, and a pump, you can be back on the road in under fifteen minutes without calling for a ride. The trick isn't speed; it's sequence. Find the cause before you fit the new tube, reseat the bead by hand instead of a lever, and check the tire as you inflate. Get those three details right and the same flat won't come back ten miles later. This guide walks beginners through the full repair on a tubed system, the small details that prevent a second flat, and the kit worth keeping in your saddle bag.
At a Glance
- Time: 10-15 minutes
- Skill level: Beginner
- Cost: ~$5 (patch) or ~$9 (new tube)
- Tools: Levers, tube/patch kit, pump or CO2
Who This Guide Is For
- New riders who've never changed a tube and want a clear, step-by-step routine
- Commuters and casual cyclists riding tubed clinchers (the most common setup on most bikes)
- Parents fixing flats on a kid's bike - pair this with our pre-ride M-check before sending them out
- Anyone whose first roadside flat ended in a phone call - this time you'll fix it yourself
- Riders curious whether to patch or carry spares (we cover both, with when to use each)
Tools & Parts You Need
The whole repair runs on a kit small enough to live under your saddle. Build it once and forget about it - you'll use the same items for every flat for the next decade.
| Item | Type | Why You Need It |
|---|---|---|
| Tire levers (2-3) | Tool | Pop the bead off without scratching the rim |
| Spare inner tube | Consumable | Fastest fix when you're cold or in the dark |
| Patch kit (glue or self-adhesive) | Consumable | Backup repair when the spare is already used |
| Mini pump or CO2 inflator | Tool | Get the tire back to ridable pressure |
| Rag or nitrile gloves | Optional | Keeps grease off your hands when you remove the wheel |
| Multitool with hex keys | Optional | Needed only for thru-axles or bolted axles |
Match the spare tube to your wheel size andtire width - a 700×25c tube will not work in a 29×2.4 MTB tire. Use our Wheel Size Calculator if your sidewall markings confuse you. Valve type matters too: Presta valves are narrow and threaded, Schrader are wider like a car tire, and the rim drilling has to match.
When to Patch vs Replace the Tube
On the road, swap the tube. A pre-glued patch in cold or wet conditions is fiddly and the cure can be unreliable, while a fresh tube takes 60 seconds to fit. Save the patch kit for back at home, where you can sand cleanly, leave the glue to flash off properly, and clamp the patch under a heavy book for a few minutes. A correctly applied vulcanizing patch is permanent - pros patch the same tube three or four times before retiring it.
Replace the tube outright (don't patch) if you find a tear longer than about 5 mm, a split along the seam, a hole within an inch of the valve, or any damage to the valve stem itself. Patches don't hold across seams or near the valve base. If the tire casing has a cut larger than 3 mm, you also need a tire boot - a folded dollar bill or energy-bar wrapper inside the tire stops the tube from bulging through the cut.
Step-by-Step Flat Repair
Step 1 - Find a Safe Spot and Remove the Wheel
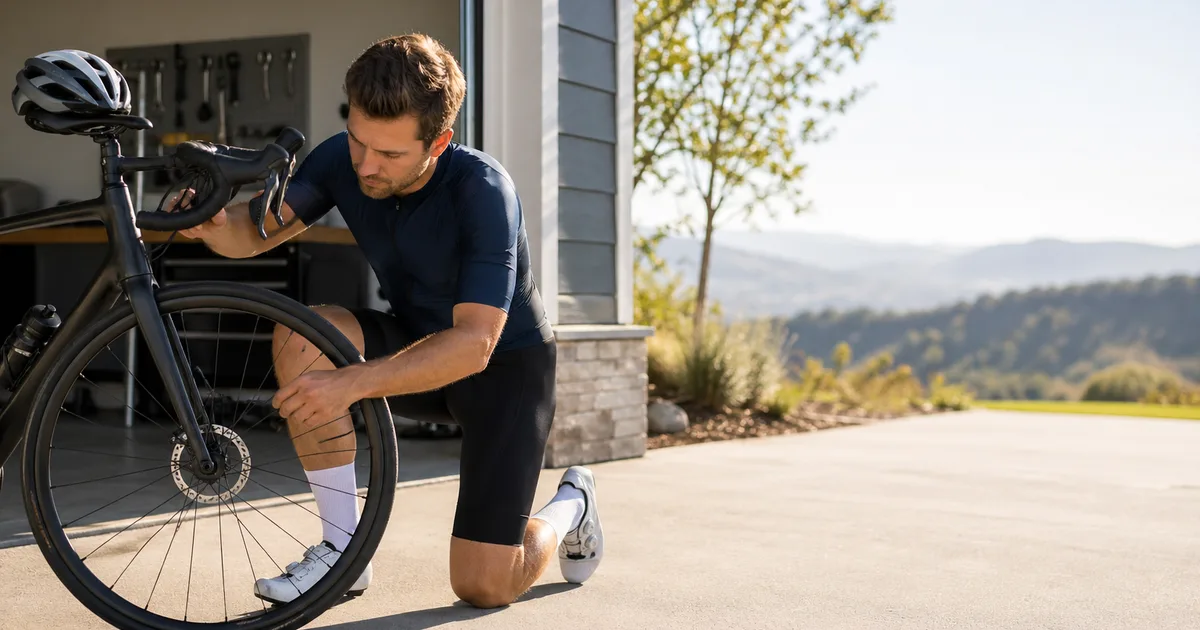
Get fully off the road or trail before you start - a grass verge, a driveway, or a wide shoulder. Shift into the smallest rear cog before flipping the bike; it pulls the derailleur out of the way and makes the rear wheel easier to drop out. Either flip the bike upside down on its bars and saddle, lean it against a tree, or use a repair stand if you're at home.
For rim brakes, open the brake quick-release lever to spread the pads. For thru-axles, unscrew the axle fully and pull it out; for quick releases, flip the lever open and unthread the nut a few turns. The rear wheel needs the chain lifted off the cassette - pull the derailleur back with one hand to give yourself slack.
Step 2 - Deflate Fully and Break the Bead
Open the valve and press it to release every last bit of air. Presta valves: unscrew the small top nut and push down. Schrader: push the central pin with a small key or your fingernail. A tube with even 5 PSI in it is much harder to lever out than one that's fully flat.
Now break the bead: squeeze the tire sidewalls inward toward the center of the rim, working all the way around both sides. Most clinchers have a center channel that's narrower than the bead seat - pushing the bead into that channel gives you the slack needed to lever the tire off without fighting it.
Step 3 - Lever One Side of the Tire Off
Pick a spot opposite the valve. Slide one tire lever between the bead and the rim with the curved end facing down. Pry the bead up and over the rim edge, then hook the other end of the lever onto a spoke to hold it in place. Slide a second lever 4-6 inches along the rim and repeat - the third lever or your fingers will run the rest of the bead off easily. You only need to remove one side; leave the other bead seated.
Reach in and pull the tube out, leaving the valve for last - unthread the valve nut (Presta) or just push the valve up through the rim hole. Note which side of the tire was facing the rim's drive side; you'll want to keep your orientation when you reseat it.
Step 4 - Inspect and Remove the Cause
This is the step beginners skip and pay for ten miles down the road. Pump a little air into the old tube, listen and feel for the leak, and note where on the tube the hole is. Line that spot up with the corresponding spot on the tire - the cause is almost always still embedded in the casing. Run a rag (never bare fingers) slowly around the inside of the tire feeling for sharp points, then check the outside tread for thorns, glass, or wire.
Pull anything you find with pliers or a fingernail. Also check the rim strip is centered and undamaged - an exposed spoke hole will puncture a fresh tube within a few miles. A flat with two parallel holes (a “snake bite”) means a pinch flat from too-low pressure, not an embedded cause - just make sure to inflate higher next time, and check the Tire Pressure Calculator.
Step 5 - Patch or Swap the Tube
Swap option (roadside):Take the spare out of its wrapper, partially inflate it (just enough to give it shape so it won't fold), and skip ahead to Step 6.
Patch option:Sand the area around the puncture with the kit's sandpaper until the rubber is dull (not shiny). Apply a thin layer of vulcanizing glue covering an area larger than the patch, and wait 2-3 minutes for the glue to flash off and feel tacky - this is the step everyone rushes. Peel the foil backing off the patch, press it firmly onto the glued area, and rub from the center outward to expel air bubbles. Self-adhesive patches (Park GP-2) skip the glue but need a clean, properly-sanded surface to hold.
Step 6 - Reseat the Tube and Tire Bead
Put just enough air in the tube to give it shape - floppy tubes pinch under the bead and cause new flats. Push the valve up through the rim hole first, then tuck the rest of the tube up inside the tire all the way around. Make sure no part of the tube is sitting under the bead.
Now reseat the second bead. Start at the valve and work both directions toward the opposite side, pushing the bead into the rim's center channel as you go to give yourself slack. The last 6 inches will be the tightest - use the heel of your palm to roll the bead over, never a tire lever. Levers pinch the tube against the rim and cause an instant pinch flat. If you're truly stuck on a tight tire, a tool like the Kool-Stop Tire Bead Jack solves it without risk.
Step 7 - Inflate and Check the Bead Seats Evenly
Pump up to about 20 PSI and stop. Spin the wheel slowly and watch the “bead line” - the molded ridge on the tire sidewall just above the rim. It should sit at the same distance from the rim all the way around, on both sides. A spot where the bead line dips into the rim or bulges out means the tire isn't fully seated; deflate, work the bead with your thumbs, and try again.
Once the bead is even, inflate to your target pressure - check the sidewall for the recommended range, and use our Tire Pressure Calculator to fine-tune for your weight and surface. CO2 cartridges are fast but the gas leaks out of butyl tubes within a day or two, so plan to top up with a floor pump when you get home. For deeper guidance, see our tire pressure guide.
Step 8 - Reinstall the Wheel and Test the Brakes
Drop the wheel back into the dropouts. For the rear, guide the chain over the smallest cog as you push the wheel home. Close thru-axles to the torque mark stamped on the axle (typically 12-15 Nm); close quick releases until the lever leaves a clear imprint on your palm. Re-close the brake quick-release if you opened it.
Spin the wheel and watch the brake pads - the wheel should run true with no rub. Squeeze each brake lever firmly: it should stop short of the bar with a solid feel. Roll the bike forward 20 feet and brake hard with each lever before you remount. For the full post-repair inspection, run our 5-minute M-check before any longer ride.
Common Mistakes
- Skipping the inspection step.Fitting a fresh tube without finding the thorn means a second flat within minutes - and you're out of spares.
- Using a tire lever to seat the second bead. The fastest way to pinch the tube against the rim. Roll it on with your palms.
- Inflating with the bead line uneven.A high spot will blow the tire off the rim with a bang - check at 20 PSI, then top up.
- Wrong tube size or valve type.A 700c tube balloon-fits inside a 26″ tire and tears at the seams; a Presta tube won't seal in a Schrader rim hole without an adapter.
- Patching too close to the valve. Patches need flat rubber to bond. Within an inch of the valve base, swap the tube.
- Forgetting to close the brake quick-release. One of the most common causes of weak braking on the next descent.
Troubleshooting
| Symptom | Likely Cause | Fix |
|---|---|---|
| New tube flats within minutes | Cause still embedded in tire or rim | Re-inspect tire inside and out; check rim strip |
| Two parallel holes (snake bite) | Pinch flat from low pressure | Inflate higher; check pressure calculator |
| Tire won't seat at the bead line | Tube pinched under bead | Deflate, push bead away, work tube clear, re-inflate |
| Patch peels off after a day | Glue not allowed to flash off | Sand again; wait full 2-3 minutes for glue to dry tacky |
| Slow leak overnight, no obvious hole | Valve seal or pinhole | Inflate, submerge in water, watch for bubbles |
| CO2 cartridge ran out mid-fill | Cartridge too small for tire volume | Use 25 g for MTB, 16 g for road; carry two |
When to Call a Shop
Most flats are a 15-minute fix. A few aren't. Stop the repair and head to a shop (or call for a ride) if you find any of the following:
- A torn tire casinglonger than about 5 mm. A boot will get you home, but the tire needs replacing before your next ride.
- A bent rim or broken spokes. The wheel will flex under load and pinch-flat repeatedly - needs a true and tension job.
- A damaged valve stem- cracked, leaking at the base, or a Presta core that won't hold air. New tube only.
- Repeated flats in the same tire with no obvious cause. The tire has likely worn through the protective belt and needs replacing.
- You're running tubelessand the sealant can't plug the hole - that's a different repair altogether. See our tubeless tire setup guide for sealant top-ups, plug kits, and the “tube as a get-home fix” method.
Recommended Flat Fix Kit
A saddle-bag kit that covers levers, patches, a spare tube, and inflation - everything you need for a roadside repair.
Park Tool
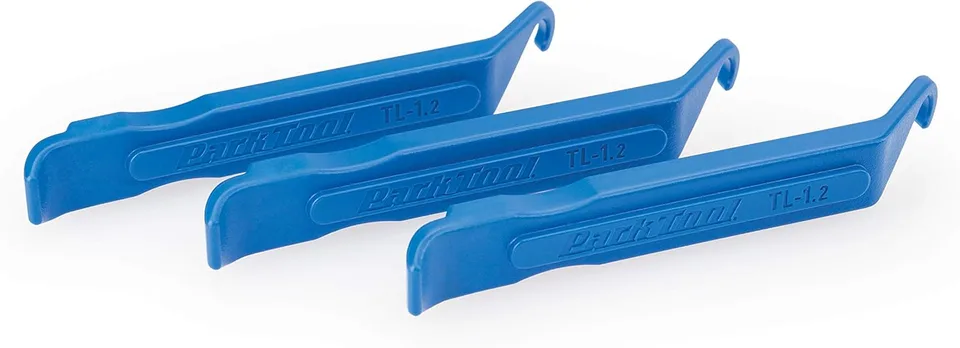
Park Tool TL-1.2 Tire Lever Set
Universal - works with any clincher or tubeless-ready rim. The default tire lever in nearly every shop wall display in North America. For ultra-tight tubeless beads (gravel and modern road tubeless) consider the steel-cored TL-6.2 set.
Park Tool
Park Tool VP-1 Vulcanizing Patch Kit
Six glue-on patches plus sandpaper and rubber cement - a permanent fix when done right.
Continental
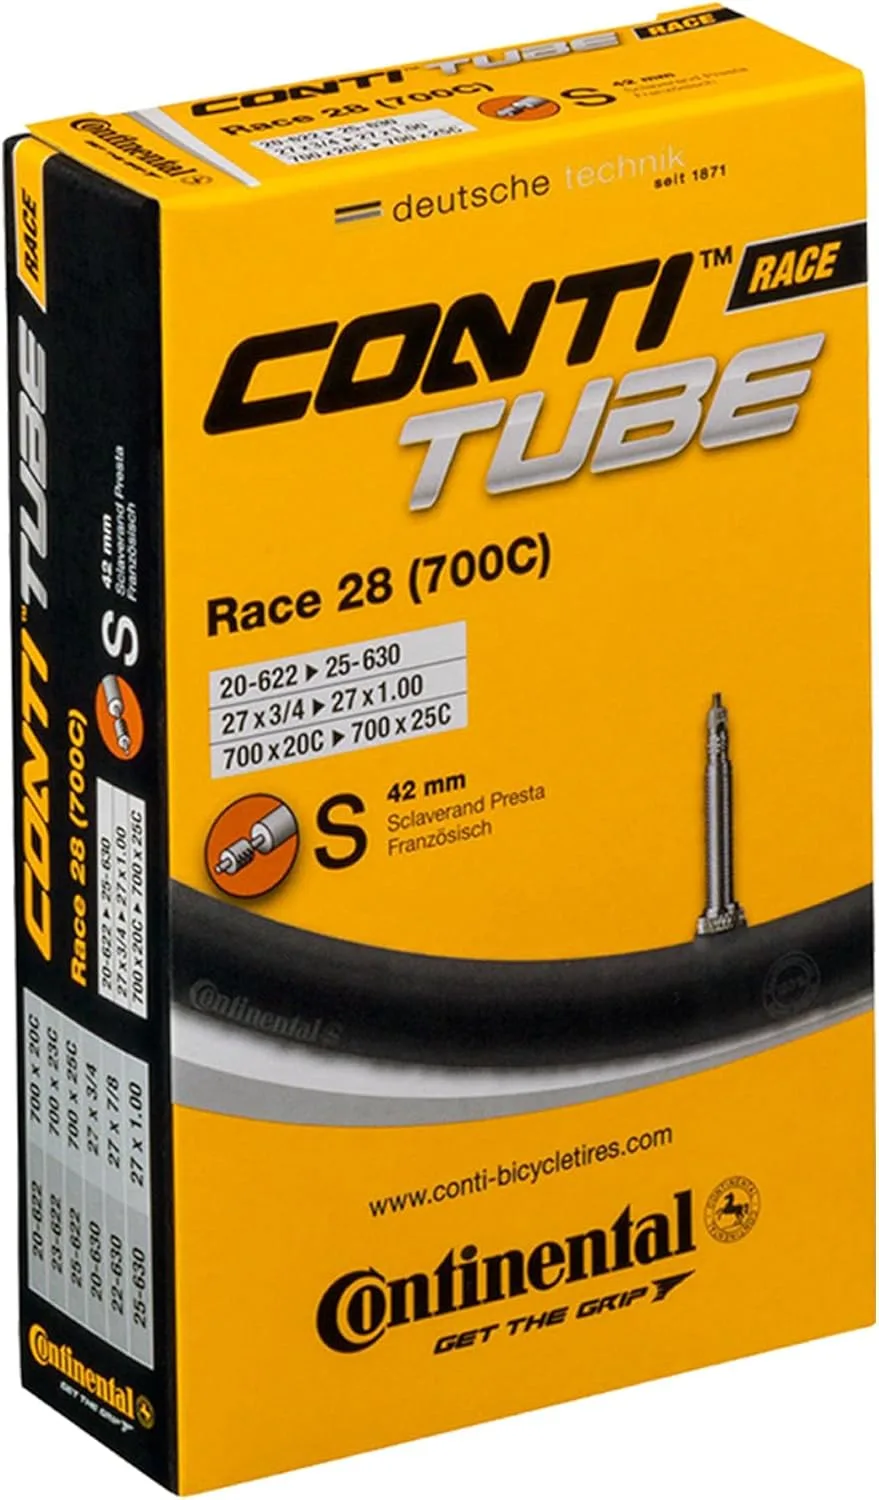
Continental Race 28 Tube (Presta 42mm)
Standard 700C road tube. 42mm valve length covers most rim depths up to ~30mm; deeper aero rims need an extender or a longer-stem version.
Maxxis
Maxxis Welter Weight 29er Tube (Schrader)
Tough 29×1.9-2.35 MTB tube with a Schrader valve for trail and gravel duty.
Lezyne
Lezyne Pressure Drive Mini Pump
Compact alloy mini-pump that hits 90 PSI roadside - works with both Presta and Schrader.
Genuine Innovations
Genuine Innovations Air Chuck Elite CO2 Inflator
Trigger-style CO2 inflator with a thumbwheel - full road tire in under 10 seconds.
As an Amazon Associate we earn from qualifying purchases. This helps support our free calculators.
Frequently Asked Questions
Conclusion
A flat tire isn't a ride-ender once you've done the repair twice. The whole job comes down to three habits: find the cause before fitting a new tube, reseat the second bead with your palms instead of a lever, and check the bead line at low pressure before fully inflating. Carry the kit in your saddle bag, keep spare tubes that match your wheel and valve, and the next flat will be a fifteen-minute pause - not a phone call. For the full post-repair routine, follow it with our 5-minute M-check before you ride.
Key Takeaways
- Find the cause first. The thorn that punctured the tube is usually still in the tire.
- Reseat the bead by hand.Tire levers pinch tubes - use your palms for the last 6 inches.
- Check the bead line at 20 PSI before fully inflating. An uneven bead can blow off the rim.
- Match the spare to your wheel. Use our Wheel Size Calculator and the Tire Pressure Calculator.
Related Calculators & Tools
Reinflate to the right PSI for your weight, tire width, and surface
Confirm wheel and tire diameter before buying a spare tube
Make sure the frame and wheels match the rider before a fix
Match MTB frame and wheel size to inseam and riding style
Continue Reading

Skip tubes entirely with a sealant-based tubeless system

Find the right PSI for road, gravel, and MTB tires
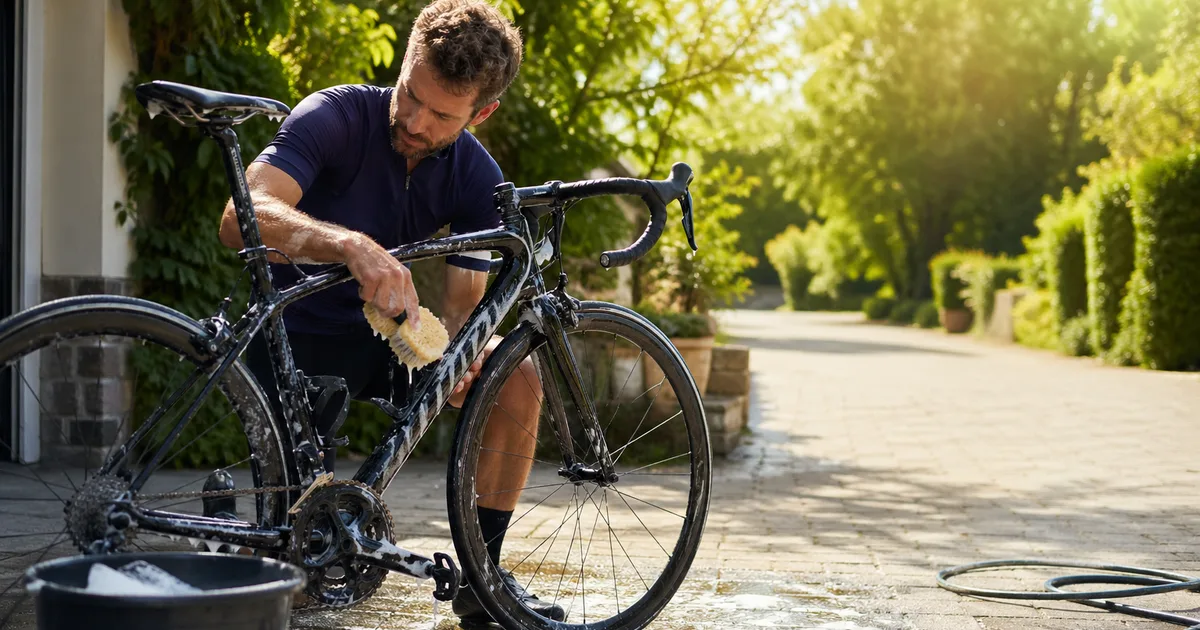
Spot slow leaks while you wash and protect bearings
Run the 5-minute M-check after every roadside repair