Bike Tire Pressure Guide 2026 | PSI by Rider Weight, Tire & Terrain
How-To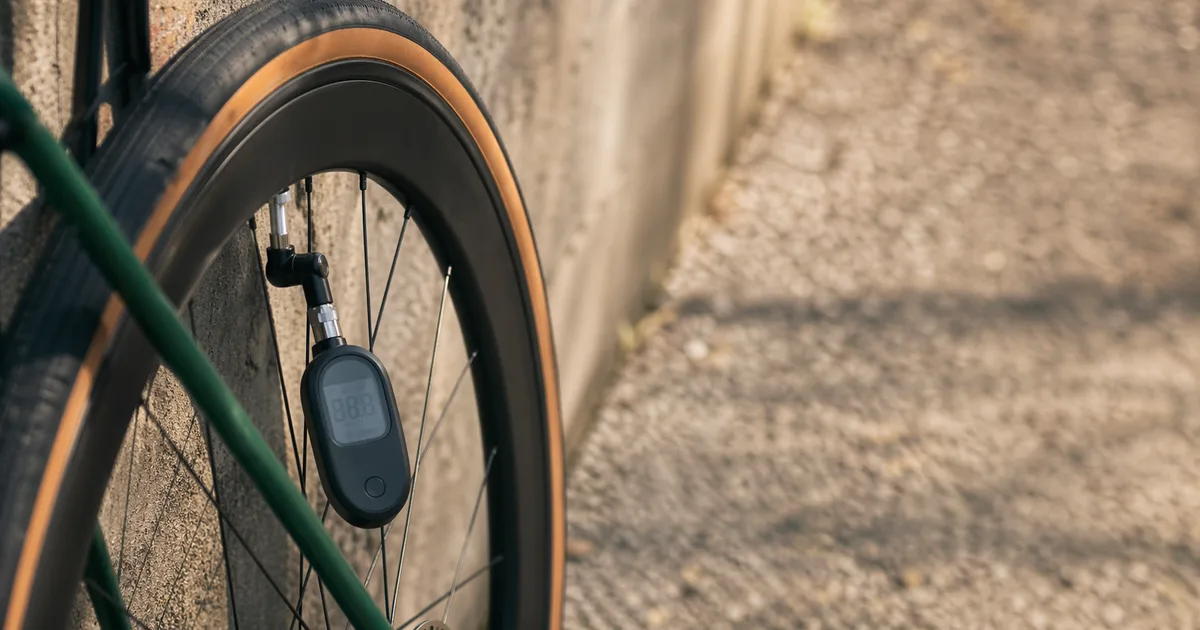
Tire pressure is the single cheapest, fastest, and most overlooked upgrade on a bicycle. Drop 10 psi from a road tire pumped to the sidewall maximum and the same bike suddenly grips better, rolls smoother, and stops punishing your hands on rough pavement. Bump a mushy mountain bike tire from 18 to 24 psi and the squirm in corners disappears. Yet most riders still inflate by feel, copy a number off the sidewall, or pump to whatever the floor pump showed last month. This guide replaces guesswork with a system: pressure by bike type, rider weight, tire width, and terrain - with practical tips for tubeless, temperature swings, and gauge accuracy.
Quick Answer
For a 155 lb (70 kg) rider, start at 80 psi for 25 mm road tires, 40 psi for 40 mm gravel tires, and 22 psifor 2.4 in mountain bike tires (front tire 2-3 psi lower than rear). Adjust by roughly ±1 psi for every 10 lbof rider+gear weight away from 155 lb. For a number tuned to your exact setup, use the Tire Pressure Calculator.
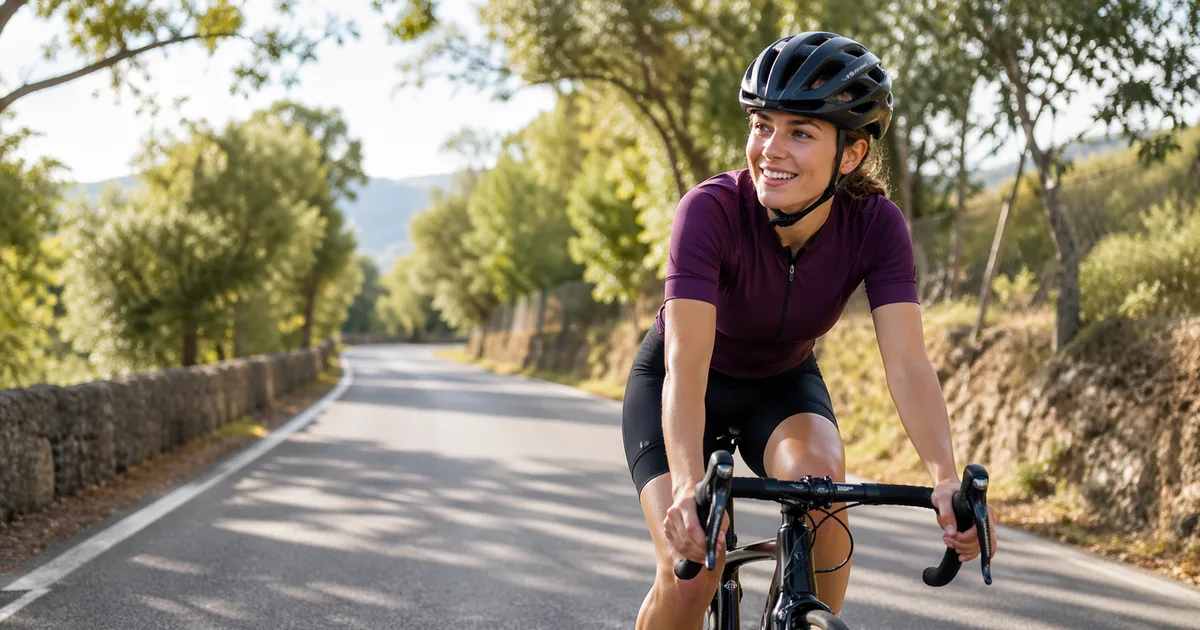
Specialized Tire Pressure Tools
Before diving into the theory, get a personalized starting number from the calculators below. They're free, no account required, and take less than a minute.
Plug in rider weight, tire width, and terrain to get front and rear PSI in seconds
Confirm your MTB frame size before tuning suspension and tire pressure
Match your gravel frame to your body for confident mixed-surface riding
Verify your road frame size; pressure tuning works best on a properly sized bike
How Tire Pressure Works
Tire pressure is what shapes the small patch of rubber actually touching the ground - the contact patch. Everything you feel through the bars and saddle, from grip to comfort to rolling speed, traces back to how that patch is loaded and how the casing flexes around it.
The Contact Patch
Imagine the tire as a balloon supporting your weight. At a given load, higher pressure shrinks the contact patch and lengthens it; lower pressure spreads it wider and shorter. A wider patch generally means more grip and a more compliant ride. A smaller, harder patch can feel fast on glass-smooth surfaces but bounces over even small bumps, wasting energy and reducing traction.
Casing Deformation and Rolling Resistance
Rolling resistance is dominated by the energy lost when the tire casing flexes. The popular intuition - “harder tires roll faster” - only holds on impossibly smooth surfaces. Real-world roads have texture, cracks, and chipseal. On those surfaces, a tire pumped too hard skips across imperfections instead of absorbing them, transferring impact energy into the rider and frame rather than rolling smoothly. That bouncing is wasted watts. Modern rolling-resistance research from labs like BicycleRollingResistance and Silca confirms there is an optimum pressure beyond which adding air actually slows you down.
Traction
Traction is friction times contact area, modified by how well the tread can deform around small surface features. Drop pressure and the tire conforms to gravel, roots, and wet paint stripes. Run too much pressure and the tire skitters across the same features. This is why World Tour pros, gravel racers, and downhill mountain bikers have all trended toward wider tires at lower pressures over the last decade.
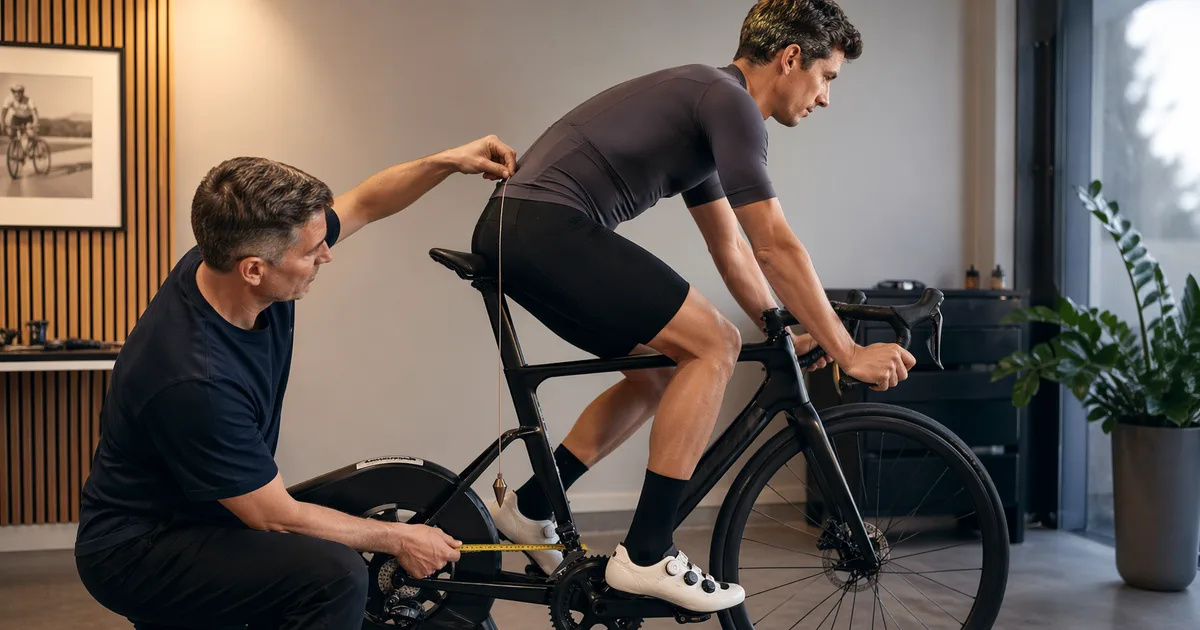
Why It Matters
Tire pressure interacts with your whole fit system. A bike with the wrong saddle height or reach won't feel right at any PSI. If you haven't already, walk through our Complete Bike Fitting Guide first - pressure tuning is the icing, not the cake.
Recommended PSI by Bike Type
Use the ranges below as a sensible starting window. They assume a 155 lb (70 kg) rider with gear, ridden on typical surfaces for that bike type. Adjust from there using rider-weight and terrain rules in the next sections.
Tire model matters almost as much as the number on the gauge - casing thickness, tread compound, and supple cotton vs. nylon all change how a tire feels at the same PSI. Continental and Schwalbe dominate road and gravel with proven all-rounders, Maxxis owns the trail and enduro market, and WTB covers gravel and trail with strong tubeless casings. For category-by-category picks across price tiers, see our best tires for 2026.
Road Bikes
Modern road bikes have moved from 23 mm tires at 110 psi to 28-32 mm tires at 60-80 psi. The wider tire at lower pressure rolls equal or faster on real pavement, grips better, and is dramatically more comfortable.
| Tire Width | Rear PSI (155 lb) | Front PSI (155 lb) |
|---|---|---|
| 23 mm | 95-100 | 90-95 |
| 25 mm | 80-90 | 75-85 |
| 28 mm | 70-80 | 65-75 |
| 32 mm | 60-70 | 55-65 |
Gravel Bikes
Gravel pressures depend heavily on surface. On hardpack and pavement, run toward the high end of the range. On chunky gravel, sand, or roots, drop pressure for grip and float. Tubeless is strongly recommended at gravel pressures because tubes pinch easily below about 35 psi on rough terrain.
| Tire Width | Rear PSI (155 lb) | Front PSI (155 lb) |
|---|---|---|
| 35 mm | 45-55 | 40-50 |
| 40 mm | 38-48 | 35-43 |
| 45 mm | 32-40 | 28-36 |
| 50 mm | 28-35 | 25-32 |
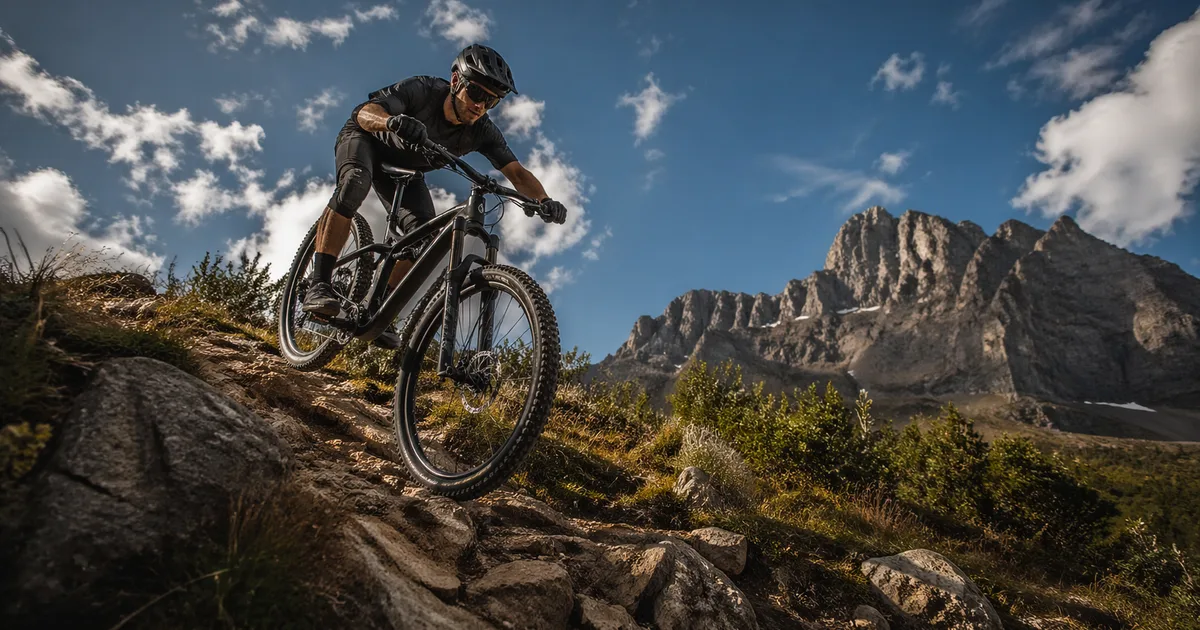
Mountain Bikes
Mountain bike pressure is where the biggest gains hide. Most riders run far too much air. A typical 2.4 in trail tire works best between 20 and 26 psi for an average rider on tubeless setups. Front pressure is usually 2-3 psi lower than the rear to promote grip and absorb impacts at the steering wheel.
| Tire Width | Rear PSI (155 lb) | Front PSI (155 lb) |
|---|---|---|
| 2.25 in | 25-30 | 22-28 |
| 2.4 in | 22-26 | 20-24 |
| 2.6 in | 20-24 | 18-22 |
| 2.8-3.0 in (plus) | 15-20 | 13-18 |
For more on matching tires and pressures to terrain on the dirt side, our Mountain Bike Sizing Guide covers how frame fit, suspension travel, and tire choice work together.
Adjusting for Rider Weight
The tables above assume a 155 lb (70 kg) rider plus a few pounds of clothes, helmet, and bottles. Total system weight is what the tire actually carries, so include the bike, packs, and any cargo when you tune. A loaded touring bike with panniers can easily double the load on each tire compared to an unweighted gravel rig.
The ±1 PSI per 10 LB Rule
For road and gravel tires in the normal range, adjust pressure by roughly 1 psi for every 10 lb (4.5 kg) away from the 155 lb baseline. A 195 lb rider on 28 mm tires would add about 4 psi to each tire; a 125 lb rider would subtract about 3 psi.
For mountain bike tires, the adjustment is smaller because the casings are larger and more compliant: roughly 0.5 psi per 10 lb. A 200 lb rider on a 2.4 in tire might run 25 psi rear and 23 psi front instead of 22 and 20.
Front vs Rear Split
Most riders carry roughly 40% of their weight on the front wheel and 60% on the rear in a neutral seated position. That weight split is why the front tire wants 5-15% lower pressure than the rear: you want similar tire deflection and contact patch shape on both ends for predictable handling. Skip the split and your front tire will feel either harsh (over-inflated for the load) or vague (matched to the rear and under-inflated relatively).
Don't Forget the Cargo
Bikepacking gear, panniers, a frame bag full of tools, even a loaded jersey on a long ride - all of it loads the tires. Bump pressure 5-10 psi for fully loaded touring or bikepacking setups, weighted toward the rear if that's where most of the weight sits.
Adjusting for Terrain & Conditions
Once you have a baseline number from the tables and weight adjustment, the surface and weather decide the final tweak. Use the Tire Pressure Calculator to see how each variable shifts the recommendation; the patterns below explain the logic.
Wet Pavement
Drop road pressures by 5-10 psi in the wet. A larger contact patch helps the tread channel water and grips painted lines, manhole covers, and tar snakes that turn lethal when slick. Many pros run 5 psi less in their front tire alone for wet criteriums because front-wheel washouts are far more dangerous than rear slips.
Hardpack and Smooth Gravel
Hardpack rewards higher pressures within the gravel range - less casing flex means lower rolling resistance on a surface that isn't buffeting the tire. Stay near the top of the table range.
Loose, Chunky, or Wet Gravel
Loose surfaces reward float and grip. Drop 3-6 psi from your hardpack number, especially up front. Watch out for rim strikes on sharp rocks; if you're bottoming out the tire, you've gone too low.
Sand and Snow
Float rules. On a fat bike or plus tire, dropping into the single-digit range (5-10 psi) is normal in deep sand or snow. The wide casing supports the bike like a snowshoe.
MTB Trail Conditions
- Hardpack and rock: Run the high end of your range to protect rims and reduce squirm in fast corners.
- Loamy or wet roots:Drop 1-2 psi for extra grip; tubeless sealant covers small punctures from sticks.
- Bike park / downhill:Add 2-4 psi over your trail number to handle the bigger impacts and resist burping in berms.
Tubeless vs Tubed Setups
Tubeless tires let you run lower pressures safely because there is no inner tube to pinch against the rim. That's the headline benefit on rough surfaces, and it's why nearly every gravel and mountain bike since 2018 ships tubeless-ready.
How Much Lower Can You Go?
Compared to tubed setups, you can typically run 5-10 psi less on road and gravel tires and 3-6 psi less on mountain bike tires. The exact savings depend on rim width and tire casing stiffness; modern hookless rims and reinforced casings allow even lower numbers.
Sealant: The Hidden Pressure Variable
Sealant works by plugging punctures with latex, but it also slowly evaporates. A tubeless tire that hasn't been topped up in six months may have nothing protecting it. Refresh sealant every 2-4 months for road and gravel, every 1-3 months for mountain bike use depending on climate. Dry climates burn through sealant faster than humid ones.
Burping
Burping is when a hard side load briefly unseats the tire bead from the rim, releasing a puff of air. It typically happens at the absolute floor of safe pressure during aggressive cornering. If you burp, add 2-3 psi and check that your rim and tire are compatible. Hookless rims are more prone to burping than hooked designs at the very lowest pressures.
When Tubes Still Make Sense
- Commuters and light riderswho don't want monthly sealant maintenance.
- Vintage rimsthat aren't tubeless compatible.
- Very narrow road tires (23 mm) where the weight savings of tubeless are minimal.
- Backup spare tubes - even tubeless riders should carry one for catastrophic sidewall cuts.
Seasonal & Temperature Effects
Air pressure inside a tire follows the gas laws: as temperature drops, pressure drops. The rule of thumb is roughly 2% pressure loss per 10°F (5.5°C)temperature drop. A tire pumped to 80 psi in a 70°F garage will read about 75 psi when you start riding in 40°F weather, and even less if it sits parked in the cold.
Cold Weather
In winter, pump tires once you're outside or in an unheated space, not in a warm garage. If you must inflate inside, add 2-5 psi above your target to compensate for the chill. Cold rubber also feels stiffer, which can make a tire feel over-inflated even when the gauge says otherwise.
Hot Weather and Long Descents
The opposite happens on hot days and long descents: braking heat and pavement temperature can push pressure up by 5-10 psi. For long alpine descents, start a few PSI below your normal target to avoid tires getting harsh and skittery as they heat up.
Natural Air Loss
All tires lose air through the casing and valve over time. Latex tubes lose 20 psi or more per day, butyl tubes lose 2-5 psi per day, and tubeless setups typically lose 5-10 psi per week. Check pressure before every ride; an unchecked tire is the most common reason riders complain about a bike that “suddenly feels slow.”
Common Pressure Mistakes
Most pressure problems trace back to a handful of recurring habits. If your bike feels harsher, slower, or vaguer than it should, work through this list before changing components.
Inflating to the Sidewall Maximum
The number molded into the sidewall is the maximum safe pressure, not the recommended pressure. It's set for legal and warranty reasons. For almost every rider, the optimal pressure is well below that maximum - often 20-40% lower.
Ignoring Tire Width Changes
Swapping from 25 to 28 mm tires? Drop pressure by roughly 10-15 psi. The wider casing has more air volume and supports load at lower pressure. Many riders bolt on wider tires and keep their old PSI, then wonder why the new tires don't feel any better.
Trusting a Floor Pump Gauge
Floor pump gauges are notoriously inaccurate - many read 5, 10, even 15 psi off. The error gets worse at low pressures, which is exactly where mountain and gravel bikes operate. Buy a dedicated digital pressure gauge ($25-$50) and check your pump's offset against it. Then either trust your good gauge every time or always add the offset to your pump readings.
Identical Front and Rear
Setting both tires to the same number ignores the weight bias toward the rear. The front ends up over-inflated for its load - harsh ride, twitchy steering, less grip. Always run the front a few PSI below the rear.
Setting Pressure Once and Forgetting It
Pressure changes with temperature, terrain, and time. Even with tubeless, expect to top up weekly. Make pressure check part of your pre-ride routine, like clipping in your helmet.
Avoid This
Never inflate a tire well above the sidewall maximum. The casing can fail explosively, and tubeless beads can blow off hookless rims. Some hookless road rims have a maximum of just 72 psi regardless of what the tire says - check both rim and tire limits and use the lower number.
How to Measure & Adjust
Accurate, repeatable measurement is what turns the numbers in this guide into a real performance gain. The process is simple but worth doing right.
Step 1: Get a Digital Gauge
A standalone digital pressure gauge is the single best $30 you can spend on tire performance. Brands like Topeak, SKS, Park Tool, and Silca make models accurate to ±0.5 psi. Use the same gauge every time so your numbers are comparable session to session. For a wider workshop kit, see our best bike tools for 2026.
Step 2: Know Your Valve Type
- Presta: Slim, threaded, with a small lock nut at the tip. Standard on road, gravel, and most modern mountain bikes. Unscrew the lock nut before pumping; tighten it after.
- Schrader:Same as a car tire valve. Common on kids' bikes, hybrids, and some entry-level mountain bikes. Compatible with gas station compressors (carefully - they inflate fast).
- Tubeless valves: Presta valves with a removable core so sealant can be added through the valve stem.
Step 3: Choose the Right Pump
A floor pump (also called a track pump) is the right tool for pre-ride inflation. Look for a wide base, dual-head Presta/Schrader chuck, and either a high-quality analog gauge or a digital readout. Mini pumps are for emergencies only - reaching road pressures with one is a workout.
Step 4: Measure, Adjust, Re-measure
- Check pressure cold, before riding, using your digital gauge.
- If low, add air with the floor pump in small bursts - 5 strokes at a time at high pressures, single strokes at MTB pressures.
- If high, vent air with the gauge's relief button or by briefly depressing the valve core.
- Re-measure with the digital gauge. Repeat until you hit your target ±1 psi.
- Lock down the Presta nut, replace the dust cap, and ride.
Step 5: Log What Works
Write down the PSI that worked best for you on each tire/terrain combination. After three or four rides you'll have a personal cheat sheet that beats any generic chart. This is exactly what the Tire Pressure Calculator captures - a starting number that you then refine for your body, your bike, and your roads.
Recommended Tools
The pressure gauges and pumps mentioned throughout this guide.
Topeak
Topeak SmartGauge D2 Digital Tire Pressure Gauge
Digital tire pressure gauge reading up to 250 PSI / 17 bar with a swivel head that fits both Presta and Schrader valves. Pairs with our tire pressure calculator.
Lezyne
Lezyne Classic Floor Drive 3.5 Bicycle Floor Pump
All-metal floor pump rated to 220 PSI with an analog 3.5" gauge and ABS-1 Pro chuck for Presta and Schrader valves. Pairs with our tire pressure calculator for pre-ride setup.
Crankbrothers
Crankbrothers M19 Multi-Tool
19-function bike multi-tool with hex, Torx, screwdriver, and chain breaker. The go-to ride-along tool for saddle height, seatpost, and on-the-road adjustments.
As an Amazon Associate we earn from qualifying purchases. This helps support our free calculators.
Frequently Asked Questions
Conclusion
Tire pressure is a free performance upgrade hiding in plain sight. Get it right and your bike rolls faster, grips better, and absorbs the road or trail without beating you up. Get it wrong and no amount of carbon, suspension, or bike fitting will fully fix the ride.
Key Takeaways
- Start from a real baseline: Use the tables here or the Tire Pressure Calculator instead of inflating to the sidewall max.
- Adjust for weight:±1 psi per 10 lb from a 155 lb baseline on road/gravel; ±0.5 psi on MTB.
- Split front and rear: Front tire 5-15% lower than rear to match the front-rear weight bias.
- Tune for terrain:Drop 5-10 psi for wet, loose, or chunky surfaces; add 2-4 psi for bike park or heavy loads.
- Go tubeless when you can:Run 5-10 psi lower safely; refresh sealant every few months.
- Mind the temperature:~2% pressure drop per 10°F cooling. Re-check before every ride.
- Trust a digital gauge: Floor-pump gauges drift; a $30 digital gauge pays for itself in a week.
- Log your numbers: Build a personal cheat sheet of best PSI by tire and terrain - it beats any generic chart.
Ready to dial it in? Get a personalized starting number from the Tire Pressure Calculator (free - no account required), then refine over a few rides. If your bike feels off no matter the pressure, the issue is usually fit or sizing - double-check your road, gravel, or mountain bike size, then walk through our Complete Bike Fitting Guide for the full picture. Small numbers, big difference.
Related Calculators & Tools
Get a personalized PSI based on weight, tire, and terrain
Confirm your road bike frame size before fine-tuning fit
Find the right gravel bike size for mixed-surface riding
Match frame size to trail style and rider proportions
Match handlebar width to your shoulders for control