How to Teach a Kid to Ride a Bike 2026 | Age-by-Age Playbook
How-To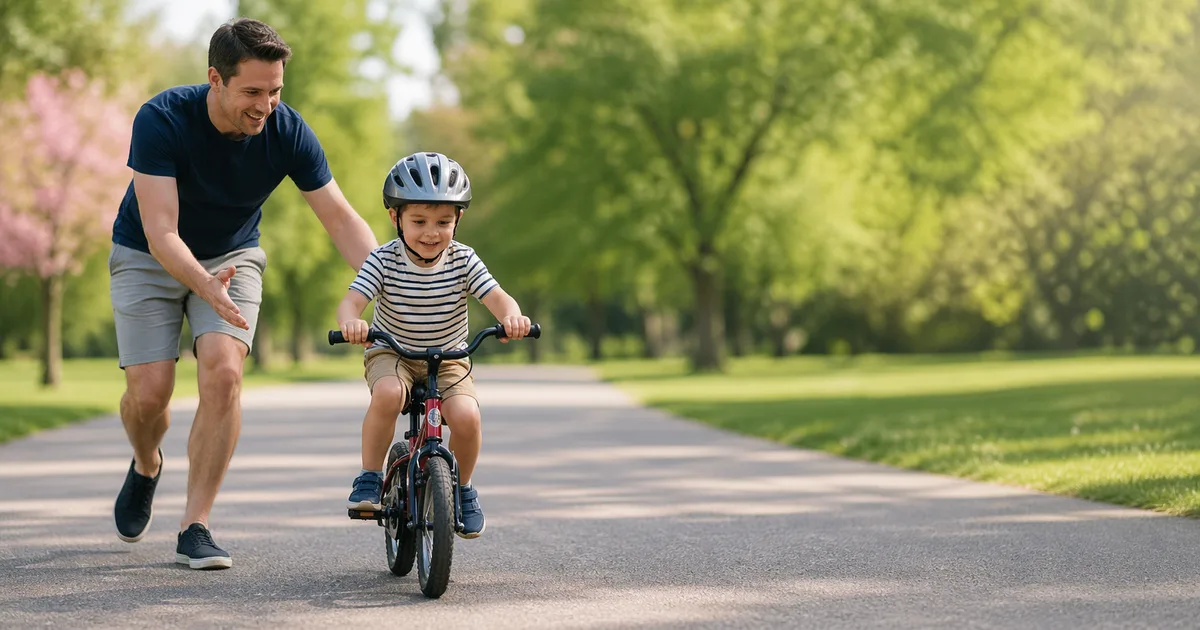
Few parenting milestones feel as cinematic as the moment your child pedals away on their own for the first time. The road to that moment, though, is rarely a single afternoon - it's a sequence of small wins built on the right bike, the right setting, and the right amount of patience. This playbook walks you through every stage, from the wobbly first steps on a balance bike at age 2 to confident neighborhood rides at age 8 and beyond. We'll cover what to buy, when to introduce pedals, how to coach without hovering, and how to troubleshoot the stalls almost every kid hits along the way.
Quick Answer
The fastest path is balance bike first, pedal bike second. Start a balance bike around age 2-3, transition to a pedal bike (without training wheels) around age 4-5 once your child can glide for 10 seconds with feet up. Size the bike by inseam, not age - both feet should sit flat on the ground at first. Use our Kids Bike Size Calculator to match wheel size to your child.
Tools & Calculators for Kids
Before the first lesson, get the gear right. Two minutes with the calculators below will save you a returned bike and a lot of frustrated tears. Free - no account required.
Enter inseam and age to get a 12", 14", 16", 20", or 24" recommendation
A helmet that slides around is worse than no helmet - get the number before you shop
If your child wants to ride the local pump track, a BMX top-tube length matters more than wheel size
Palms hit the ground first - lightweight gloves prevent the scrapes that end a learning session early
Readiness Checklist
Kids learn at very different paces. Pediatric occupational therapists generally look at three buckets - physical, cognitive, and emotional - before recommending a new motor skill. Use this checklist instead of comparing your child to the neighbor's.
Physical Readiness
- Balance: Can stand on one foot for 3-5 seconds. Can walk a curb or low beam without constant arm flapping.
- Coordination: Can run smoothly, kick a rolling ball, and pedal a tricycle or ride-on toy.
- Leg length: Inseam matches the bike. On a balance bike, both feet should sit flat with knees slightly bent. On a first pedal bike, both feet should still touch the ground (toes are fine).
- Grip strength:Can squeeze a hand brake firmly enough to slow a coasting bike - usually around age 4-5.
Cognitive Readiness
- Focus: Can stick with a single activity for 10-15 minutes without melting down.
- Following directions:Can follow a two-step instruction like “put your feet on the pedals, then push.”
- Cause and effect: Understands that pedaling forward makes the bike go and squeezing the brake makes it stop.
Emotional Readiness
- Motivation: Asks to ride. Watching siblings or neighborhood friends ride is a huge accelerant.
- Tolerance for frustration: Can attempt something hard, fall short, and try again without quitting permanently.
- Trust: Will let you hold the bike, then let go, without panicking.
Parent Tip
If your child is missing one or two items, that's normal. If they're missing most of them - especially the emotional ones - wait a few weeks and try again. Pushing through a not-ready child usually creates a fear of bikes that takes months to undo.
Balance Bike vs Training Wheels
Modern pediatric and cycling guidance strongly favors balance bikes over training wheels. The reason is mechanical: balance is the hardest part of riding, and training wheels delay learning it.
On a training-wheel bike, the child leans on whichever stabilizer is closer to the ground. Steering becomes a tug-of-war and the body never develops the lean-to-turn reflex that real cycling requires. When the training wheels finally come off, most kids essentially start from scratch - sometimes with extra fear, because they've been riding fast in a straight line and have no instinct for how to recover from a wobble.
A balance bike flips the order. The child learns to glide, lean, and steer first, then adds pedals once those reflexes are automatic. Most balance-bike graduates skip training wheels entirely and ride a real pedal bike on the first try, often before age 5. Bike co-ops, the League of American Bicyclists, and most pediatric physical therapists now recommend this path by default.
When training wheels still make sense
A child who is already older (6+), already attached to a hand-me-down pedal bike, or has a balance-related disability may do better with training wheels as a temporary bridge. In those cases, raise the stabilizers in stages so the bike rocks more each week, then remove them entirely. See our best training wheels for 2026 guide for stable, easy-to-adjust picks.
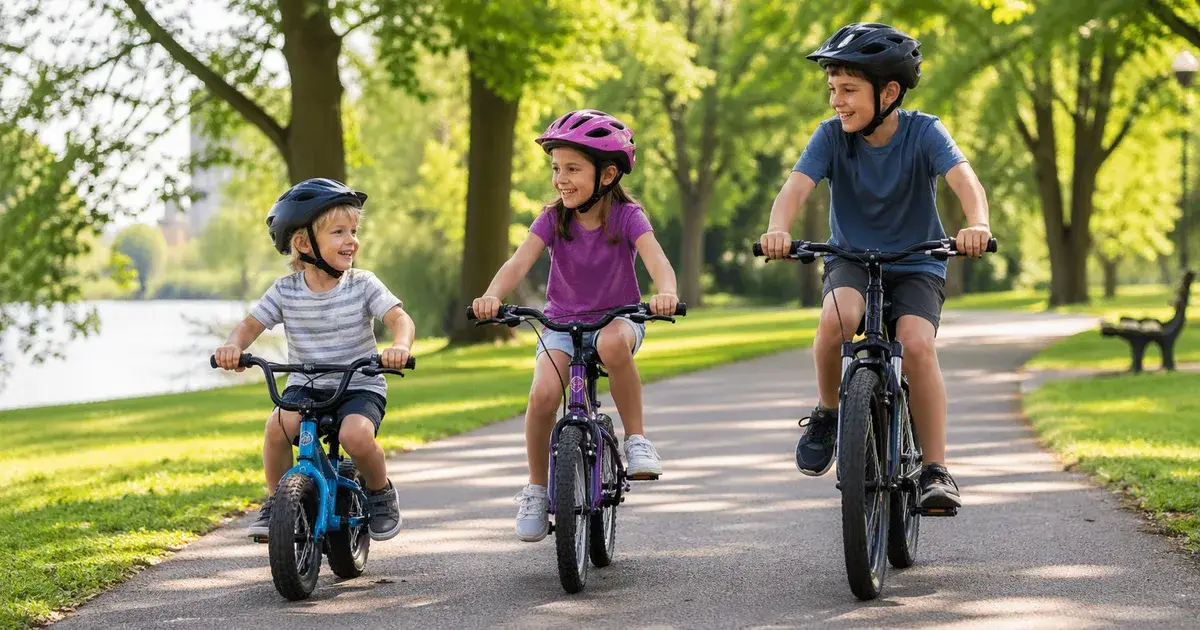
Age-by-Age Playbook
These are guidelines, not deadlines. Many kids run a year early or a year late on any given milestone. Match the activity to the child in front of you.
Age 2-3: Balance Bike, First Glides
Most toddlers can sit on a 12" balance bike with both feet flat somewhere between their second and third birthday. The first week is usually pure walking - the bike is essentially a ride-on toy with a seat. Praise it. Within a few sessions you'll see them lift one foot, then both, in short scoot-glides. See our 3-year-old sizing guide for specific bike picks at this age.
Practice on slight downhills (a long driveway is perfect) so gravity does the hard work. Resist the urge to add pedals; the goal here is balance reflexes, not propulsion.
Age 4: Long Glides and Controlled Stops
By age 4, most balance-bike riders can glide 10-20 seconds with feet up, lean into turns, and stop with their feet. This is the readiness signal for pedals. If your child still hops off when the bike wobbles, give it another month on the balance bike. Browse the 4-year-old bike picks for transition-friendly options.
Age 5: Transition to Pedals and Brake Control
Age 5 is the sweet spot for the first pedal bike - usually a 14" or 16" with a hand brake. Start with the pedals removed: let the child glide the new bike for a session or two so the added weight feels normal. Then bolt the pedals back on, set the saddle slightly lower than usual, and have them push off downhill. Most balance-bike alumni are riding within 30 minutes. The 5-year-old sizing page shows current 16" recommendations.
Age 6+: Starting From a Stop and Traffic Awareness
Once they can ride, the next skill is starting from a complete stop without a parent push. Teach the “pedal ready” position: one pedal at the 2 o'clock spot, foot on top, the other foot on the ground. A firm push down on the high pedal launches the bike; the second foot finds its pedal mid-roll. This is also the right age to introduce road awareness - stopping at driveways, looking left-right-left, and riding predictable lines. Compare bikes on our 6-year-old guide.
Age 8+: Gears, Longer Rides, and Group Riding
Around age 8, kids move to 24" bikes with multiple gears. Teach shifting under light pedal pressure, using the rear derailleur first, and saving the front shifter for hills. Family rides can stretch to several miles. For broader picks across this age range, our young-kids overview and kids bike sizing guide cover the jump from first bike to first “real” bike.
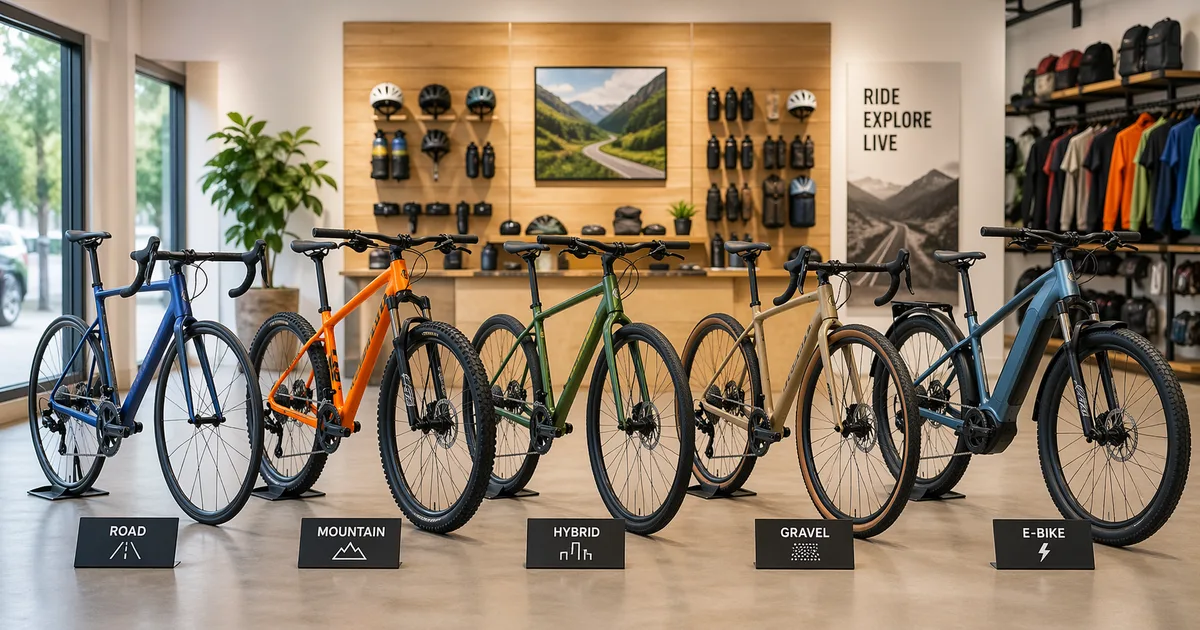
Choosing the Right First Bike
The single most common mistake is buying a bike a child will “grow into.” A bike that's too big undermines balance and confidence on day one. Size by inseam first, age second. For shoppable picks across price tiers, see our roundup of the best bikes for kids, and cross-check the size charts from Woom, Royalbaby, Schwinn, and Huffy, Mongoose, Joystar, and Cubsala before you buy.
Wheel Size by Inseam
- 12" wheels (balance bike):inseam 12-15 in, roughly age 2-4
- 14" wheels:inseam 15-18 in, roughly age 3-5
- 16" wheels:inseam 18-22 in, roughly age 4-6
- 20" wheels:inseam 22-25 in, roughly age 6-8
- 24" wheels:inseam 25-28 in, roughly age 8-11
Run the numbers through our Kids Bike Size Calculator before you buy. Inseam wins ties - always.
Weight Matters More Than You'd Think
A 30 lb department-store bike is genuinely difficult for a 40 lb child to control. The rule of thumb used by kids'-bike specialists is to keep the bike under 30% of the child's body weight. Lighter bikes start, stop, and balance more predictably, and they survive the inevitable tip-overs because they hit the ground with less force.
Coaster Brakes vs Hand Brakes
Coaster brakes (the kind that engage when you pedal backward) feel intuitive but cause two problems for new riders: kids can't backpedal to find the “ready” pedal position without accidentally braking, and the locked rear wheel teaches a skidding stop rather than a controlled one. Most modern kids' bikes use hand brakes from the start, often paired with a freewheel rear hub. If your local bike shop offers a brake-only model in the right size, choose it.
Setting Up the Bike for Learning
Saddle Height for Learning
For the first few sessions, drop the saddle so both feet sit flat on the ground with knees slightly bent. This isn't the efficient pedaling position - it's the confidence position. Being able to stop a wobble with a quick foot down is worth far more than a powerful pedal stroke at this stage. Once your child can start, ride, and stop reliably, raise the saddle so only the balls of the feet touch the ground.
Tire Pressure
Inflate tires to the middle of the printed range on the sidewall. Too soft and the bike feels sluggish and squirms in turns; too hard and it bounces off bumps and feels skittish. Mid-range pressure also gives a little extra grip on smooth grass - useful during the first falls.
Bell, Lights, and Reflectors
Even a backyard learner benefits from a bell - it gives the child something fun to do at stops and a tool for announcing themselves to siblings and pets. Once you graduate to sidewalks, add a front white light, a rear red light, and reflective tape on the helmet and pedals.
Best Locations & Surfaces
Where you practice matters as much as how you practice. The right surface absorbs falls; the wrong one creates them.
- Smooth grass for first falls: A short-cut sports field or your own lawn is perfect for the very first balance-bike glides. Falls feel like rolls instead of crashes.
- Empty parking lot or quiet path: Once the child can glide and steer, move to smooth pavement. Park lots on Sunday mornings, school playgrounds after hours, and dead-end streets all work.
- A gentle slope:A driveway with a 2-5% downhill grade gives the bike just enough momentum that the child doesn't have to fight gravity while learning to steer.
- Avoid traffic for 2-3 weeks: Even confident new riders make sudden, panicked decisions. Save shared roads and busy bike paths until starting, stopping, and straight-line riding are second nature.
The 4-Session Learning Sequence
This is the core teaching method, condensed into four 20-30 minute sessions. Spread them across a weekend or a couple of weeks - whichever matches your child's attention span. The sequence works for balance-bike graduates moving to pedals and for older first-time riders.
Session 1: Walk and Glide
Pedals off (or balance bike). Saddle low. Walk the bike forward by scooting with the feet. Encourage longer pushes, then short glides with both feet up. Goal: 3-5 second glides without panic. End the session on a successful glide, even if it's short.
Session 2: Long Glides and Balance
Same setup. Now add a gentle slope so gravity supplies momentum. Have your child glide with feet up for 10+ seconds, then practice gentle S-turns by looking left and right. Introduce stopping - on a balance bike with feet, on a pedal bike (still pedal-less) with the hand brake. Goal: confident glides and reliable stops.
Session 3: Pedaling With a Start Assist
Bolt the pedals back on. Saddle slightly higher than session 2. Stand behind the bike with one hand on the back of the saddle (not on the handlebars - you'll fight their steering). Get the high pedal to 2 o'clock, ask them to push down on it, and walk alongside as they pedal. Let go for one second, then two, then five. Don't announce when you let go. Goal: 30 feet of unassisted pedaling.
Session 4: Independent Starts and Stops
Now they can ride - but probably not start or stop on their own. Practice the pedal-ready start: one pedal at 2 o'clock, foot on top, push down hard, find the second pedal mid-roll. Practice controlled stops by squeezing the brake gradually and putting one foot down on the side of the brake hand. Goal: ride a lap of the parking lot, stop on cue, and start again without a parent.
Coaching Cues That Work
- “Look where you want to go, not at the front wheel.”
- “Pedal hard for three big pushes, then we'll coast.”
- “Squeeze the brake like you're holding a baby bird.”
- “Big smile finish - we stop on a win.”
Troubleshooting Common Stalls
“I'm scared of falling.”
Move back to grass. Drop the saddle so both feet are flat. Put the child in long sleeves, leggings, knee and elbow pads, and a properly fitted helmet. See our kids knee and elbow pads sizing guide for fit help - pads that slip off mid-fall do more harm than good. Most fear evaporates after one controlled fall they walked away from.
“I can't start from a stop.”
This is the single most common stall. The fix is mechanical, not motivational. Teach the pedal-ready position deliberately: lift the rear wheel, rotate the pedals so one is at the 2 o'clock position, and have your child practice setting that pedal up while the bike is held. Once the muscle memory is there, they'll stop starting with both feet on the ground.
“I can't stop.”
Test the brake lever. Many kids' bikes ship with brake levers positioned for adult-size hands; small fingers can't reach far enough to squeeze hard. Most levers have a reach-adjust screw that moves the lever closer to the bar - turn it in until your child can wrap two fingers around the lever and squeeze fully. If the bike also has a coaster brake, talk through which one to use first.
“I keep crashing into things.”
Steering follows the eyes. New riders stare at obstacles and ride straight into them - this is called target fixation, and it affects adult cyclists too. Coach “look where you want to go.” Set up a wide cone gate and have them ride through it while staring at a tree on the far side. Steering smooths out almost immediately.
Safety Gear & Rules
Helmet Fit Check (the 2-V-1 method)
- 2 fingers: Two finger-widths between the eyebrows and the front edge of the helmet. No higher.
- V: The straps form a V just below each ear.
- 1 finger: One finger fits between the chin strap and the chin - snug, but not choking.
If the helmet rocks side-to-side or front-to-back, it's too big. Use our helmet size calculator to land in the right size before you buy, then adjust the rear dial for a snug, no-wobble fit. For shoppable kid-friendly options, see the best bike helmets for 2026 - brands like Bell, Giro, Lazer, POC, Kask, and Smith all make purpose-built youth shells with MIPS protection. Many states require helmets for riders under a certain age, so check the helmet laws for kids versus adults in your state before that first ride.
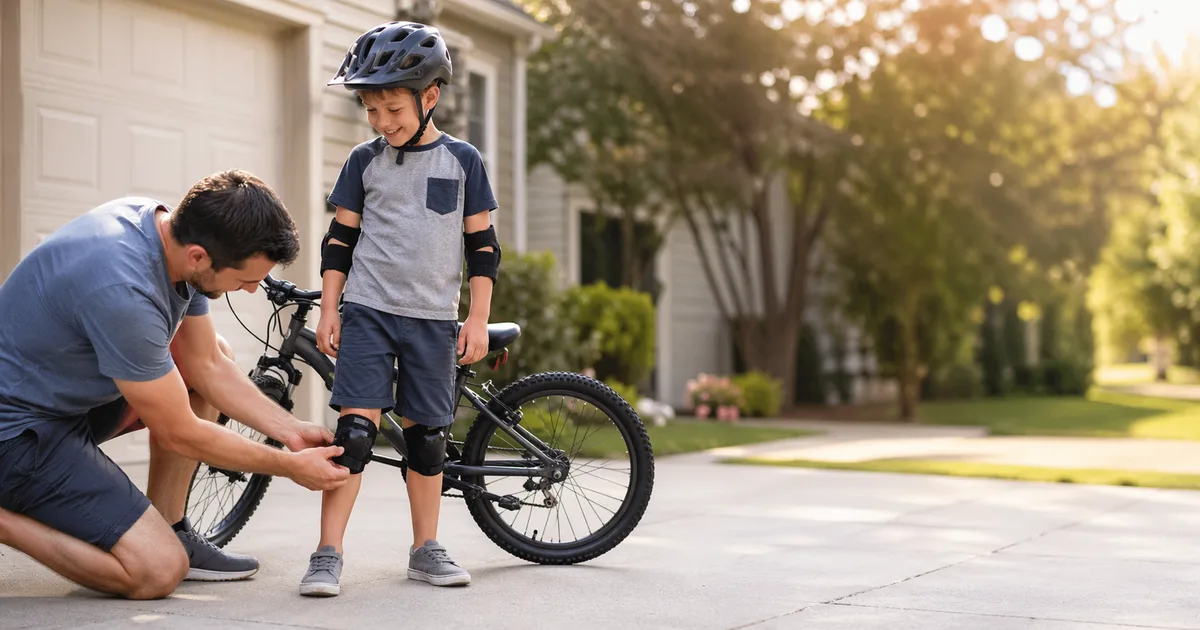
Pads, Gloves, and Visibility
Knee and elbow pads aren't mandatory, but they massively reduce the cost of a fall - both literal (skin) and emotional (willingness to try again). See our picks for the best kids' knee and elbow pads and the wider best accessories for kids roundup. Lightweight gloves protect palms, the first body part to hit the ground. For dawn or dusk rides, add a front white light, a rear red blinker, and reflective ankle bands.
Family Rules That Actually Stick
Beyond your house rules, it's worth knowing the child cycling laws in your state - sidewalk-riding age limits, supervision requirements, and where kids are legally allowed to ride all vary.
- Helmet on before the bike leaves the garage. No exceptions.
- Stop and put one foot down at every driveway and intersection.
- Ride single file when riding with adults near cars.
- Hand signals from age 7 onward - left arm out for left, left arm up for right, left arm down for stopping.
Safety Gear for New Riders
Helmets and pads to keep your kid confident through the wobbly stage.
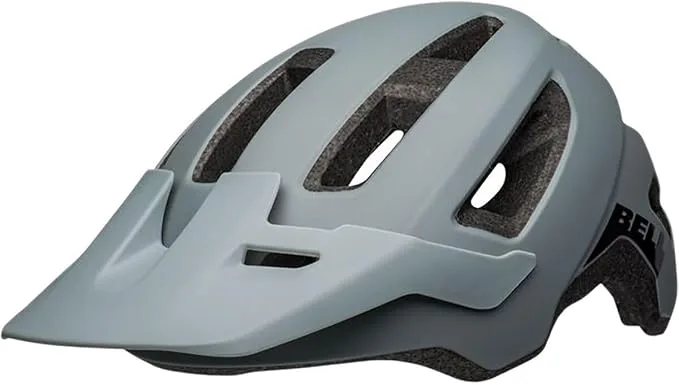
Bell
Bell Nomad 2 MIPS
This ASIN is Small/Medium 52-57 cm. Check the selected Amazon size/color before checkout.

Giro
Giro Register MIPS
S 51-55 cm, M 55-59 cm, L 59-63 cm
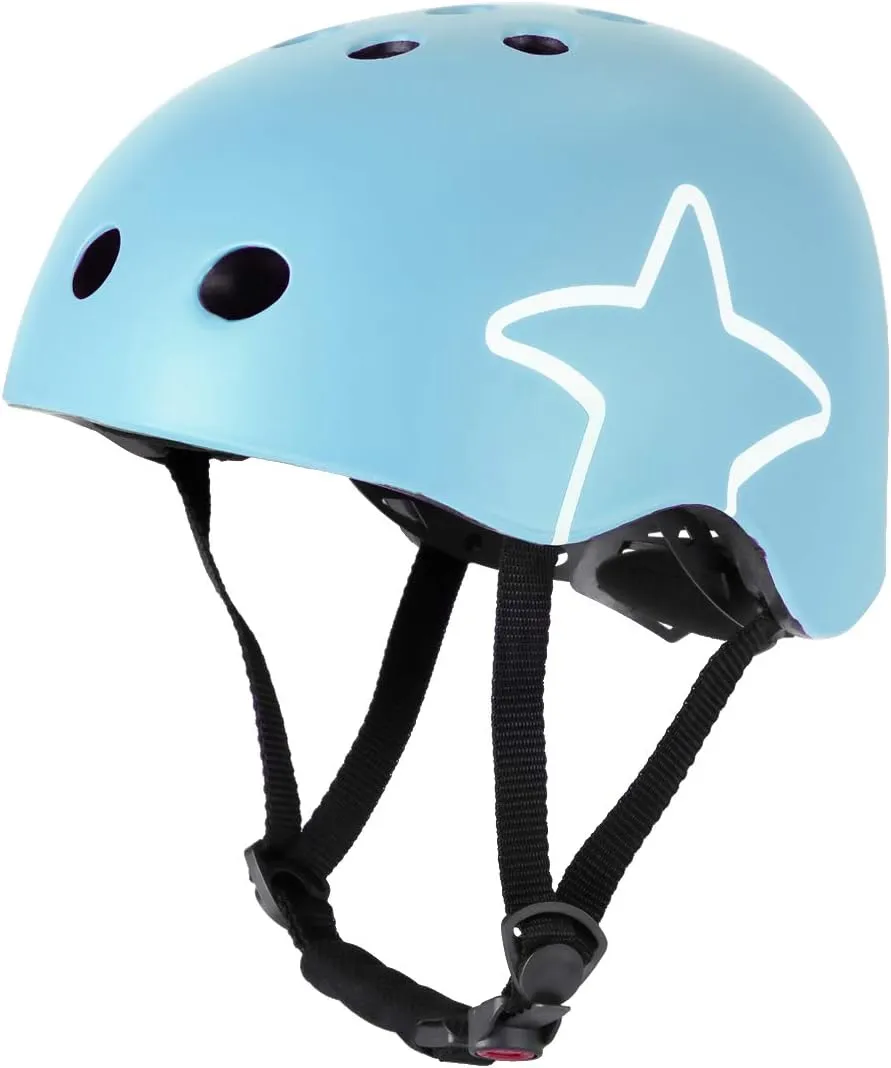
Joystar
Joystar DRBIKE Kids Multi-Sport Helmet (Ages 3-8)
Adjustable dial-fit kids multi-sport helmet sized for ages 3-8. Compatible with biking, skateboarding, and scooter use. EPS foam with vented hard shell.
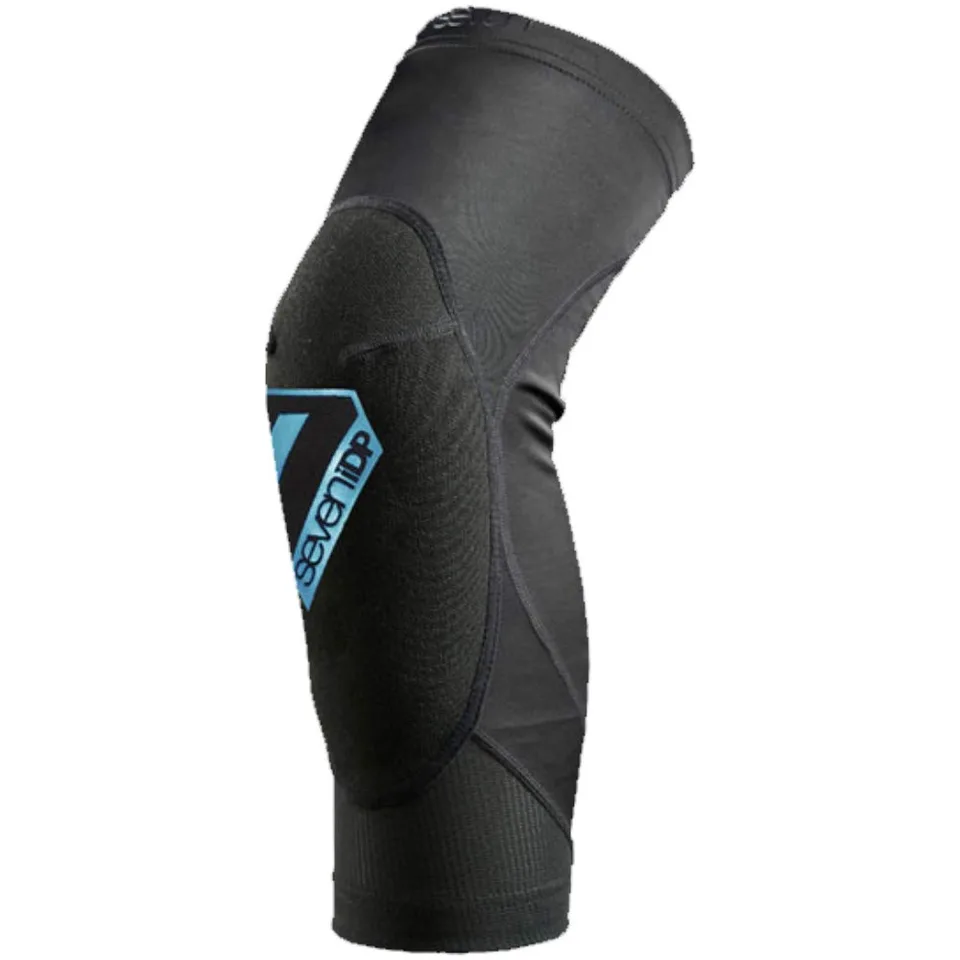
7idp
7iDP Youth Transition Knee Pad
Size XS fits 28-32 cm thigh circumference, 135-150 cm rider height
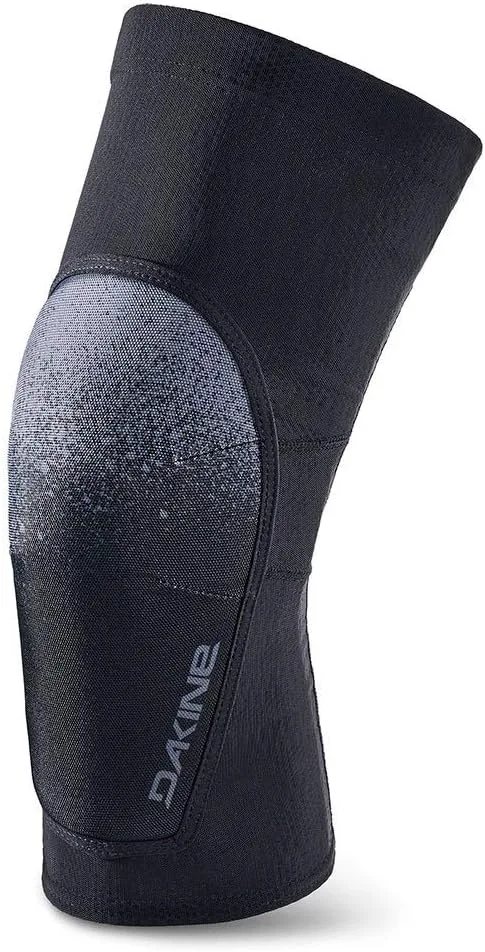
Dakine
Dakine Youth Knee Pad
Size YS fits 30-34 cm thigh circumference, 140-158 cm rider height
Fox Racing
Fox Racing Fox Rampage Youth Knee Guard
Size SM fits 28-32 cm thigh circumference, 140-155 cm rider height
As an Amazon Associate we earn from qualifying purchases. This helps support our free calculators.
Frequently Asked Questions
Conclusion
Teaching a kid to ride is more about removing obstacles than installing skills. Pick a light bike that fits, drop the saddle so both feet plant flat, find a smooth surface with a hint of downhill, and let balance develop before pedaling. Skip training wheels if you can. Coach with short cues, end every session on a win, and trust that your child - like every kid before them - will get there.
Key Takeaways
- Balance bike first: Start at age 2-3. It teaches the hardest skill (balance) without the distraction of pedals.
- Skip training wheels:They delay balance learning and create steering habits you'll have to undo.
- Size by inseam:Both feet flat on the ground for the first pedal bike. Don't buy a bike to grow into.
- Light bikes win:Keep the bike under 30% of your child's body weight for predictable handling.
- Run the 4-session sequence:walk & glide → long glides → pedaling with assist → independent starts and stops.
- Surface matters: Smooth grass for first falls, empty pavement with a gentle slope after that, no traffic for 2-3 weeks.
- Helmet on day one: Build the habit before the bike leaves the garage. Use the 2-V-1 fit check.
- Stalls are mechanical, not motivational: Adjust the bike (saddle, brake reach, pedal position) before adjusting the child.
Ready to size up the right first bike? Start with our Kids Bike Size Calculator and Helmet Size Calculator, then dig into the kids bike sizing guide for wheel-size charts, and the choosing the right bike primer for the bigger picture. Your future cyclist is closer than you think.
Related Calculators & Tools
Match wheel size to your child’s inseam and age
Find a snug, safe helmet fit for any head circumference
Right-size a BMX for park, dirt, or street riding
Frame sizing once your child graduates to trails
Protect little hands during those first tumbles