Bike Saddle Width & Sit Bone Measurement Guide 2026
How-To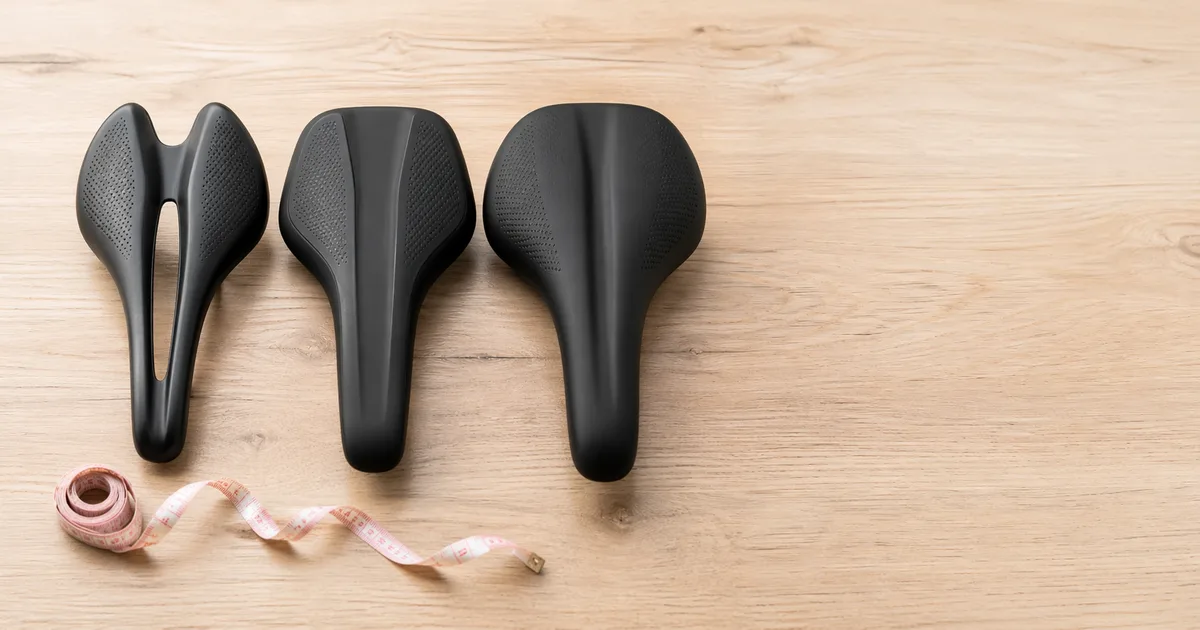
A saddle that's a few millimeters too narrow or too wide can turn a beautiful Sunday ride into a numb, sore, fidgety slog. The reason is simple: your body is supposed to rest on two specific bones, and if the saddle doesn't support them, the load shifts to soft tissue instead. Width is the single most important saddle measurement - more than padding, more than shape, more than brand. This guide walks you through four reliable ways to measure your sit bones, the formula for converting that number into a saddle width, and how riding style and saddle shape change the recommendation.
Quick Answer
Measure your sit bones (ischial tuberosities) center-to-center in millimeters, then add roughly 20 mm for an upright or endurance position and 10-15 mm for an aggressive road position. A rider with 110 mm sit bones typically lands on a 130 mm road saddle or a 135-140 mm endurance saddle. Use our Saddle Width Calculator to convert your measurement into a recommendation.
Saddle Width Tools & Calculators
Before we get into anatomy and measurement methods, grab a baseline number from our free calculators. No account needed - you can come back as your fit evolves.
Enter your sit bone measurement to get a recommended saddle width in millimeters
Cross-reference width with length and shape based on your riding style
Once width is sorted, dial in height using your inseam
A correctly-sized frame puts the saddle in the right ballpark to begin with
Why Saddle Width Matters
At the bottom of your pelvis sit two rounded bony prominences called the ischial tuberosities - what cyclists call the sit bones. They're the only part of your skeleton designed to bear weight while seated, and a properly sized saddle cradles them on its widest, most padded section. When the saddle is too narrow, those bones hang off the edges and your weight rolls forward and inward onto soft tissue: the perineum, pudendal nerve, and the arteries that supply the genitals. The result is the too-familiar trio of cycling complaints - numbness, hot spots, and tingling.
Pressure mapping research from companies like Specialized and gebioMized has shown that even a 10 mm change in saddle width can shift the peak pressure point from the sit bones to the perineum or vice versa. That's why saddle selection isn't about finding “the most padded” option - it's about matching the load-bearing surface of the saddle to the load-bearing surface of your skeleton.
The Numbness Warning Sign
Persistent numbness in the saddle area is not a normal part of cycling. It signals that the pudendal nerve or perineal artery is being compressed - which over time can contribute to erectile dysfunction, nerve damage, or chronic soft-tissue irritation. If numbness lasts more than a few minutes after a ride, the saddle is almost certainly the wrong width or shape for you.
Sit Bone Width vs Saddle Width Formula
The simplest, most widely used rule in bike fitting:
Saddle Width = Sit Bone Width + Position Adjustment
The position adjustment compensates for how far forward you rotate your pelvis. The more aggressive your position (the lower the bars relative to the saddle), the further forward your sit bones rotate, and the narrower the contact point becomes - so a narrower saddle is appropriate.
| Position | Add to Sit Bones | Example |
|---|---|---|
| Upright (commuter, hybrid, cruiser) | +25-30 mm | 110 mm bones → 135-140 mm |
| Endurance road / gravel | +20 mm | 110 mm bones → 130 mm |
| Aggressive road race | +10-15 mm | 110 mm bones → 120-125 mm |
| Mountain bike | +20-25 mm | 110 mm bones → 130-135 mm |
| TT / Triathlon | Split-nose, narrower nose | Width measured at the rear pad |
Saddles are typically sold in 5 mm width increments - 130, 135, 140, 143, 145, 150, 155 mm are all common stock sizes. If your calculation lands between two options, err wider for endurance comfort and narrower for racing.
Method 1: Cardboard Imprint at Home
The cardboard test is the cheapest and most reliable DIY method. It's how generations of bike shops measured riders before commercial gel kits existed, and it gets you within ±3 mm of a professional reading.
What you need:
- A piece of corrugated cardboardroughly 30 × 30 cm (a flattened shipping box works perfectly).
- A hard, flat chair or stair step.
- A ruler with millimeter markings.
- A pen or marker.
Step by step:
- Place the cardboard on the chair. Sit down firmly with your feet flat and your spine in a relaxed upright position - similar to how you sit on a commuter bike.
- Lean forward slightly to mimic riding position, then rock side to side a few times to make sure the imprint is clear.
- Stand up carefully without sliding. You should see two oval indentations where your sit bones compressed the corrugations.
- Mark the center of each indent with a pen.
- Measure the distance between the two center marks in millimeters. That's your sit bone width.
Pro Tip
Repeat the test three times and average the results. Slight differences in how you sit will produce 2-5 mm of variation, and an average is more reliable than a single reading. Wear thin clothing - thick jeans can blur the indents.
Typical adult sit bone widths range from 90 to 160 mm, with most men landing in the 100-130 mm range and most women in the 110-140 mm range. There is substantial overlap, so don't assume a number based on gender - measure.
Method 2: Memory Foam / Gel Pad
Several saddle brands sell sit bone measurement kits - a small memory foam or gel pad you sit on for 60 seconds, after which the impressions remain visible long enough to measure with the included ruler. Specialized's “Ass-O-Meter,” SQlab's cardboard kit, and Bontrager's in-store pad all work on the same principle as the cardboard method but with cleaner, more repeatable results.
These kits are usually free at participating shops and cost $10-$25 online. They're worth it if you plan to test multiple positions (upright vs. forward) because the foam recovers between tries. Use the same procedure as the cardboard method: sit firmly, lean to your typical riding angle, stand up, then measure center-to-center.
Method 3: In-Store Pressure Mapping
The gold standard is dynamic pressure mapping. Major saddle brands each have proprietary systems:
- Specialized Body Geometry / Retul - uses a memory-foam pad plus an in-store digital scanner.
- Bontrager InForm BioDynamic - a sit bone measurement device combined with a flexibility test that recommends saddle width and shape.
- Selle Italia idmatch - a tablet-based system that combines body measurements with riding style inputs.
- gebioMized - the dynamic mat used by most professional bike fitters; shows real-time pressure distribution while you pedal.
The static brand kits are usually freeat participating shops and take about 5 minutes. A full dynamic pressure-mapping fit at a professional studio costs $150-$400 and is most valuable when you've already tried two or three saddles without finding the right one. For a complete fit workflow, see our Complete Bike Fitting Guide.
Method 4: Online Estimators & Calculator Tools
If you can't get to a shop and don't have cardboard handy, proxy methods estimate sit bone width from other measurements you probably already know - inseam, hip width, or even shoe size. These are less accurate (typical error is ±10 mm) but useful as a starting point or sanity check.
Our Saddle Width Calculator accepts either a direct sit bone measurement or estimates one from your inseam and frame stack/reach. The output gives you a recommended width range plus suggested adjustment for your stated riding position. Pair it with the Saddle Size Calculator to also dial in length and shape category.
Matching Width to Riding Style
Two riders with identical sit bones can need different saddles because their riding positions differ. As your torso rotates forward, your contact point on the saddle moves forward as well - from the wide rear of the saddle toward the narrower nose.
Upright commuter and hybrid
You sit nearly vertical, with the full weight of your upper body on the saddle. Pelvic rotation is minimal, so the sit bones contact the saddle at their widest spacing. Add 25-30 mmto your sit bone measurement and look for a saddle with extra padding and a relatively flat profile. Cruiser and Dutch-style saddles can run 180-220 mm wide.
Road endurance and gravel
With a moderate forward lean (drop of 5-10 cm from saddle to bars), most riders sit with their pelvis slightly rotated. Add about 20 mm. Common widths land in the 135-145 mm range. A flat-to-slightly-curved profile with a short cutout works well for long days.
Road race
With an aggressive drop (10 cm or more), the pelvis rotates substantially and the contact point moves forward. Add only 10-15 mm. Race saddles typically sit in the 130-143 mm range and often feature a flatter, firmer profile that lets you slide forward and back to manage terrain changes.
Mountain bike
MTB riders frequently shift on the saddle, stand for descents, and weight the rear for technical sections. Add 20-25 mm. The added padding and width help absorb chatter while still allowing the rider to slide back behind the saddle on steep drops. A slight tail rise can also help.
TT and triathlon
Time trial position rotates the pelvis nearly horizontal, putting the entire pubic arch on the nose of the saddle. Standard center-cutout saddles are uncomfortable here; instead, look at split-nose designs like the ISM PN, Cobb, or Dash models that completely remove material under the perineum. Width is measured at the rear pad and is less critical than nose design.
Cutout, Split-Nose, and Flat Designs
Width gets you most of the way to comfort. The next variable is the saddle's top profile and whether it has a relief channel for soft tissue.
Flat / no cutout
A continuous, lightly padded surface. Works for riders with neutral soft-tissue anatomy who experience pressure relief simply from the sit bones being well-supported. Often preferred by racers because nothing interrupts the ability to slide fore-aft.
Center cutout
An oval or rectangular hole in the center of the saddle removes material from under the perineum, reducing pressure on the pudendal nerve and arteries. This is the most popular relief design and works well for endurance road, gravel, and most MTB use cases.
Center channel (relief groove)
Instead of a hole, a depressed channel runs down the center. The material is still there but is dropped below the surface. Often slightly more durable than a true cutout and a good middle ground for riders who find cutouts pinch the edges.
Split-nose
The front of the saddle is divided into two padded prongs with no material between them. Originally a TT design, split-nose saddles have moved into endurance road and bike-fit-driven setups for riders prone to numbness. They work especially well for riders with wide pubic arches who feel pressure on both sides of the perineum.
A Note on “Men's” vs “Women's” Saddles
Marketing splits saddles by gender, but the actual fit variable is sit bone width and soft-tissue anatomy - both of which vary widely within each gender. Women on average have wider sit bones, which is why “women's” saddles tend to start at 143 mm rather than 130 mm. Pick the width and cutout that matches your measurements, regardless of the marketing label on the box.
Once you know your width and preferred relief style, brand reputation narrows the field quickly. Fizik and Prologo dominate the road race and endurance segment with cutout and short-nose designs; Ergon and Selle Royal cover MTB and upright/commuter use; and Brooks England leather saddles remain the touring benchmark. For shape-by-shape recommendations across price tiers, see the best saddles of 2026.
Saddle Break-In and Adjustment Period
A new saddle takes time to evaluate fairly. Foam, leather, and your own soft tissue all need to settle before a verdict makes sense.
- Start level.Use a small spirit level (or a phone app) across the saddle's nose and tail. A perfectly level saddle is the right starting point for almost everyone.
- Then tilt the nose down 1-2°if you feel pressure on the perineum or pubic arch. Avoid tilting more than 3° - you'll start sliding forward and loading your hands.
- Set fore-aft (setback). With your crank horizontal, a plumb line dropped from the front of your forward knee should fall over the pedal axle (KOPS). This positions your weight correctly over the sit bones.
- Ride 3-5 sessions of at least an hour before judging. Initial soreness from any new saddle - even the right one - usually fades within the first two or three rides as your soft tissue adapts.
For more on the small adjustments that make the difference between tolerable and comfortable, see our Saddle Comfort Tips guide.
When to Replace a Saddle
Saddles wear out gradually and most riders keep them too long. Watch for:
- Foam compression.Press your thumb into the saddle next to the sit bone area. If it feels noticeably softer and recovers more slowly than the rest of the saddle, the foam has packed out. This typically happens at 15,000-25,000 km or 3-5 years for daily riders.
- Cover damage. Cracked or peeling cover material stops protecting the foam underneath. A saddle with exposed foam will deteriorate quickly.
- Bent or cracked rails. Bent steel or titanium rails are usually safe to ride but indicate a crash impact; cracked carbon rails are a safety issue and should be retired immediately.
- Persistent numbness despite proper fit.If you measured correctly, set the saddle level, and gave it a fair break-in but still get numbness, the saddle shape isn't working for your anatomy. Try a cutout, split-nose, or different width before assuming the issue is unsolvable.
Top-Rated Saddles
Saddles available in multiple widths for road, gravel, and MTB fits.
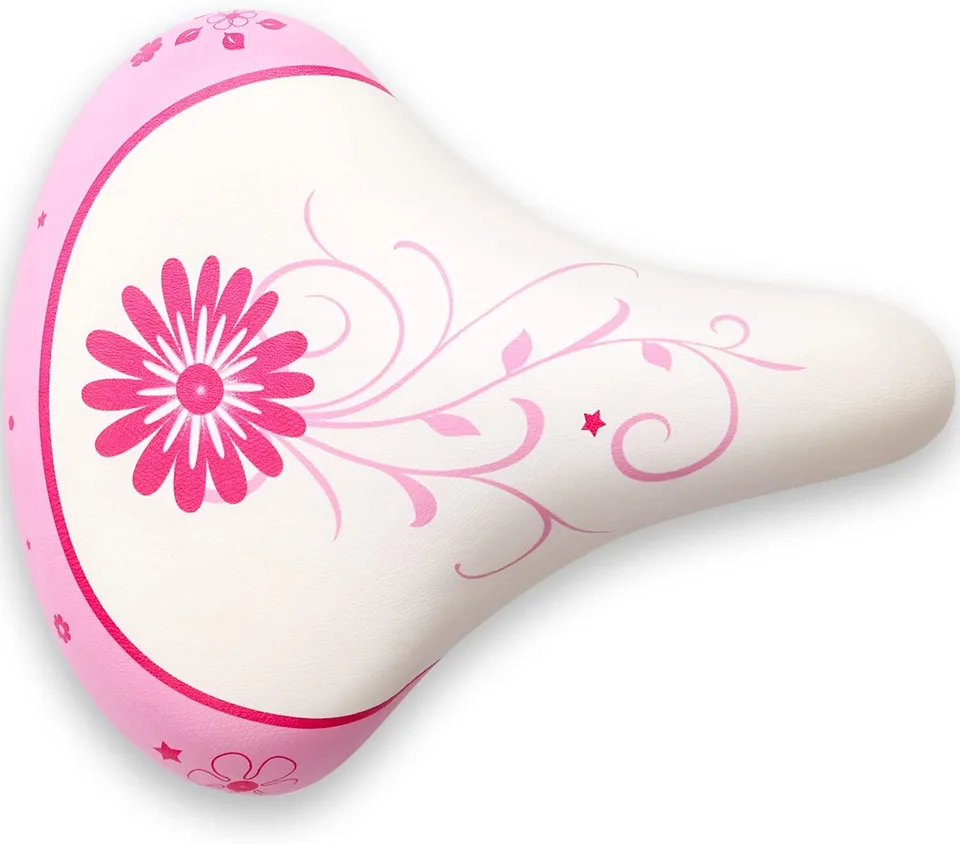
Avasta
AVASTA Kids Bicycle Saddle
Standard saddle rail spacing fits most kids' seatpost clamps. Designed primarily for 12-20" wheel kids' bikes; larger riders may prefer a wider adult saddle.
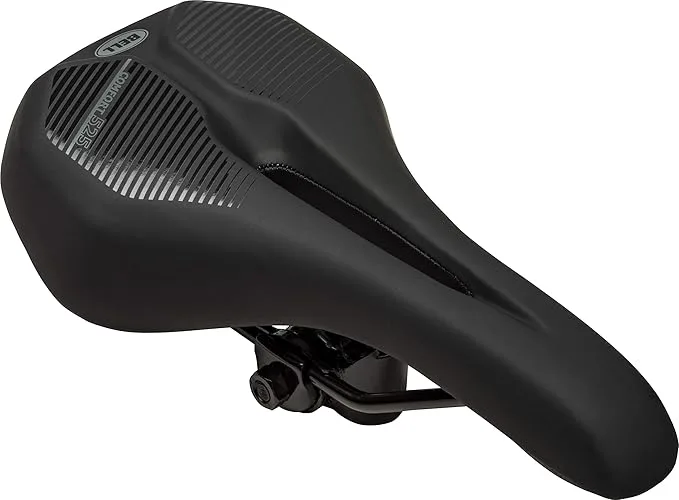
Bell
Bell Comfort 525 Sport Saddle
Comfort sport profile for road, mountain, and hybrid bikes; confirm rail compatibility with your seatpost.
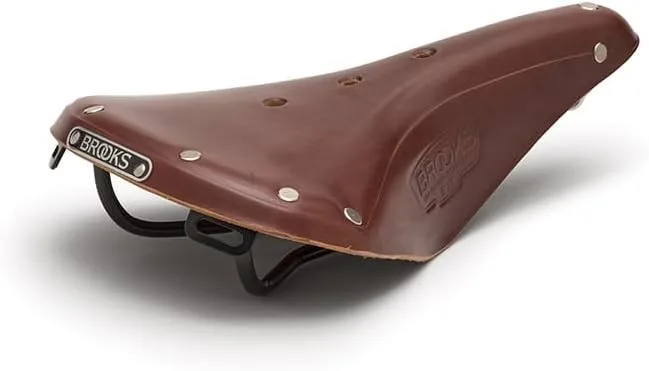
Brooks England
Brooks England Brooks B17
Fixed width 155 mm; fits sit-bone 130-160 mm; requires break-in period (50-100 miles)
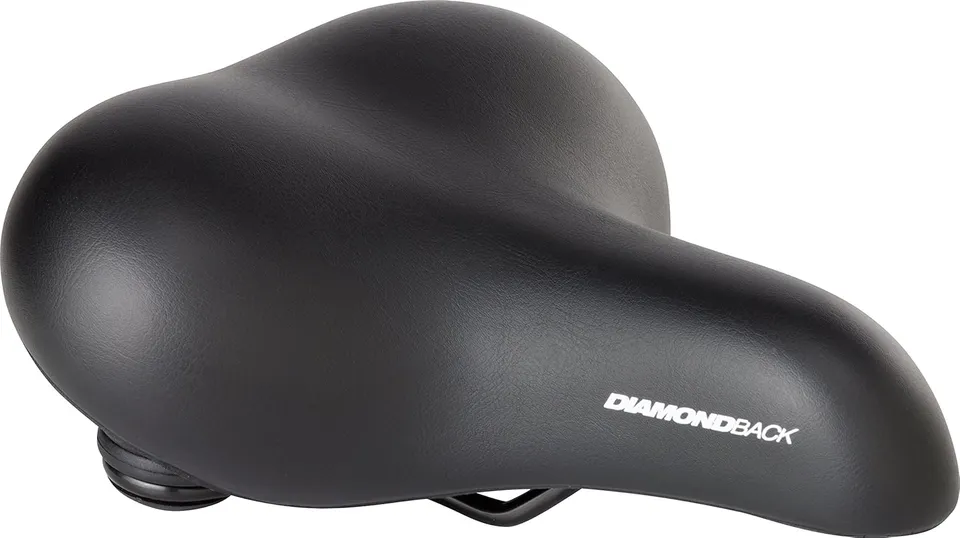
Diamondback
Diamondback Bicycle Saddle
Mid-width recreational saddle - best suited to upright hybrid, comfort, cruiser, or commuter bikes. Steel rails fit any standard 7 mm seatpost clamp.

Elite Bmx
Elite Bmx Elite Bicycle Saddle
Standard rail mounting fits Elite BMX Stealth, Pee Wee, Destro, and Outlaw frames as well as most other BMX seatpost clamps. Saddle height for street BMX is typically inseam × 0.7-0.85.
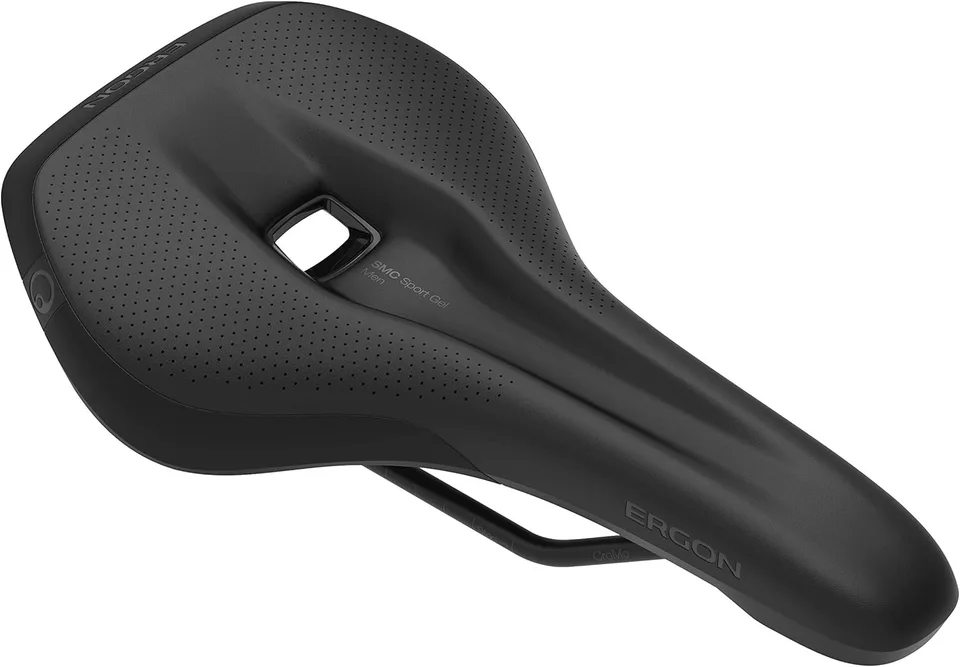
Ergon
Ergon SM Sport
Available widths 130, 140, 150, 160 mm via sit-bone width measurement; fits sit-bone 110-170 mm
As an Amazon Associate we earn from qualifying purchases. This helps support our free calculators.
Frequently Asked Questions
Conclusion
Saddle width is the single most important variable in cycling comfort. Get it right and most other saddle complaints - numbness, soreness, hot spots - quietly disappear. Get it wrong and no amount of padding or chamois cream will fully fix the problem. Measure your sit bones, apply the right adjustment for your riding position, and start with a level saddle at proper setback. The investment of an hour and a piece of cardboard pays back over thousands of comfortable kilometers.
Key Takeaways
- Measure first, shop second.Sit bone width varies by 70 mm across adults; don't guess.
- Add a position adjustment.+25-30 mm for upright, +20 mm for endurance, +10-15 mm for race, +20-25 mm for MTB.
- Cardboard works.A DIY imprint test gets within ±3 mm of professional pressure mapping - free and reliable.
- Cutouts solve numbness. If a correctly-sized saddle still causes nerve compression, switch to a center cutout or split-nose design.
- Set it level, then tilt 1-2° nose down only if you feel perineal pressure. Avoid extreme tilt.
- Give it 3-5 rides. Initial soreness is normal; persistent numbness or hot spots is not.
- Width beats padding. Heavy padding can increase soft-tissue pressure - firmness is fine when the width is right.
Ready to dial in your fit? Start with our Saddle Width Calculator for a width recommendation, then use the Saddle Size Calculator to refine length and shape. Once width is sorted, set your saddle height with the 109% inseam method. For deeper troubleshooting on comfort, read our Saddle Comfort Tips, and tie everything together with the Complete Bike Fitting Guide.
Related Calculators & Tools
Estimate ideal saddle width from your sit bone measurement
Match saddle dimensions to your riding style and anatomy
Set the right saddle height once you have width sorted
Confirm overall frame fit before fine-tuning the saddle
Continue Reading

Solve discomfort with smart selection and positioning

Frame size, standover height, and reach explained

Optimize reach and handling with the right stem

Dial in saddle height, reach, and handlebar position