Mountain Bike Tire Pressure Guide 2026 | XC, Trail, Enduro & DH
How-To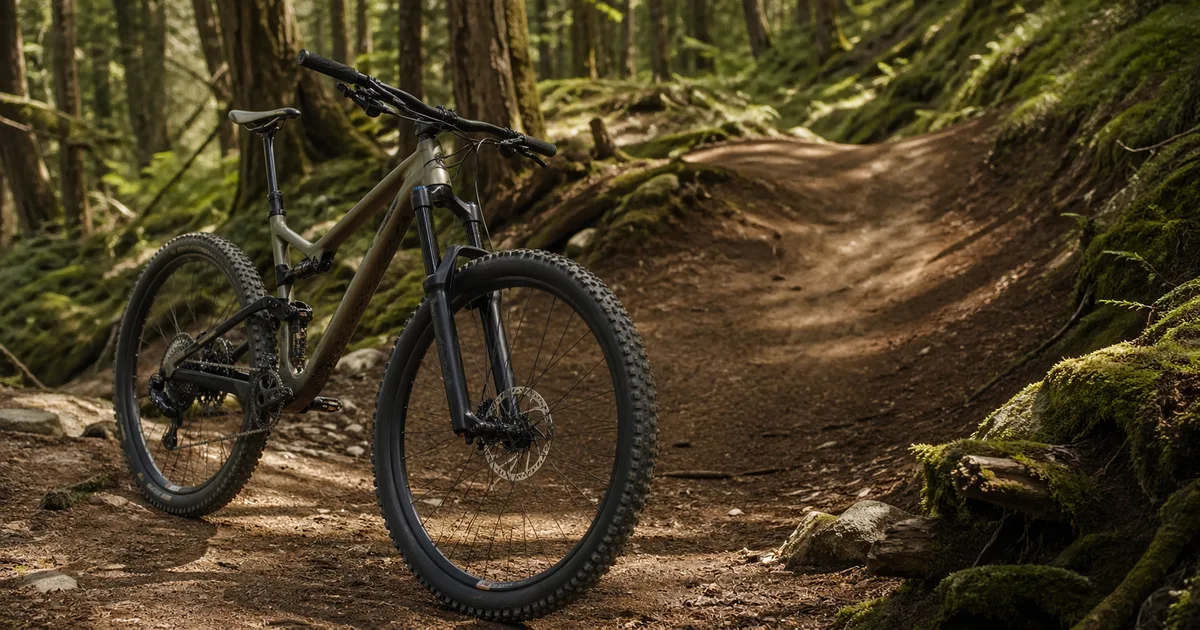
Tire pressure is the single cheapest performance lever on a mountain bike, and it's also the one most riders get wrong. Run too much air and the tire skips across roots instead of biting; run too little and you'll burp sealant on the first hard corner or dent a rim on a square-edge hit. Modern MTB tires are wide, supple, and almost universally tubeless - which means the “30 psi for everything” rule from a decade ago is genuinely dangerous on today's bikes. This guide breaks down PSI by discipline, how to adjust for your weight, how to set up tubeless cleanly, and how to use inserts to push pressure even lower without paying for it in flats.
Quick Answer
For a 165 lb (75 kg) rider on tubeless 2.4” tires: start at 22 psi front / 24 psi rear for XC, 20/23 psi for trail, 18/22 psi for enduro, and 22/26 psi for DH (with inserts). Adjust by roughly ±1 psi per 15 lbs from that baseline. Use our Tire Pressure Calculator for a number tailored to your exact setup.
MTB Pressure Tools & Calculators
Before you start eyeballing PSI on the trailhead, get a personalized baseline. These free calculators take seconds and give you a number you can refine from there - no account required.
Plug in rider weight, tire width, and discipline to get front and rear PSI recommendations
Confirm your frame size first - pressure can't fix a bike that's the wrong fit
Compare 27.5” and 29er options and verify clearance for wider casings
Lower pressure changes rolling circumference - recalibrate your bike computer
Why MTB Pressure Is Different
Road tire pressure follows a relatively neat formula: narrow casing, smooth surface, predictable load. Mountain biking throws all of that out. A modern trail tire is 2.3-2.6” wide, has a casing that's actively designed to flex around obstacles, and has to survive impacts that range from soft loam to square-edge granite. Air pressure is only one part of how the tire supports you - the casing itself does just as much work.
Casing flex matters more than air spring
On a road bike, the air column is essentially the entire suspension. On a mountain bike, the casing's sidewall stiffness, the tread block geometry, and the rim width all combine with air pressure to determine how the tire behaves. That's why a 22 psi reading on a stiff DH casing feels firm while the same 22 psi on a lightweight XC tire feels squirmy. You're tuning the whole system, not just the gauge number.
High volume changes the math
A 2.4” tire holds roughly four times the air volume of a 25 mm road tire at the same pressure. That huge air spring is more forgiving, more progressive, and far less sensitive to small pressure changes - but it also means small changes have a bigger qualitative effect on grip and damping. One PSI matters more on dirt than on tarmac.
Terrain is unpredictable
Road riders pick a pressure for the day. MTB riders pick a pressure for an entire trail network where the next 30 seconds could be polished roots, then loose-over-hardpack, then a rock garden. Your pressure has to compromise across all of it. That's why the ranges below are bands, not single numbers - and why testing matters more than copying someone else's setup.
Why we don't list a single “correct” PSI
A 140 lb XC racer on a lightweight 2.25” tire and a 200 lb enduro rider on a 2.5” DD casing might both run 22 psi rear - for completely different reasons. Pressure is one variable in a system that includes weight, tire volume, casing stiffness, rim width, and riding style. Always start with a baseline and adjust by feel.
PSI Ranges by Discipline
These ranges assume a 165 lb (75 kg) rider on tubeless 2.4” tires with modern 30 mm internal-width rims. Front pressure is listed first. If you're lighter, drop a couple of PSI; heavier, add. We cover weight scaling in detail in the next section, and our Tire Pressure Calculator will do the math for you.
Cross-Country (XC): 22-28 psi
XC riders prioritize rolling speed and pinch-flat protection on firmer trails. Tires are typically 2.25-2.4” with light, fast casings. Higher pressures keep the tire from squirming through switchbacks at speed and reduce the chance of bottoming a thin sidewall on a rock. If you're racing on hardpack and gravel access roads, the upper end of the range makes sense. On rooty singletrack you can drop toward 22 psi for grip.
Trail: 20-26 psi
Trail bikes are the everyday crossover - fast enough to pedal all day, capable enough to handle rough descents. Tires are usually 2.4-2.5” with mid-weight casings. Most trail riders land somewhere around 22 psi front / 24 psi rear. Drop a PSI for wet, loose conditions; add one for rocky or pinch-flat-heavy terrain.
Enduro: 18-24 psi (front), 20-26 psi (rear)
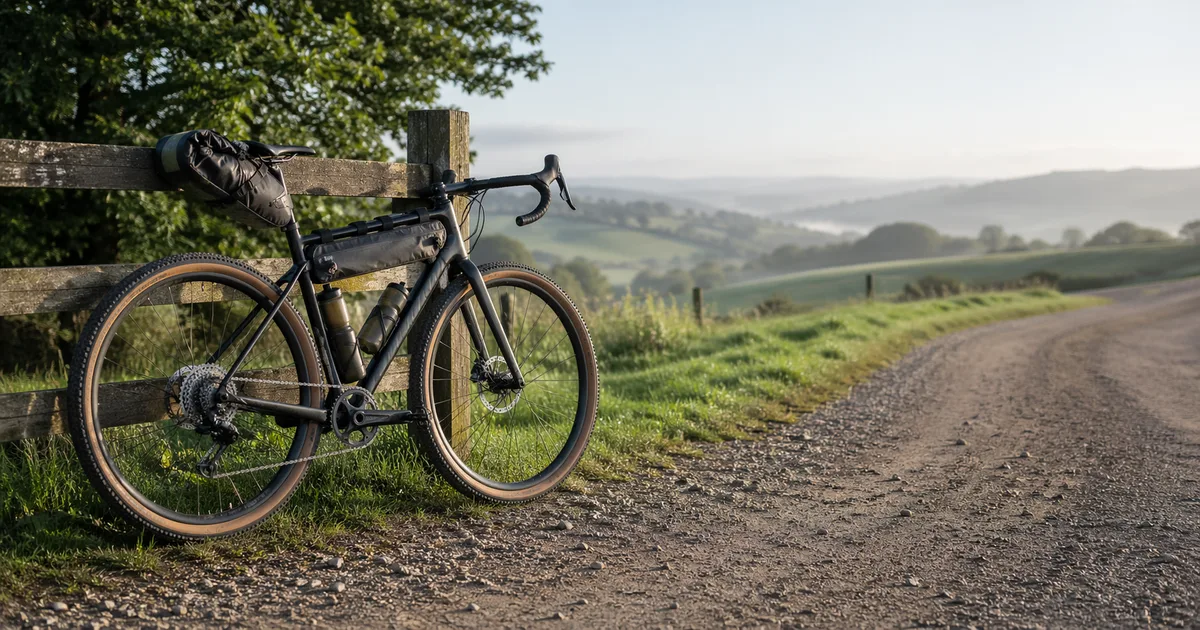
Enduro tires are heavier, with reinforced casings (Maxxis DD, Schwalbe Super Trail, Continental Enduro) that allow noticeably lower pressure without folding. The front can run very low for grip because it carries less weight and rarely takes pinch-flat hits. The rear has to compromise - low enough for traction on climbs, firm enough to survive square-edge hits at speed. WTB is another popular casing choice for trail and enduro builds, especially on gravel-leaning do-it-all rigs. For tread- and casing-by-casing recommendations, see our best tires of 2026.
Downhill (DH): 22-28 psi (with inserts)
Counterintuitively, DH pressures are often higher than enduro. The impact loads are bigger, the tires are heavier (Maxxis DH casing, Schwalbe Super DH), and almost everyone runs inserts. Pressure has to support the bike through repeated big hits without the rim making contact with the rock. Inserts let you run the lower end of this range without rim damage.
Quick PSI Reference (165 lb rider, 2.4” tubeless)
| Discipline | Front | Rear | Notes |
|---|---|---|---|
| XC | 22-26 psi | 24-28 psi | Light casings, race-day firm |
| Trail | 20-24 psi | 22-26 psi | All-rounder middle ground |
| Enduro | 18-22 psi | 20-24 psi | DD casing recommended |
| DH | 22-26 psi | 24-28 psi | Inserts almost mandatory |
Adjusting for Rider Weight
The single biggest variable in tire pressure is the load on the tire, which is mostly your body weight (plus pack, bike, and any gear you're carrying). The simplest rule of thumb that holds up in practice is ±1 psi per 15 lbs(about 7 kg) from a 165 lb baseline. Apply that adjustment to both ends and then fine-tune by feel.
Worked example
Say you're a 195 lb trail rider. That's 30 lbs over the 165 lb baseline, so add roughly 2 psi to both ends: 24 psi front / 26 psi rear. A 135 lb rider on the same bike would subtract 2 psi: 20 psi front / 22 psi rear. The same logic applies across XC, enduro, and DH baselines.
Adjust front and rear separately
Heavier riders don't add weight evenly - most of the extra mass sits over the rear wheel. If you're more than 20 lbs above baseline, consider adding an extra PSI just to the rear on top of the symmetric adjustment. Likewise, very light riders can often drop the front a touch lower than the formula suggests for cornering grip.
Pro tip
If you ride with a hydration pack or full enduro kit, weigh yourself withthe pack on. A loaded enduro rider can easily add 10-15 lbs of gear, which is a full PSI worth of adjustment most riders forget to make.
Front vs Rear Pressure
Almost every modern MTB pressure recommendation runs the rear 2-3 psi higher than the front. There are two solid reasons for this asymmetry, and they hold across every discipline.
Weight bias
Even on a slack enduro bike, roughly 55-60% of your combined weight sits over the rear axle when seated, and that climbs higher when you're pedaling uphill or hitting a square edge under power. The rear tire works harder, deforms more, and needs more air to support that load.
Pinch flat risk
The rear is the wheel that takes the brunt of impacts when you're weighting the bike or pumping through a rough section. It's far more likely to bottom out on a rock and either burp sealant or dent the rim. Adding a couple of PSI to the rear is cheap insurance that doesn't cost much grip - the rear tire's job is mostly drive and braking, not cornering bite.
The front needs grip
The front wheel does the steering. When it lets go, you crash. A slightly under-pressured front tire conforms to the trail and gives you confidence to lean hard in corners. As long as you're not hitting the rim on rocks, a soft front is almost always faster and safer.
Tubeless Setup: Sealant & Burping
If you're still riding tubes on a modern MTB, switching to tubeless is the biggest single upgrade you can make - bigger than any tire pressure tweak. Tubeless lets you run 4-6 psi lower without pinch flats, eliminates most puncture stops, and reduces rotating weight.
Picking a sealant
The three workhorses are Stan's NoTubes (the original, fast sealing, dries out in 2-3 months), Orange Seal Endurance (slower sealing but lasts longer), and Muc-Off No Puncture Hassle (cleaner-looking but pricier). Whatever you pick, use 60-90 ml per tire on a 2.4” casing. Less than 60 ml and small holes don't seal reliably; more than 90 ml is wasted weight.
Seating a stubborn bead
The hardest part of tubeless is the initial seat. If a floor pump won't do it, try these in order: remove the valve core (more airflow), wrap the rim in a second layer of tape if it's loose, soap the bead with dish soap and water, or use a tubeless booster tank. As a last resort, a quick blast from a CO2 inflator almost always seats the bead, but you'll waste some sealant.
Burping - what it is and how to avoid it
A burp is when the tire bead momentarily separates from the rim under a hard side load, releasing air. It's the tubeless equivalent of a pinch flat. To avoid it: don't run pressure below the realistic range for your weight, use a wider rim (30 mm internal or more for trail / enduro), and consider an insert if you keep burping in turns. After a burp, top up with the pump and check the bead is fully seated - you can usually keep riding.
Sealant maintenance
Sealant doesn't last forever. Top up every 2-3 months (latex-based) or 4-6 months (synthetic). A dry tubeless tire offers zero puncture protection and is more likely to burp. Mark a date on your phone - this is the most-skipped maintenance task in mountain biking.
Tire Inserts Explained
Tire inserts are foam rings that sit inside the tire, between the casing and the rim. They do two jobs: they prevent the rim from making contact with rocks during bottom-outs, and they support the sidewall in hard cornering so the tire doesn't fold. The practical benefit is that you can run roughly 2-4 psi lower without the usual penalties.
The main options
- CushCore Pro / XC:The reference standard. Dense closed-cell foam, hardest to install, best impact protection, significantly improves cornering support. Pro version is ~250 g per wheel; XC is lighter at ~190 g.
- Tannus Tubeless: Lighter and easier to install, with good rim protection but less sidewall support than CushCore. Popular for trail riders who want some insurance without the weight penalty.
- Vittoria Air-Liner: Available in XC, Trail, and DH versions. Lighter than CushCore Pro, with a similar installation difficulty. Good middle-ground option.
- Rimpact Original / Pro: Two-density foam with a firmer outer ring. Strong at preventing rim strikes; lighter than CushCore.
The trade-off
Inserts add 150-300 g per wheel of unsprung, rotating weight - the worst kind for acceleration and suspension performance. For XC racers chasing every gram, they're usually not worth it. For enduro and DH, they're effectively standard equipment. Trail riders sit in the gray zone: if you're flatting or burping regularly, an insert is the answer.
Trail-Side Pressure Tuning
The numbers above are starting points. The actual right pressure for you, on this trail, today, comes from a short tuning session. Here's the protocol:
- Start at the middle of your discipline's range (e.g., 22 psi front / 24 psi rear for trail).
- Ride a familiar loop with a mix of cornering, climbing, and chunky descent.
- If you wanted more grip in corners or felt the tire skipping over roots, drop 1 psi.
- If you felt the tire fold in a hard turn, heard the rim ping a rock, or burped, add 1 psi.
- Repeat until small changes don't obviously improve things. You've found your number.
The “thumb test” myth
Squeezing the tire with your thumb tells you almost nothing useful. A 22 psi tire and a 28 psi tire feel nearly identical under thumb pressure - the casing dominates the feel at static loads. Use a digital gauge. Always.
Adjust for conditions
Wet roots and loose-over-hardpack reward 1 psi lower for grip. Bike park days with repeated chunky descents reward 1 psi higher for impact protection. Long shuttle runs in heat can raise tire pressure by 1-2 psi from friction; bleed at the top if you started near the upper end. For more on adapting fit and setup to terrain, see the mountain bike sizing guide.
Common MTB Pressure Mistakes
Over-inflating from old habits
Riders who came up on tubes and 2.1” tires often default to 30-35 psi out of pure muscle memory. On a modern 2.4” tubeless setup, that's 8-10 psi too high for almost any discipline. If you haven't revisited your pressure since switching to wider tires or going tubeless, you're almost certainly running too much air.
Ignoring the tire's sidewall spec
Every MTB tire has a min and max PSI printed on the sidewall. Going below the minimum risks burping and casing damage; going above maxes out the casing's ability to grip. The manufacturer's range is a hard limit, not a suggestion.
Skipping the sealant top-up
A tubeless tire with dried-out sealant looks identical to a fresh one, right up until the moment a thorn opens it up on the trail. Top up every couple of months, and shake the wheel before each ride to keep the sealant distributed.
Mismatched front and rear
Some riders run identical PSI front and rear “to keep things simple.” That ignores everything we just covered about weight bias and pinch flat risk. Always run the rear at least 2 psi higher.
Setting and forgetting
Tire pressure drifts. A tubeless tire typically loses 1-2 psi per week even when sitting in the garage. Check before every ride - this takes ten seconds and is the single most-impactful pre-ride check, more than chain lube or suspension sag.
Pump Choice & Gauge Accuracy
Your pressure recommendations are only as good as the gauge reading them. Most cheap floor pumps have analog gauges that are accurate to ±2 psi at best and use a 0-160 psi scale where the bottom 30 psi is a tiny sliver. That's useless for MTB.
Get a digital floor pump
A digital floor pump (Topeak JoeBlow Booster, Lezyne Digital Pressure Drive, Bontrager Charger Elite) reads to 0.5 psi accuracy in the range that matters. They're also useful for seating tubeless tires thanks to high-volume chambers.
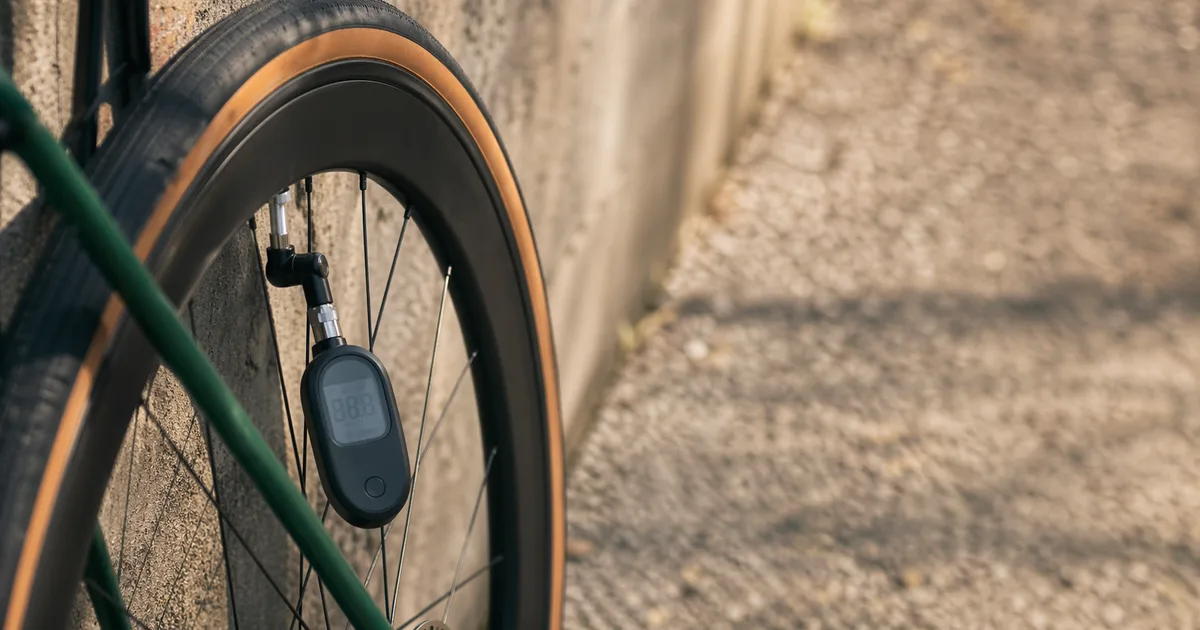
Or use a low-range standalone gauge
A dedicated low-range digital gauge (Topeak SmartGauge D2X, Schwalbe Airmax Pro) reads 0-60 psi with ±0.1 psi accuracy and is small enough for the trail. This is what you want for precision tuning - check pressure with the gauge, top up with the pump, then re-check with the gauge.
Shock-pump precision (and when not to use it)
A shock pump is wildly accurate at low volumes - it has to be, for tuning suspension. Some riders use one to dial in the last PSI on tires. It works, but it takes forever (low volume per stroke) and you risk damaging the chuck on hard tire valves. Use it for verification, not as your primary pump.
Once you have an accurate gauge, this whole guide stops being guesswork. For the broader principles of how pressure affects rolling resistance and grip across all bike types, see our general bike tire pressure guide and the related bike fitting guide for the rest of your contact-point setup.
Recommended MTB Tools
Accurate gauges and pumps for trail-side pressure tuning.
Topeak
Topeak SmartGauge D2 Digital Tire Pressure Gauge
Digital tire pressure gauge reading up to 250 PSI / 17 bar with a swivel head that fits both Presta and Schrader valves. Pairs with our tire pressure calculator.
Lezyne
Lezyne Classic Floor Drive 3.5 Bicycle Floor Pump
All-metal floor pump rated to 220 PSI with an analog 3.5" gauge and ABS-1 Pro chuck for Presta and Schrader valves. Pairs with our tire pressure calculator for pre-ride setup.
Crankbrothers
Crankbrothers M19 Multi-Tool
19-function bike multi-tool with hex, Torx, screwdriver, and chain breaker. The go-to ride-along tool for saddle height, seatpost, and on-the-road adjustments.
As an Amazon Associate we earn from qualifying purchases. This helps support our free calculators.
Frequently Asked Questions
Conclusion
Tire pressure is small numbers with big consequences. A 2 psi swing changes how a bike corners, climbs, and survives rocks - and yet it's the cheapest, fastest setup change you can make. Get a digital gauge, start from the discipline-appropriate baseline, adjust for your weight, and tune from there. Once your pressure is dialed, the rest of the bike starts working the way the engineers intended.
Key Takeaways
- Start with discipline-appropriate ranges:XC 22-28 psi, trail 20-26, enduro 18-26, DH 22-28 with inserts.
- Scale for weight:±1 psi per 15 lbs from a 165 lb baseline; add a touch extra to the rear if you're well above average.
- Run the rear higher:Always 2-3 psi more than the front to handle weight bias and pinch-flat risk.
- Go tubeless:The biggest single upgrade for grip and puncture resistance - use 60-90 ml of sealant and top up every 2-3 months.
- Add inserts when needed:CushCore, Vittoria Air-Liner, or Tannus let you drop 2-4 psi without burping or rim damage - almost mandatory for enduro and DH.
- Tune one PSI at a time:Drop until something goes wrong (fold, burp, rim ping), add one back. That's your number.
- Use a real gauge:Digital floor pump or low-range digital gauge. Cheap analog pumps are accurate to ±2 psi - not good enough for MTB.
- Check before every ride:Tubeless tires lose 1-2 psi per week. Ten-second check, huge payoff.
Pressure is one piece of the puzzle. If you're still wrestling with overall fit and feel, run through our mountain bike sizing guide to confirm the frame and cockpit are right, and use the Tire Pressure Calculator any time you change tires, terrain, or season. Small numbers, big rides.
Related Calculators & Tools
Get a personalized PSI starting point by weight and tire
Find the right MTB frame size before fine-tuning fit
Compare 27.5 vs 29er and check tire clearance
Calibrate your bike computer for accurate speed and distance
Quick frame-size estimate for any bike type
Sizing for drop-bar bikes that share MTB tire territory
Continue Reading
Reach, stack, and trail-specific sizing explained
How gravel sizing borrows from both road and MTB
General tire pressure principles for road, gravel, and MTB
Dial in saddle height, reach, and handlebar position