Reach, stack and standover: bike size explained
GuideMatch model year, frame size and measurement definitions first.
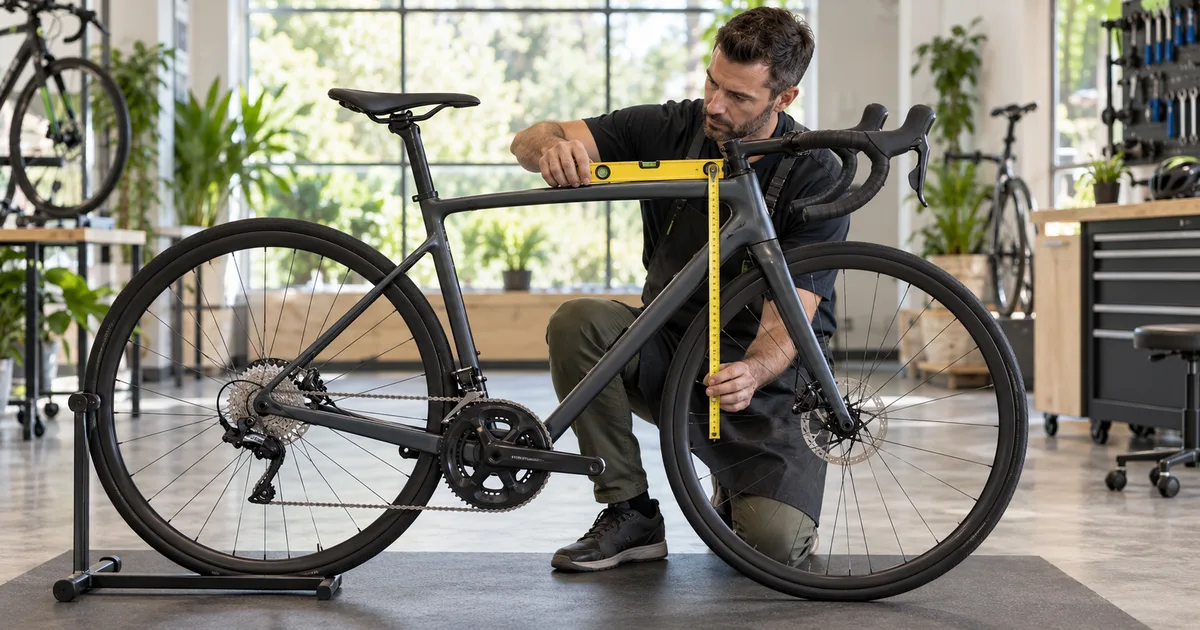
Reach and stack tell you where the front of the frame sits relative to the bottom bracket. Standover tells you how high the top tube is above the ground. Read together, they explain why two bikes with the same size label can offer quite different positions and clearance.
The trick is to compare like with like. Frame reach is not the distance your arms stretch to the handlebars, and standover height is not the gap between you and the frame. Here is how to read each number without giving it more meaning than it has.
Reach and stack share a reference point
Both are measured from the center of the bottom bracket to the top-center of the head tube. Reach is the horizontal separation; stack is the vertical separation. They are not measured along a tube, and neither includes the stem, handlebars or saddle.
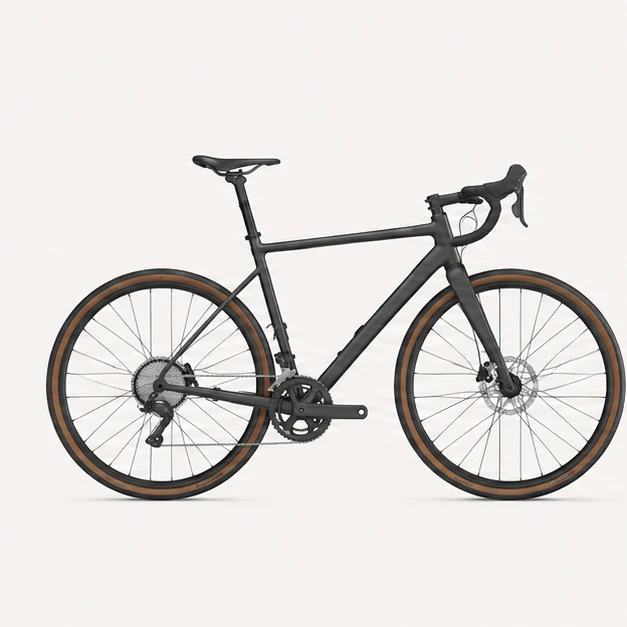
The diagram uses invented example dimensions, not manufacturer models. Its bicycle illustration is schematic. The coordinate directions explain the measurements; do not use the artwork itself to measure a frame.
Frame reach is not saddle-to-handlebar reach. Saddle setback, effective seat angle, stem length and angle, spacers, bar reach and hood position all affect the final contact points. A higher stack is not automatically a more comfortable bike if the bars also become too far away.
Standover is a separate ground-based measurement
Standover is the vertical distance from the ground to the top of the top tube at the manufacturer's stated location. A sloping tube gives different heights at different points. Tire and wheel configuration also matter. Check the chart definition before comparing two values.
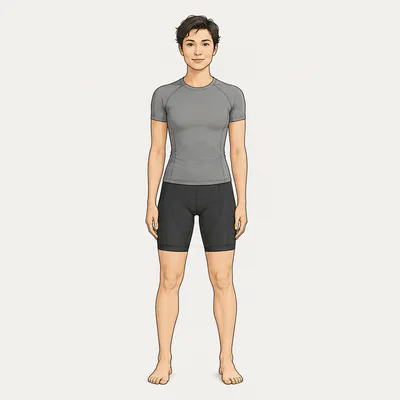
Cycling inseam helps screen clearance, but a barefoot measurement and a physical check in riding shoes are not identical. Straddle the actual bike where you would stop and dismount. Confirm suitable clearance for your intended riding, then check mounting and stopping in practice. There is no single clearance number that settles every bike type and frame shape.
A low top tube or step-through opening does not prove that the saddle can go low enough or the brakes are reachable. Equally, lowering the saddle does not lower the top tube. Use the fit checklist to keep these checks separate.
Why subtracting inseam is only a first check
Suppose a bike lists 780 mm standover and your measured cycling inseam is 810 mm. Subtraction gives 30 mm. That arithmetic is useful, but it is not a certified 30 mm clearance on the bike: your stance, shoes, measurement method and the point on the top tube all matter. Check where the manufacturer took its measurement, then straddle the actual bike where you would put your feet down.
This is especially important on a sharply sloping frame. A low measurement near the seat tube may not describe the height farther forward, where you step off the saddle. A photo can help you understand the shape, but perspective makes it a poor measuring tool. Ask for a measured value or a physical check when the published definition is unclear.
Read the differences, then their consequences
In the illustration, Example B has 10 mm more frame reach and 20 mm more stack than A. Those differences describe a taller and longer frame reference point, not a guaranteed 10 mm change at your hands. Different stems, spacers or bars can change the final position.
Suppose you need a higher handlebar but less hand reach. Simply choosing B because of its stack might worsen the reach problem. Compare achievable cockpit positions, or look for a different model with more stack without the extra length. For actual setup work, use the cockpit reach and stack fit guide.
Do not compress the comparison into one ratio
Dividing stack by reach gives a convenient summary, but it hides the absolute dimensions. An illustrative frame with 540 mm stack and 360 mm reach has the same 1.5 ratio as one with 600 mm stack and 400 mm reach. They are different sizes. A ratio cannot establish that both suit the same rider, or that either has the needed standover and saddle range.
Keep the original reach and stack numbers beside any ratio you use. There is no universal ratio that makes a bike suitable for every beginner, endurance rider or person with limited flexibility.
How the frame becomes a riding position
Start at the top of the head tube and follow the parts toward your hands: headset cover, spacers, stem, bar and, on a drop-bar bike, brake hoods. Each helps place the contact point. Two builds on the same frame can therefore put your hands in different places.
Adding spacers generally moves a stem along the sloping steering axis, so the change has a horizontal component as well as a vertical one. A 10 mm spacer is not automatically 10 mm of extra frame stack; the frame's published stack has not changed at all. Likewise, shortening a stem by 10 mm is not a promise of precisely 10 mm less reach at the hoods. Stem angle and the rest of the cockpit matter.
Where does effective top-tube length fit?
Effective top-tube length describes a horizontal distance between the head-tube and seat-tube reference lines, according to the maker's diagram. It includes the relationship to the seat tube, whereas frame reach starts at the bottom bracket. Different seat angles can produce different top-tube lengths even when frame reach is similar.
That helps explain why seated and standing impressions differ. When seated, your saddle position helps determine how far away the bars feel. When standing on the pedals, you are no longer supported by the saddle. Neither posture is fully described by top-tube length alone.
Measure a comfortable bike before trying to copy it
Record saddle height and setback, then the bar height and the distance to a clearly identified point on the bar or hood. Use the same points on the second bike. A different saddle nose shape can change a nose-to-bar measurement without moving your sitting position by the same amount, so note the saddle model as well.
A tape measure is adequate for useful setup notes, but do not report millimeter-level certainty from an awkward measurement across a bike. If the decision depends on a small difference you cannot measure consistently, let a shop or fitter repeat it. Measurements from a comfortable bike can be a useful reference, provided you describe which contact points you measured and how.
Compare the bikes you are actually considering
- Record the exact model, year, size and frame variant from the brand chart and manufacturer source.
- Enter published reach and stack in millimeters in Geometry Comparison. Include wheelbase and other available measurements with consistent definitions.
- Keep unpublished standover or saddle limits marked unknown; do not substitute another size or a representative brand average.
- Record stem, bars, saddle and spacers separately, then test the achievable contact points on the real bike.
Suspension state and adjustable geometry settings can affect comparisons. Use the manufacturer's stated setup and note any differences. If values conflict, resolve the source before applying the two-size decision framework.
Frequently Asked Questions
Sources and limits
Reviewed September 17, 2026. Sage Titanium's frame stack and reach guide defines both measurements from the bottom-bracket center to the top of the head tube. REI Bike Fitting Basics explains why standover alone is insufficient. Use manufacturer geometry definitions for actual model comparisons. Diagram values are illustrative, and no formula or diagram replaces a test ride or professional fit.