When to Replace a Bike Helmet: Crash and Damage Checks
GuideReplacement is a safety decision. Fit is the next decision: head size, helmet position, straps, and stability.
A bike helmet is easy to overthink after it has bounced off pavement. The honest rule is plain: if the helmet took the hit, retire it. You cannot see every crushed cell inside an EPS liner, and a helmet that did its job once may not do it the same way again.
This guide is intentionally narrow. It is about replacement timing and damage inspection. It is not a shopping ranking, and it is not a fit chart. If you already know the helmet needs to go, use our helmet buying guide to compare models. If you are trying to size a new one, start with the helmet fit checker.
Safety limit before we start
This article does not replace the instructions for your exact helmet or an inspection by the manufacturer, a qualified shop, or another safety professional. If a helmet was involved in an impact, replace it even when the damage is not visible. Internal EPS damage can be hidden under an intact-looking shell.
Quick decision table
| Decision | Use it when | Why |
|---|---|---|
| Replace now | Known crash impact, crushed or cracked liner, shell cracks, failed buckle, torn straps, broken retention system, chemical damage, or a helmet you cannot fit securely. | CPSC-required warnings say impact damage may make a helmet inadequate and may not be visible. BHSI also says cracked or crushed foam means replacement. |
| Stop and inspect | Dropped helmet, unknown storage history, odd creaking, new flat spot, sun-faded shell, missing pads, bad odor, or straps that look tired but still hold. | Some problems are repairable only with manufacturer-approved pads or parts. Others are signs the helmet should be retired. |
| Contact the manufacturer | You are unsure whether a mark is cosmetic, the helmet has unusual construction, or the manual offers an inspection or crash replacement program. | CPSC labeling allows the impacted helmet to be returned to the manufacturer for inspection, or destroyed and replaced. |
| Continue using, with routine checks | No known impact, no visible damage, straps and buckle work, retention holds, certification label is present, and the helmet still fits level and snug. | Age alone is not handled the same way by every source. Follow your model manual and inspect often. |
What this guide covers
Start here when you need to decide whether a helmet can keep riding or should be retired. The best helmets article helps readers choose between road, mountain, commuter, and kids models. The helmet size calculator handles head circumference, size ranges, and the 2-V-1 strap check. The helmet laws guide covers legal requirements by state. This guide stays with replacement questions: hidden crash damage, used-helmet inspection, and when age or storage should make you cautious.
The replacement rules that matter most
1. Replace after a meaningful impact
The U.S. bicycle helmet rule requires a warning that a helmet may be damaged after an impact, may no longer protect against later impacts, and that the damage may not be visible. The same rule says the label must tell the user to return the impacted helmet to the manufacturer for inspection, or destroy and replace it. That is the basis for the conservative answer: if your head or helmet hit something hard in a crash, replace the helmet.
2. Replace if the EPS liner is cracked or crushed
Most bike helmets use EPS foam to manage impact energy by crushing. The Snell Foundation explains helmet function in those terms: the shell stops quickly, while the liner crushes to slow the head more gradually. BHSI is blunt about inspection: cracked or crushed foam means the helmet should be replaced. Do not press, sand, glue, or reshape foam to see if you can save it.
3. Replace if the retention system cannot hold the helmet in place
A good liner does not help much if the helmet leaves your head. CPSC summarizes bicycle helmet testing as including peripheral vision, positional stability, strap retention strength, and impact attenuation. During your home check, retire the helmet if the buckle is broken, strap stitching is failing, the side straps are torn, or the rear dial slips under normal tension.
4. Treat heat and chemicals as real damage risks
CPSC-required labeling must also warn that common substances, including certain cleaners and solvents, can damage a helmet and that the damage may not be visible. Bell and Giro both exclude accidents, misuse, modifications, water or heat damage, improper storage, and failure to follow instructions from warranty coverage. For a rider, the practical version is simple: if the helmet was soaked in harsh cleaner, exposed to solvent, distorted by heat, or stored badly enough that parts changed shape, stop using it until the manufacturer clears it.
A 10-minute bike helmet inspection workflow
- Start with crash history. Ask the boring question first: did the helmet hit the ground, a car, a tree, a wall, a rack, or another hard object? If yes, replace it. Do not let a clean shell talk you out of that.
- Clean it gently. Wipe dirt away with mild soap and water so you can see the shell and straps. Skip degreasers, bleach, ammonia, fuel, insect repellent, and mystery garage chemicals unless the manufacturer manual specifically allows them.
- Look over the outer shell. Search for cracks, deep scrapes, bubbling, warping, brittle spots, bad fading around vents, and any flat area where the helmet used to be curved. A thin plastic shell can hide trouble, so do not stop at the surface.
- Remove loose pads and inspect the EPS. Use bright light. Look for hairline cracks, crushed foam, dents, separation from the shell, or a spot that is thinner than the matching spot on the other side. If you find cracked or crushed foam, replace the helmet.
- Check straps, stitching, and buckle. Tug with normal hand force, not a destructive test. Frayed webbing, broken buckle prongs, cracked plastic, failed stitching, or a buckle that holds only weakly is enough to retire the helmet.
- Test the rear stabilizer and dial. Tighten it on your head. If the dial skips, the cradle is cracked, or the stabilizer pops loose when you nod, the helmet cannot be trusted to stay where it belongs.
- Check fit as if it were new. The helmet should sit level, low on the forehead, with straps forming a V under the ears and one or two fingers under the chin strap. If you cannot get that fit, replace it or try a different size. The fit checker is built for this part.
- Find the date code and manual. Look under pads and inside the shell. If the manual says three years, five years, or a different interval for that model, use that recommendation. If the label is gone and you cannot identify the standard or model, replace it.
What about the three-to-five-year rule?
This is where helmet advice gets messy. Snell recommends replacing a helmet after five years of normal use, based on wear to comfort pads and the energy-absorbing liner. BHSI takes a more skeptical view of blanket age limits: it says helmets do not simply expire and cites lab testing where uncrashed bicycle helmet foam kept performing for many years. At the same time, BHSI still says many manufacturers recommend five years, some recommend three, and heavy sun exposure, cracked shells, poor fit, old standards labels, or abuse can make replacement sensible sooner.
| Source | What it supports | How to use it |
|---|---|---|
| CPSC / 16 CFR 1203.6 | Warnings about invisible impact damage, proper fit, chemical damage, and no helmet protecting against every possible impact. | Treat crash history and hidden damage as replacement-level issues. |
| Snell Memorial Foundation | Helmets work by crushing the energy-absorbing liner; Snell recommends replacement after five years of normal use. | Use five years as a conservative age-based checkpoint, especially for a helmet used often. |
| Bicycle Helmet Safety Institute | Replace after crash, cracked foam, poor fit, missing certification, or visible damage; age alone is debated for uncrashed helmets. | Inspect condition instead of treating a calendar date as the only signal. |
| Helmet manufacturer manual | Model-specific care, cleaning, replacement, and inspection rules. | The manual for your exact helmet should settle brand-specific questions. |
Sources, standards, and what this guide cannot tell you
Source review note
BikeSize source-checked this page on August 28, 2026. The safety claims below were kept conservative on purpose: when an authority or manufacturer did not make a clear public claim, we did not turn it into a rule.
CPSC sets the U.S. bicycle helmet rule. Its business guidance summarizes the tests used for bicycle helmets, including strap strength, positional stability, peripheral vision, and impact attenuation. Cornell's copy of 16 CFR 1203.6 carries the specific required label language on hidden impact damage, chemical damage, fit, and the limit that no helmet protects against every possible impact.
Snell is useful here because it explains the physics in plain terms: the liner crushes to make the head stop less suddenly. BHSI is useful for the inspection checklist because it names the parts to inspect: shell, liner, straps, buckle, rear stabilizer, and standards sticker. Mips is not a replacement rule, but its helmet-safety page explains why angled impacts can add rotational motion and why some helmets include a low-friction layer. That matters when you are shopping after the safety decision, but it does not make a crashed helmet reusable. Our helmet accessories guide covers CPSC and EN 1078 certification and Mips if you are shopping for a replacement.
- CPSC bicycle helmet business guidance: cpsc.gov bicycle helmets guidance
- Federal bicycle helmet labeling rule: 16 CFR 1203.6 labeling and instructions
- Snell helmet FAQ: smf.org helmet FAQ
- BHSI replacement guidance: helmets.org replacement guide
- BHSI inspection checklist: helmets.org inspection guide
- Mips helmet safety explainer: mipsprotection.com helmet safety
- Trek helmet standards page: trekbikes.com helmet safety
- Bell warranty page: bellhelmets.com warranty
- Giro warranty page: giro.com warranty
Helmet checks that pair with this guide
Use the replacement decision first. Then check fit, bike setup, and kid sizing before the next ride.
Turn head circumference into candidate helmet sizes and run the strap checks.
Pick a replacement by riding style after the old helmet is retired.
See how legal expectations change for adults and younger riders.
Add helmet condition to your quick cockpit and brake check.
Replacement options, after the safety call
Do not shop your way out of a doubtful inspection. Decide whether the current helmet is safe to keep, then choose a replacement that fits your head and riding. The catalog below uses helmet products already recorded in BikeSize, with fit notes where the source data includes them.
Adult replacement helmets with recorded sizing notes
Road, commuter, and trail options from the current helmet catalog. Check the selected size and color before buying.
Giro
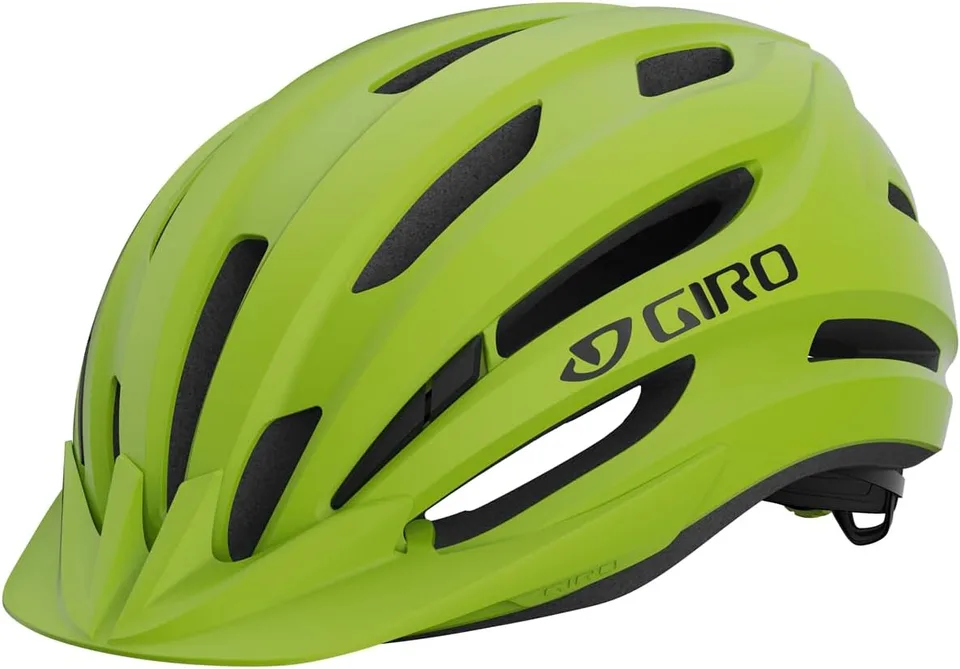
Giro Register MIPS
S 51-55 cm, M 55-59 cm, L 59-63 cm
Bell
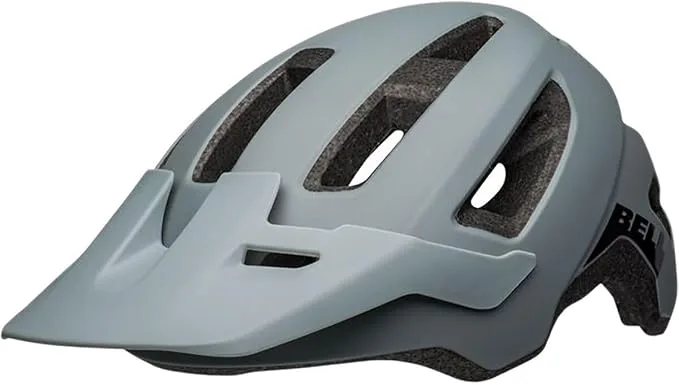
Bell Nomad 2 MIPS
This ASIN is Small/Medium 52-57 cm. Check the selected Amazon size/color before checkout.
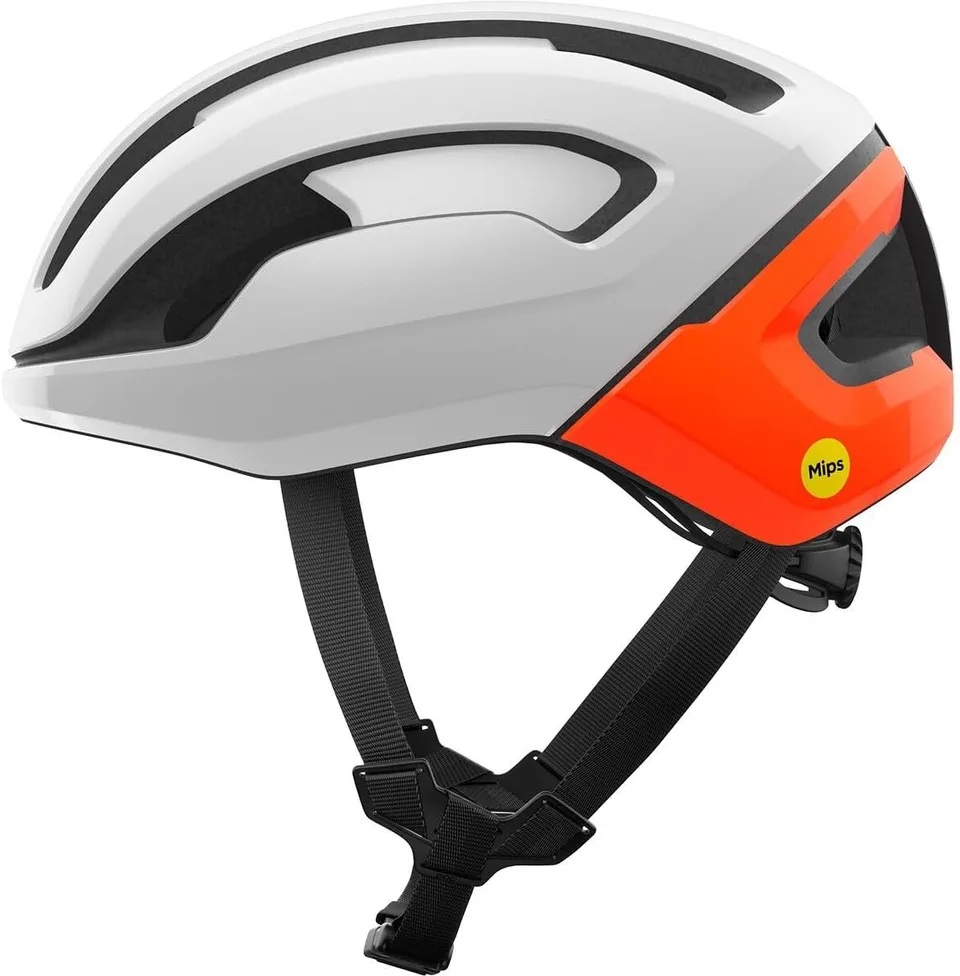
Poc
POC Omne Air SPIN
S 50-54 cm, M 54-58 cm, L 58-62 cm
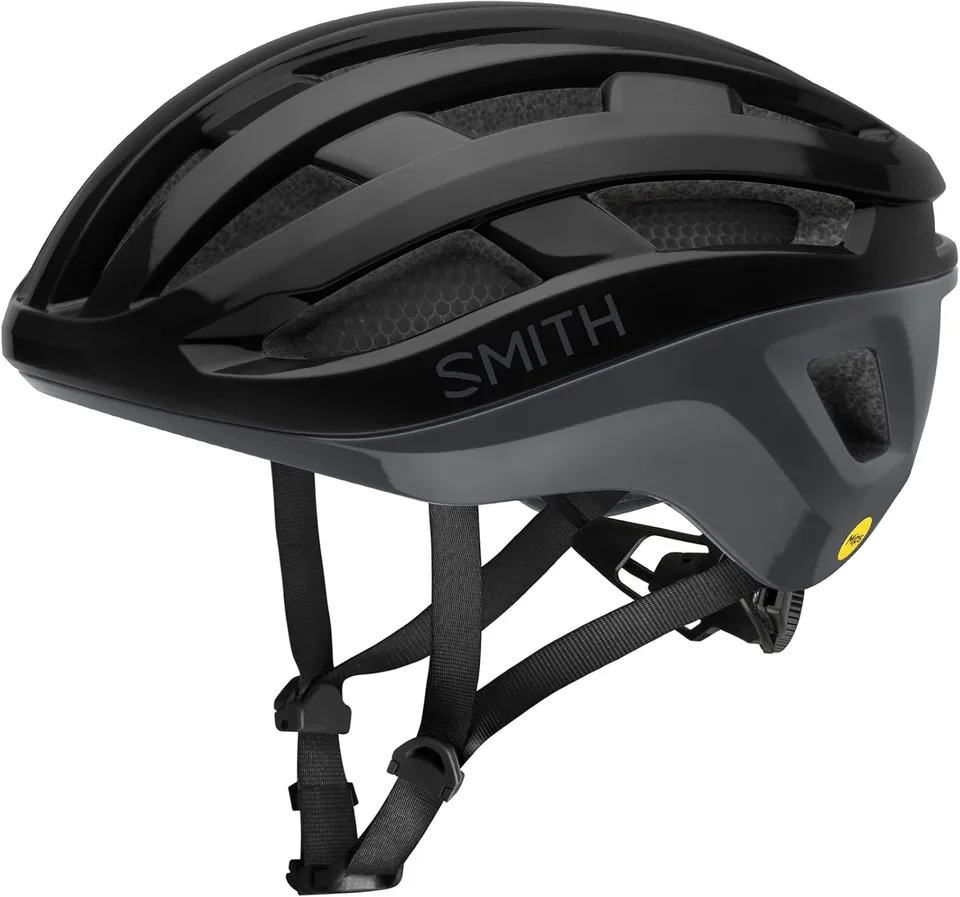
Smith
Smith Persist MIPS
S 51-55 cm, M 55-59 cm, L 59-63 cm
As an Amazon Associate we earn from qualifying purchases. Purchases made through these links help support our free calculators.
Kids helmet replacements to size carefully
Use the product chart and the fit checker. Do not pass down a helmet with unknown crash history.
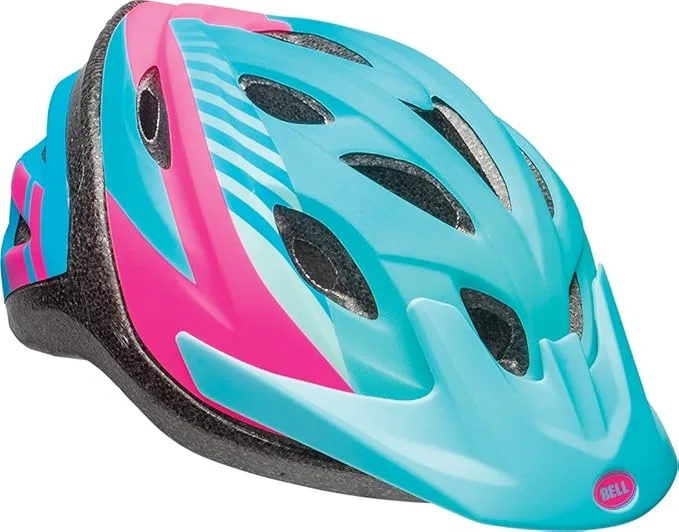
Bell
Bell Axle Youth Bike Helmet
Recommended for youth ages 8-14 and most heads measuring 54-58 cm.
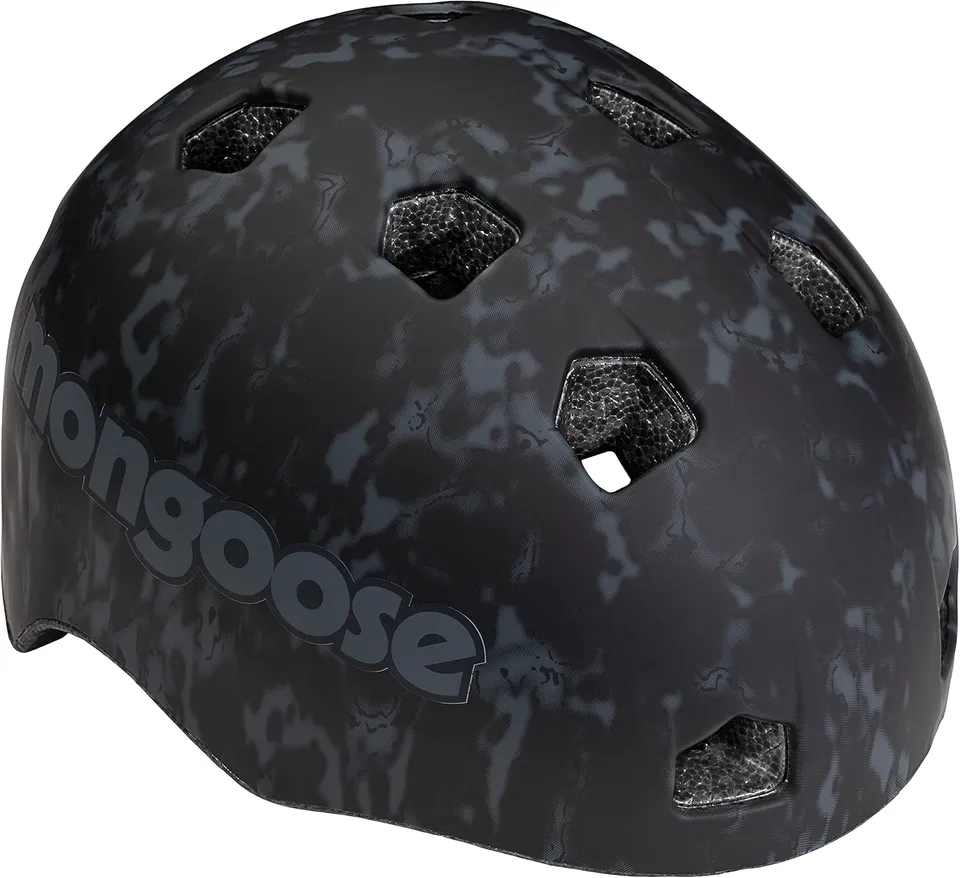
Mongoose
Mongoose All Terrain Kids Bike Helmet (Ages 5-8)
Multisport kids helmet built for ages 5-8. Microshell shell stays light enough for skateboarding and scooter use, while the internal pads and adjustable dial keep it snug as kids grow.
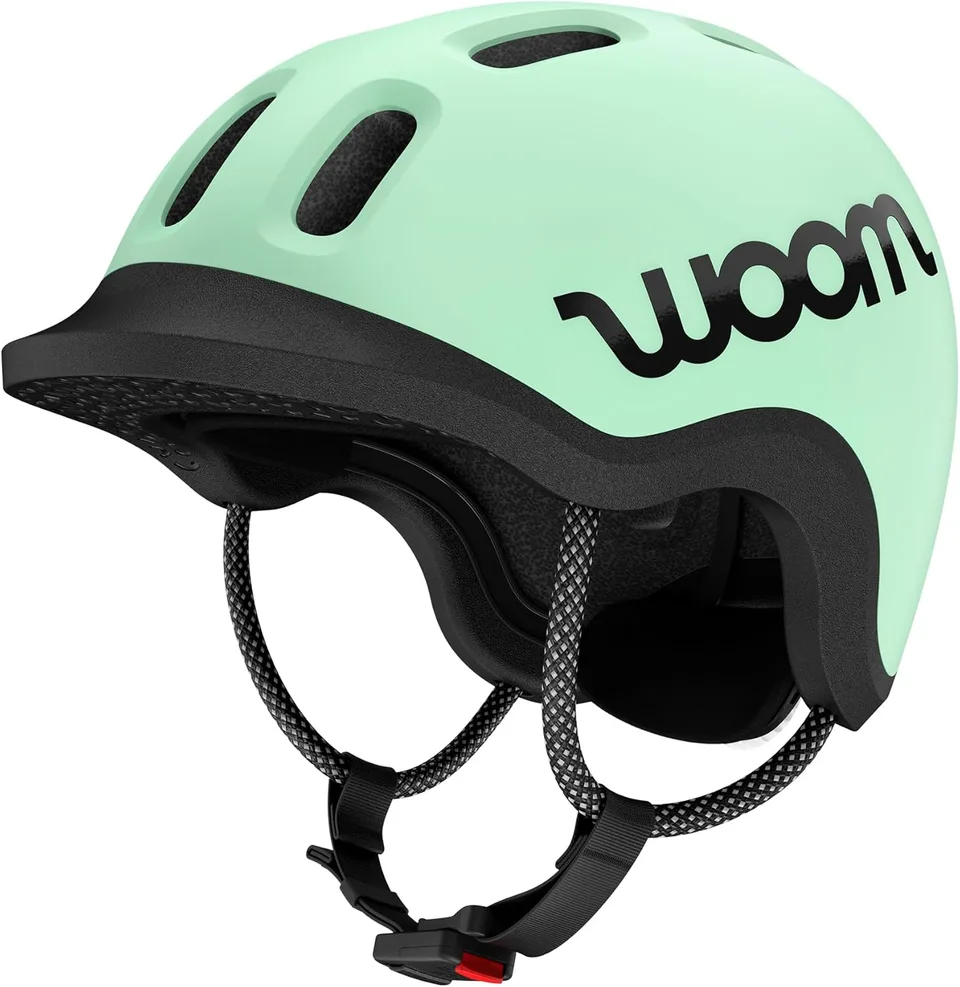
Woom
Woom Ready Kids' Helmet
Sized by head circumference (inches). XS: 18.2"-19.6" (ages 1-3), S: 19.7"-20.8" (ages 3-7), M: 20.9"-22" (ages 7-14). Multiple colorways available.
As an Amazon Associate we earn from qualifying purchases. Purchases made through these links help support our free calculators.