First bike: choose your type and starting size
GuideChoose a category first; calculate size and verify the exact bike next.
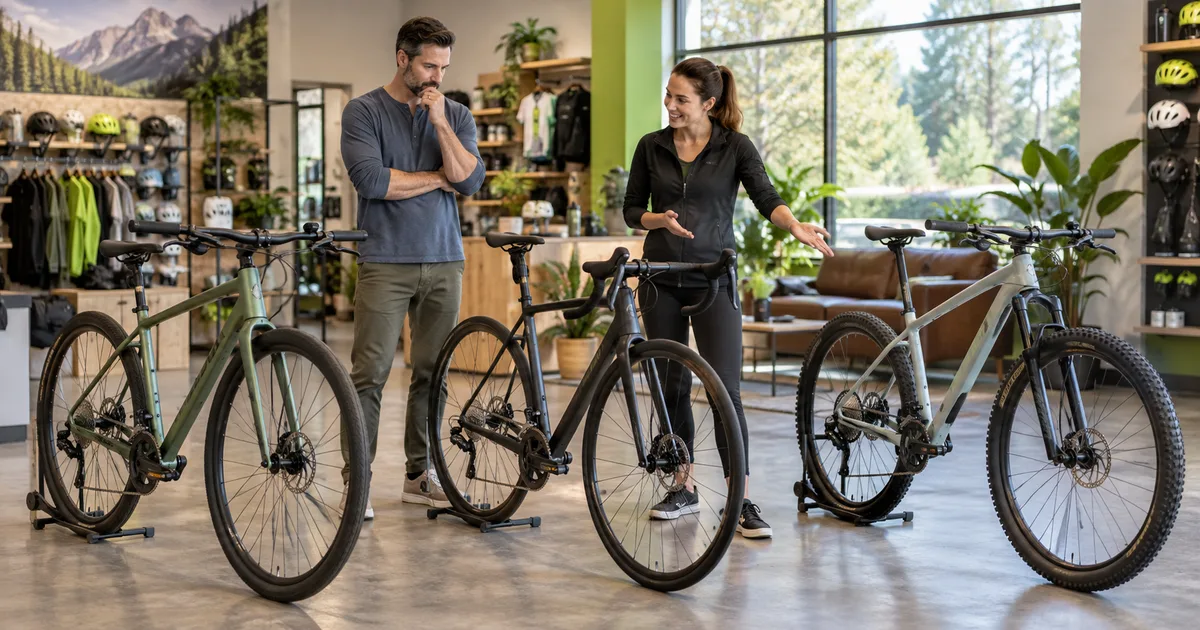
Choose a bike for the journeys you actually want to make. Then measure your height and cycling inseam to find a few sizes worth trying. You don't need to understand every component in the shop to do this well, but you do need to separate two questions: does this kind of bike suit my riding, and does this particular bike fit me?
A calculator helps with the shortlist. The purchase decision comes later, once you have checked the model's size chart and can reach the controls, pedal comfortably and get on and off without difficulty.
Choose for your usual ride
Describe an ordinary week: road surface, hills, trip length, luggage and storage. Choose for that week, not an occasional ride you might attempt later. Leave room in the budget for assembly, a helmet, lights, a lock and compatible flat-repair equipment.
- Paved paths and everyday errands: start with a hybrid or city bike. Check visibility, relaxed brake access and rack or mudguard compatibility.
- Long paved rides: compare endurance road bikes. Drop bars offer several hand positions, but the brake hoods must be within comfortable reach.
- Roads plus unpaved tracks: consider gravel bikes. Tire clearance, gearing and a sustainable cockpit matter more than a race label.
- Rough trails: choose a suitable mountain bike. Confirm room to move while standing, control access and suspension setup.
- Assisted commuting or hills: use the e-bike size calculator. Also check mounting, walking, parking and low-speed control; assistance does not correct a poor fit.
The Bike Finder helps compare non-electric categories. For children, use the kids sizing guide instead of adult frame formulas. A child needs a bike they can control now, not one chosen mainly for growing room.
Measure height and cycling inseam
A tape measure, a firm book and a wall are enough. A helper makes it easier to keep the book level while you measure. Use the same method each time; switching between bare feet and thick-soled shoes can create a disagreement that looks like a sizing problem.
- Stand barefoot against a wall and measure floor to the top of your head with a level book.
- For inseam, stand with feet slightly apart. Hold a level book firmly against the crotch to approximate saddle contact, then measure floor to its top edge.
- Repeat both measurements. Record centimeters and whether shoes were worn; follow the exact brand calculator if its method differs.
Do not use trouser inseam. Two riders of the same height can have different leg lengths, torso lengths and arm reach. If your height and inseam suggest different sizes, keep the disagreement visible and use the height-and-inseam guide.
Turn the measurements into a shortlist
Enter your measurements in the bike size calculator for the category you selected. Keep any adjacent-size range. Do not round a formula result into a promise that a frame with that number will fit.
For example, an 80 cm inseam gives 53.6 cm using the traditional road starting formula of inseam multiplied by 0.67. That does not establish that every bike labeled 54 is suitable. One model may have a much longer or lower cockpit than another.
A first-bike example: the commute with a gravel shortcut
Suppose most of your riding will be a paved commute, with a short unpaved path at the end. You also need to carry a bag. Start by comparing a hybrid and a gravel bike that accept the luggage you need. A mountain bike may be appropriate if the path is genuinely rough, but the word "gravel" on a map alone doesn't settle that choice.
Try the hybrid's flat-bar position and the gravel bike's brake hoods. On the drop-bar bike, can you reach the brakes comfortably without stretching your shoulders forward? On either bike, is the position comfortable when you look behind you or stop at a junction? Those answers are more useful than choosing the bike with more gears.
Now compare the sizes suggested for each model. They need not carry the same label. If the hybrid's medium fits but the gravel bike feels long, check its smaller size and another model with a shorter cockpit. Don't let the first label you tried become a rule for every bike afterward.
Budget for the bike you can use on day one
Ask what the quoted price includes. Assembly, a basic position check, pedals, rack installation and follow-up adjustments may be separate. A cheaper bike that needs a different cockpit and several accessories can cost more than the one beside it. Get a price for the complete setup before comparing deals.
If storage involves stairs, check the actual carrying task before buying. If it will live outdoors, think about secure parking and weather protection. These details can eliminate an unsuitable bike before you spend time deciding between its two frame sizes.
Verify the exact bike before paying
Open the relevant brand chart, such as Trek, Giant or Canyon. Then locate the manufacturer chart for the actual model year and variant. A brand-wide chart is not proof for every model.
- Confirm standover, minimum and maximum saddle position, and reach to the bars and brakes.
- Check any required changes against the seatpost, saddle rail, fork spacer and stem limits.
- Test starts, controlled stops, turns and your intended riding posture in a safe area. Ask the shop to set the saddle first.
- Before an online order, confirm assembly, returns, size-exchange terms and missing measurements in writing.
Between sizes? Follow the size-up or size-down advice for your bike type, then compare exact geometry. Finish with the fit checklist. If neither frame passes, change the model or book a fit rather than buying extra adjustments.
Make the test ride answer specific questions
Ask the shop to set the saddle before you ride. A saddle left in its display position can make a suitable frame feel cramped or difficult to control. Tell the staff what kind of riding you described earlier, including any difficulty reaching levers or mounting a bike.
Begin somewhere quiet. Check that you can start smoothly, use both brakes and stop without a rushed dismount. Ride seated long enough to notice whether you keep sliding forward, locking your elbows or shifting your hands to escape pressure. If you expect to ride standing, check that position too, within your current ability and the shop's test-ride rules.
Try the other size on the same short route with a similarly prepared saddle position. "The smaller one turns more easily, but the bars feel too low" is a useful note. "The smaller one feels sportier" is harder for a shop to act on. Ask what change would be needed, whether it is allowed and what it would cost.
A short ride can reveal an obvious problem. It cannot prove how you will feel after a long day, so check the shop's follow-up and exchange arrangements. Pain or numbness is a reason to stop and ask for help, not something you need to endure to finish the comparison.
Before ordering a bike you cannot try
Save the product page and ask the seller for the model year, frame variant and the size chart used for that listing. Request the minimum saddle height if that is a concern; a broad "fits riders from X to Y" claim is not the same measurement. Check whether the bike arrives assembled and who is responsible for the safety inspection.
Read the return conditions before removing packaging or riding outside. Find out who pays return shipping and whether fitting different parts affects an exchange. If crucial measurements remain unanswered and returns are difficult, waiting for a bike you can inspect is a sensible decision. A discount does not make an uncertain fit less uncertain.
Frequently Asked Questions
Sources and limits
Reviewed September 17, 2026. General fit checks follow REI Bike Fitting Basics; category-specific sizing is illustrated by Trek Size Finder. The formula example is arithmetic, not a verified model recommendation. This guide is not a medical or professional fit assessment.