Winter Cycling Setup Guide 2026 | Cold-Weather Bike Tips
How-To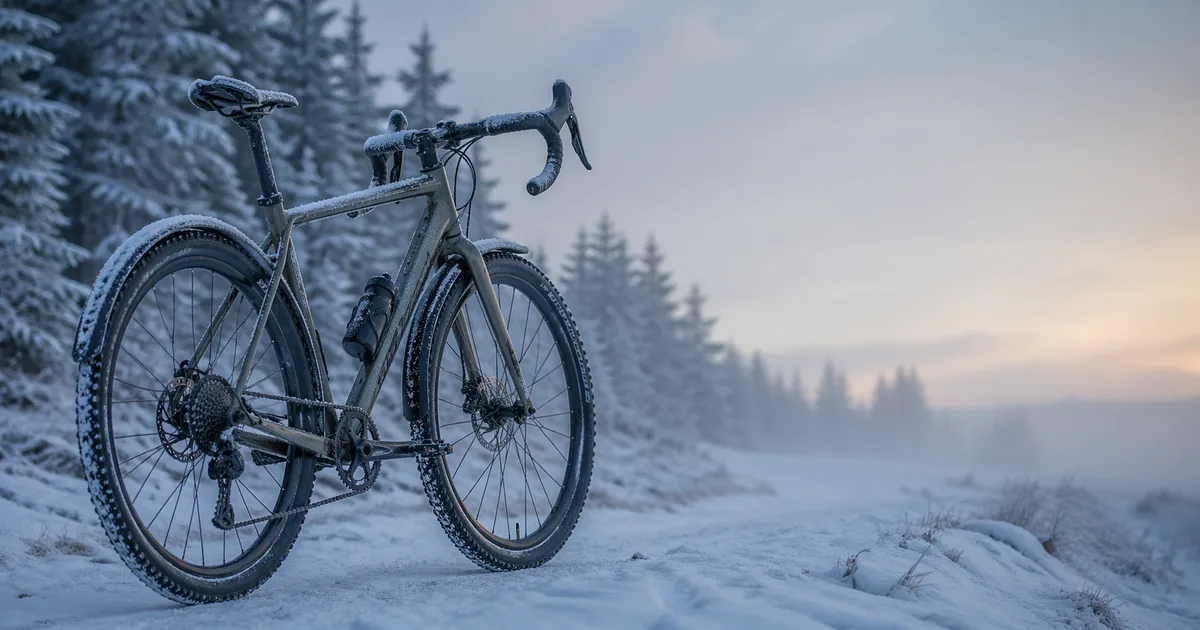
Winter riding rewards anyone willing to prepare for it. The roads are quieter, the air is sharp, and a well-set-up bike can keep you spinning through ice, slush, and sub-freezing temperatures with surprising confidence. The trick is treating winter as a different sport - not a colder version of summer cycling. Tires, pressures, drivetrain care, lights, and clothing all need rethinking. This guide walks you through every system on the bike (and on your body) so you can ride safely from the first hard frost through the spring thaw.
Quick Answer
For most winter conditions, switch to a wider tire (35-45 mm on road/gravel, 2.4-2.6" on MTB), drop pressure 5-10 psi for grip, run a wet-formula chain lube, install full fenders, and add front and rear lights of at least 400 lumens. Use studded tires for icy roads, knobby tires for loose snow, and a fat bike for deep snow. Use our Tire Pressure Calculator to dial in your winter PSI.
Winter Cycling Tools & Calculators
Cold-weather setup involves a lot of small numbers - pressures, glove sizes, helmet circumferences, frame sizes for a dedicated winter bike. Start with these free calculators to lock in the measurements before you spend money on tires, gloves, or a new build.
Get a baseline PSI, then drop 5–10 psi for snow and ice grip
Find the right glove circumference for layered winter hand wear
Confirm helmet size leaves room for a thin thermal skullcap
Size your dedicated winter MTB or fat-bike frame
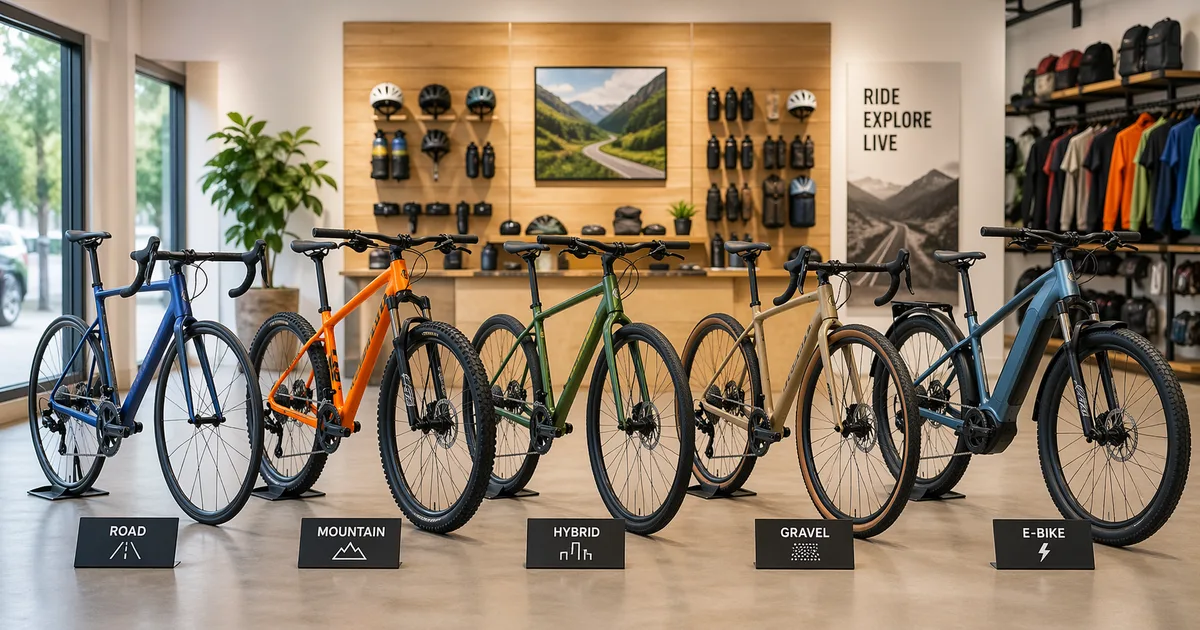
Choosing the Right Winter Tires
Tire choice is the single most important decision you'll make for winter riding. The wrong rubber turns a manageable commute into a slide down the nearest curb. The right rubber makes 25 °F (−4 °C) and packed snow feel almost normal. Match the tire to the surface you'll actually ride most days, not the worst-case storm.
Studded Tires for Ice
Studded tires are the answer when you regularly encounter black ice, refrozen slush, or icy bike-path edges. Carbide studs bite through the thin slick layer and grip the harder ice underneath. Common stud counts run from 100-120 (light, faster rolling, road-focused) up to 240-360 (aggressive, MTB-focused, much slower on dry pavement). Schwalbe Marathon Winter Plus, Continental Top Contact Winter II, and 45NRTH Gravdal are popular road/gravel options; 45NRTH Wrathchild and Schwalbe Ice Spiker Pro dominate the MTB side. See our roundup of the best bike tires for 2026 for more shoppable picks.
Knobby Tires for Snow
Loose snow and slush behave more like sand or mud than ice, so an aggressive knobby tread - without studs - often outperforms a studded road tire. A 2.3-2.5" mountain bike tire or a wide gravel tire (40-50 mm) with widely spaced lugs will paddle through several inches of fresh snow surprisingly well. Look for a soft rubber compound; harder summer compounds turn into hockey pucks below freezing.
Fat Bikes for Deep Snow
Once snow depth exceeds about 4 inches (10 cm), even a wide MTB tire bogs down. Fat bikes - with 3.8-5.0" tires run at very low pressures - float on top of soft snow instead of cutting through it. They're the only practical option for groomed-snow trails and unmaintained winter paths. We'll cover sizing rules below; they differ noticeably from regular MTB sizing.
Tire Width Rules of Thumb
- Dry, cold pavement only: 28-32 mm
- Mixed road/snow commuting: 35-45 mm with studs
- Packed snow trails: 2.3-2.6" MTB knobby
- Deep, loose snow: 3.8-5.0" fat-bike tire
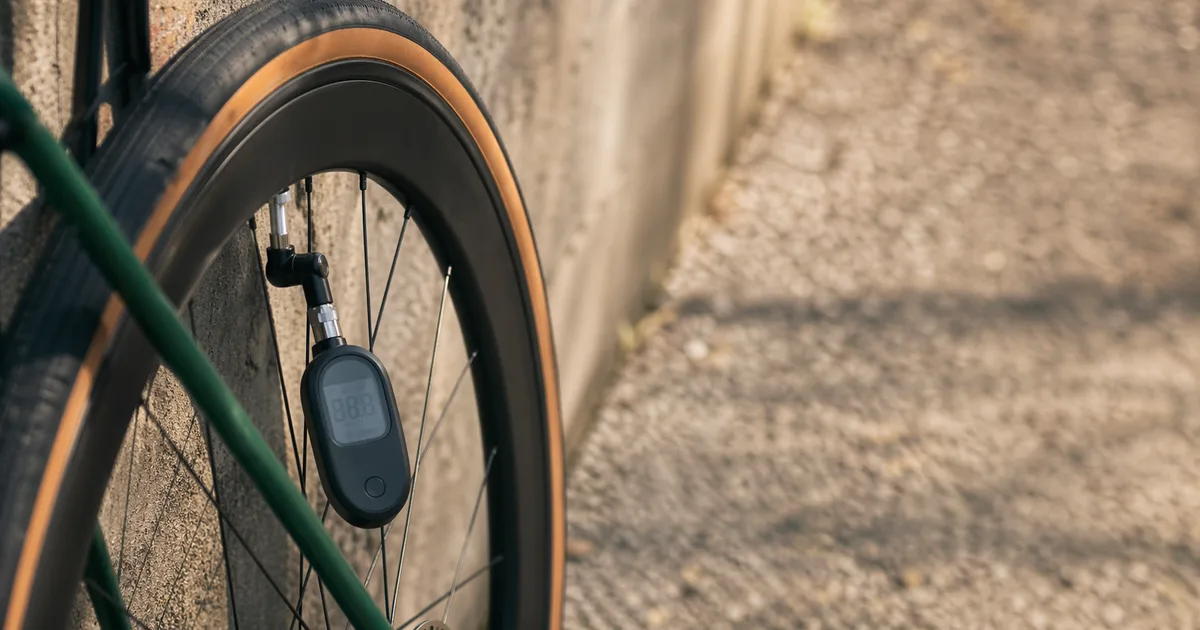
Winter Tire Pressure Adjustments
Cold air is denser than warm air, so a tire pumped to 80 psi at 70 °F (21 °C) will read closer to 70 psi at 20 °F (−7 °C) - tire pressure drops roughly 1 psi for every 10 °F of temperature decrease. That natural drop already helps grip, but most riders should go further and intentionally run 5-10 psi below their summer setting.
Lower pressure increases the contact patch, lets the tread conform to irregular ice and packed snow, and dampens the vibration of frozen pavement. The trade-off is more rolling resistance and a higher pinch-flat risk if you hit a hidden curb. Start at your normal winter baseline using our Tire Pressure Calculator, then experiment 2 psi at a time until grip feels confident without being squirmy in turns. For a deeper dive, see our Bike Tire Pressure Guide.
Tubeless in Winter
Tubeless setups shine in winter because they tolerate much lower pressures without pinch-flatting. The catch is sealant: most latex-based sealants begin to thicken below 32 °F (0 °C) and can freeze outright in extreme cold. Use a winter-rated sealant (Orange Seal Endurance, Stan's Race, or Muc-Off No Puncture Hassle) and refresh it every 2-3 months instead of the usual 4-6.
Drivetrain & Frame Protection
Road salt, sand, and chemical de-icers are merciless on bikes. A drivetrain that lasts three seasons of summer riding can be ruined in a single winter if you ignore it. Build a simple protection routine and the bike will repay you with quiet shifts and unrusted hardware come spring.
Wet Lube for the Chain
Swap your dry or wax-based summer lube for a wet-formula chain lube (Finish Line Wet, Rock N Roll Absolute Dry - despite the name - or Squirt Long Lasting). Wet lubes stick better in slush and rain but pick up grit, so wipe the chain down with a rag after every wet ride and re-lube once a week. Wax-immersion chains also work well in winter because they shed grit, but they need re-waxing more often. Keep a quick-link tool, chain-checker, and a mini multi-tool in your winter-ride kit - see our roundup of the best bike tools for 2026 and the best bike pumps for 2026 for a freeze-tolerant floor pump and CO2 inflator combo. Cold hands also ruin grip feel, so consider tackier rubber grips or fresh bar tape before the season - our best grips and bar tape for 2026 guide highlights cold-weather picks.
Frame Wax and Anti-Corrosion Treatment
Apply a thin coat of frame wax (such as Muc-Off Bike Protect, Boeshield T-9, or even car carnauba wax) to the frame, fork legs, and exposed hardware before the season. The hydrophobic film makes salt brine bead up and rinse off easily instead of etching paint and corroding bolts. Reapply monthly. For metal frames, consider Frame Saver or J.P. Weigle Frame Saver inside the seat tube and chainstays.
Full Fenders
Skip the clip-on race fenders - install full-length mudguards with mud flaps that reach within an inch or two of the ground. They protect your drivetrain from spray, keep your feet dry, and (more importantly) keep grit and salt off the rider behind you. SKS Bluemels, Portland Design Works Full Metal Fenders, and Velo Orange all make options that fit standard road, gravel, and commuter bikes - see our best bike fenders for 2026 for full-coverage picks.
Salt Rinse Routine
After every salty ride, give the bike a gentle rinse with cool or lukewarm water from a garden sprayer or low-pressure hose - never hot water on a cold frame, and never high-pressure spray near bearings. Wipe down the chain, derailleurs, and rim sidewalls (or rotors), then store the bike somewhere it can dry. Five minutes a ride keeps the drivetrain alive all season.
Avoid These Winter Mistakes
- Riding a carbon-rim brake bike in slush - salt destroys brake tracks fast
- Storing a salty bike in a heated garage without rinsing first
- Using dry lube on a chain that sees moisture every ride
- Running summer pressures on glare ice
Lights & Visibility
Winter compresses daylight on both ends of the day. In northern latitudes, a 5 p.m. commute home is fully dark from late November through January, and even mid-day rides happen under low, flat light that hides ice patches. Lights and reflective gear move from optional accessories to mandatory equipment.
How Many Lumens Do You Need?
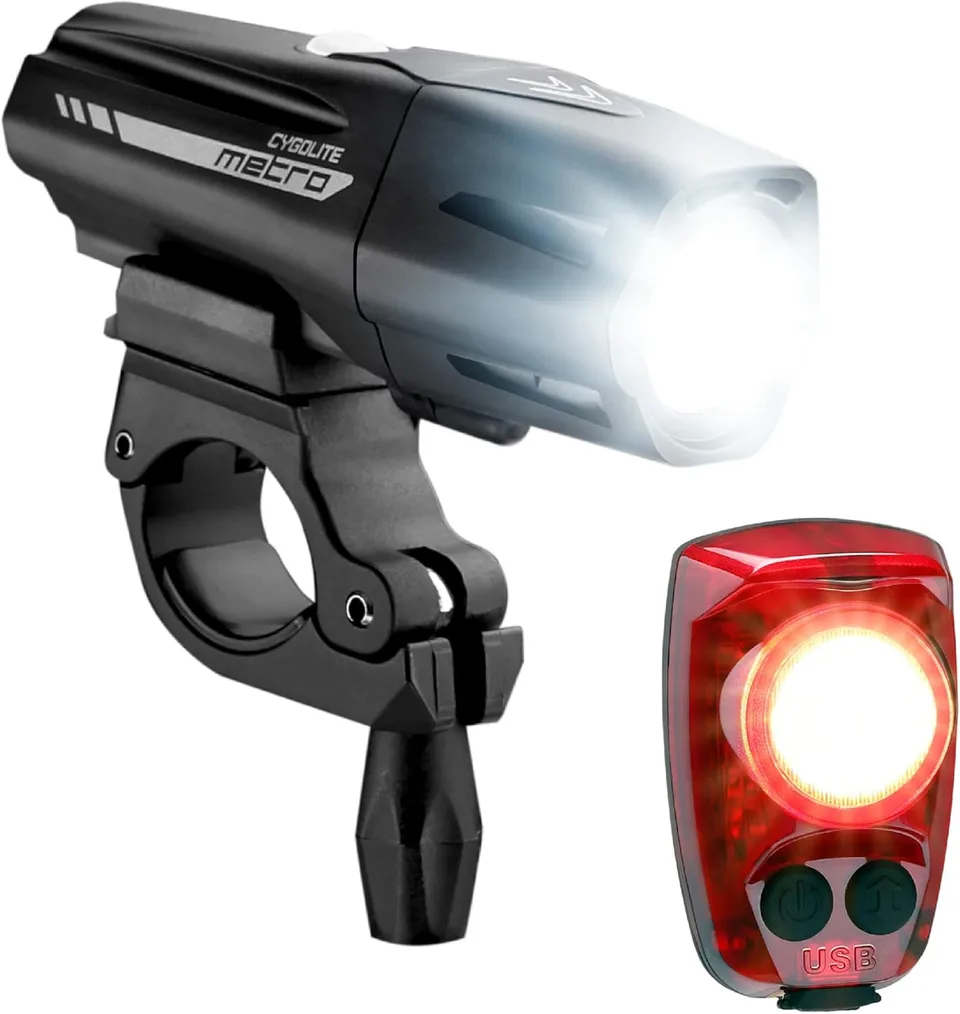
For lit urban streets, a 200-400 lumen front light is plenty for being seen and casts enough beam to spot ice. For unlit bike paths or rural roads, step up to 800-1,500 lumens so you can identify hazards at speed. Mountain bikers riding singletrack in the dark want 1,500 lumens or more, ideally split between a bar-mounted floodlight and a helmet-mounted spotlight.
Rear lights should be at least 50 lumens with a wide horizontal spread; many riders run a steady plus a flashing unit for redundancy. Look for IPX6 or higher water resistance - cheap lights die fast in slush. Most US states and EU countries also have bike-light and reflector laws that mandate a white front light and red rear reflector or light after sunset - winter's short days mean you're subject to those rules on the way home from work, not just on night rides.
Daytime Running Lights
Studies by Trek and the Danish Office of Road Safety found that daytime running lights can reduce same-direction collisions by up to 47%. Use a high-power flashing pattern (Bontrager Flare RT, Cygolite Hotshot Pro, or Knog Blinder Pro all qualify) any time you're on the road, even at noon on a sunny day. Winter's low sun angle creates long shadows that hide riders from drivers; lights cut through that. Brands like Garmin, CatEye, NiteRider, Lezyne, and Light & Motion all build winter-rated front lights with USB-C charging and IPX6+ sealing. For a full breakdown of front and rear options, see our guide to the best bike lights for 2026.
Reflective Layers
Add reflective ankle bands (the moving leg is one of the most recognizable cyclist signals from a car) and a reflective vest or jacket panels. Spoke reflectors and reflective tire sidewalls (Schwalbe Marathon and Continental Contact lines have them) round out 360° visibility.
Layering & Cold-Weather Clothing
Cycling generates heat fast, then dumps it the moment you stop pedaling or hit a downhill. Cotton soaks up sweat and freezes; the goal is a layered system that wicks, insulates, and blocks wind, with zips you can vent on demand.
The Three-Layer System
- Base layer: Merino wool or synthetic long-sleeve base. Wicks sweat away from the skin and stays warm even when damp. Avoid cotton.
- Mid layer:A long-sleeve thermal jersey or fleece that traps warm air. Weight depends on temperature - 200 gsm for mild winter, 300 gsm or fleece for sub-freezing.
- Outer layer: Wind-stopper jacket with front panels that block windchill and rear panels that breathe. Look for a longer tail to cover your back when leaning forward.
Hands and Feet
Hands and feet suffer first because blood flow drops as your core prioritizes heat conservation. Pogies (also called bar mitts) are insulated covers that wrap around the bars and shifter/brake levers. They let you ride with a thin liner glove down to about 5 °F (−15 °C) and keep dexterity intact - far better than bulky lobster gloves alone.
For feet, neoprene toe covers handle 40 °F (4 °C) down to about freezing. Below freezing, switch to full neoprene shoe covers, merino wool socks, and consider winter-specific cycling shoes (Shimano MW7, 45NRTH Wolfgar) with insulated uppers. Size your gloves with our Glove Size Calculator before ordering - winter gloves run differently from summer - then browse our picks for the best cycling gloves for 2026.
Head and Face
A thin merino skullcap fits under most helmets without affecting retention. Confirm with our Helmet Size Calculator that you have at least one shell size of headroom for layers. For sub-20 °F (−7 °C) rides, add a neck gaiter or balaclava and clear or low-light lens glasses to prevent eye-watering windchill.
Cold-Weather Hydration & Nutrition
Cyclists chronically under-drink in winter because thirst signals are muted by cold, but you're still losing fluid through breath and sweat under all those layers. Equally important: keep your fluids and food from freezing solid.
Insulated Bottles vs Hydration Bladders
Insulated bottles like the Polar Bottle Breakaway or CamelBak Podium Chill keep water liquid roughly twice as long as standard bottles - expect 2-3 hours above freezing in 20 °F (−7 °C) weather. Fill them with warm (not boiling) water or diluted electrolyte mix, which lowers the freezing point and starts the ride above ambient.
Hydration bladders are convenient but the hose freezes first. If you use one, route the hose inside your jacket against your body, blow residual water back into the reservoir after every sip, and consider an insulated hose sleeve. Below 20 °F (−7 °C), bottles are usually the safer choice.
Fuel That Survives the Cold
Energy bars turn into bricks at freezing temperatures and can crack a tooth. Switch to gels (carry them in an inner jacket pocket so body heat keeps them flowable), soft chews, or Fig Newtons and PB&J sandwiches in a foil-wrapped jersey pocket. Eat earlier and more often than in summer - calorie burn climbs 10-25% just from thermoregulation.
Fat Bike Sizing Basics
Fat bikes are sized differently from standard mountain bikes because the tire's huge volume changes how the bike sits and steers. Three rules to know:
- Standover is generous: The taller bottom bracket and wider tires push the standover height up, so size for reach and stack rather than seat-tube length. Many riders go down half a size versus their normal MTB.
- Reach feels longer: The wide bars and short stems fat bikes use stretch the cockpit. Test ride before assuming your regular MTB size translates - see our Mountain Bike Sizing Guide for the underlying reach/stack framework.
- Tire pressure is ultra-low:Fat-bike tires run from about 5 psi for soft snow and sand up to 12-15 psi for hardpack and pavement. A floor pump with a low-range gauge (0-30 psi) is essential because the difference between 5 psi and 8 psi completely changes how the bike floats.
Use our Mountain Bike Size Calculator as a starting point, then drop a size if you're between two options or planning to ride a lot of technical snow.
Pro Tip
Carry a small digital low-pressure gauge in your jersey pocket. On long fat-bike rides, snow conditions change every few miles and a quick 2 psi adjustment can be the difference between floating and bogging.
Indoor Trainer Alternative
Some days the smart choice is to ride inside. Black ice, sub-zero windchills, and unplowed roads are not training opportunities - they're injury risks. Set up a trainer in the garage or basement for those days. Smart trainers paired with Zwift, TrainerRoad, or Rouvy turn an hour into a focused workout that will keep you fitter than a sketchy outdoor ride ever could.
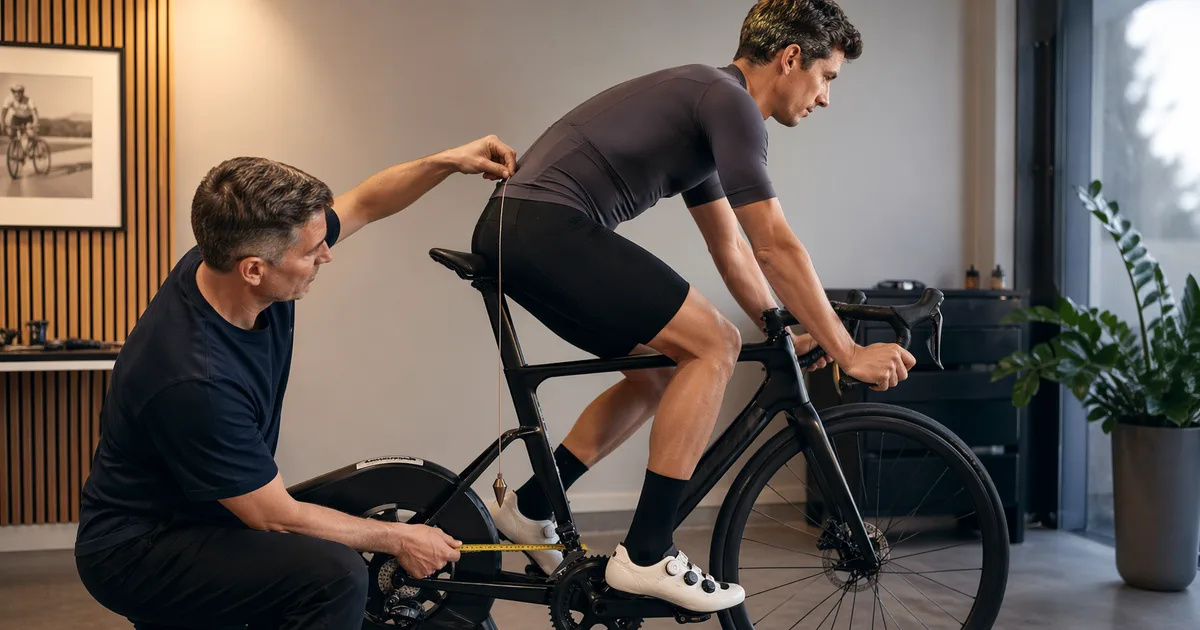
The catch: indoor fit isn't the same as outdoor fit. The bike doesn't move under you, so saddle pressure, hand numbness, and knee tracking all show up faster. Read our Indoor Trainer Bike Fit Guide before logging serious indoor hours, and revisit your overall fit with our Complete Bike Fitting Guide.
Cold-Weather Gear Picks
Lights and grips that hold up in winter conditions.
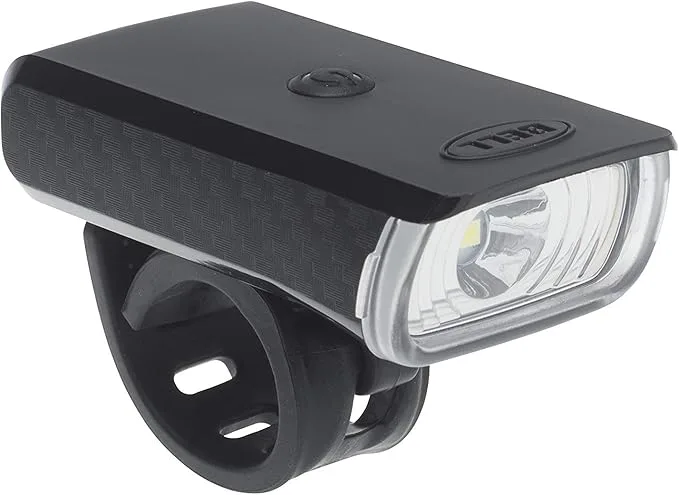
Bell
Bell Lumina 300 Headlight
Tool-free handlebar mount; check bar space around computers, bells, and baskets.
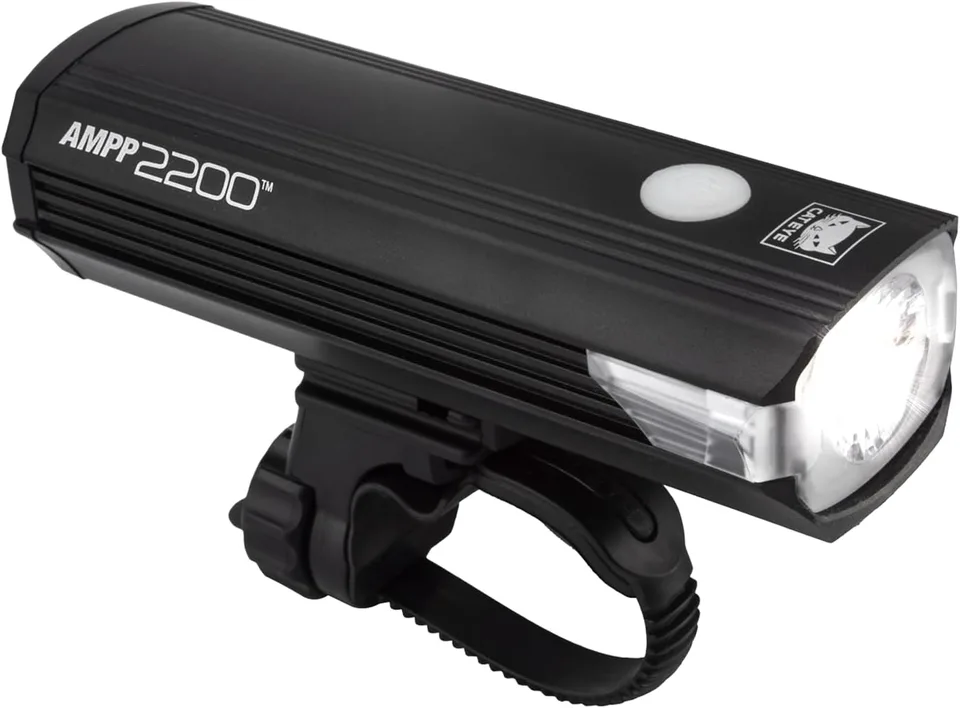
Cateye
Cateye AMPP 2200
2200 lm: highest output in CatEye lineup; for serious trail/night riding.
Cygolite
Cygolite Hotshot Plus 150
150 lm rear: excellent daytime flash patterns; 120-hour runtime in low mode.
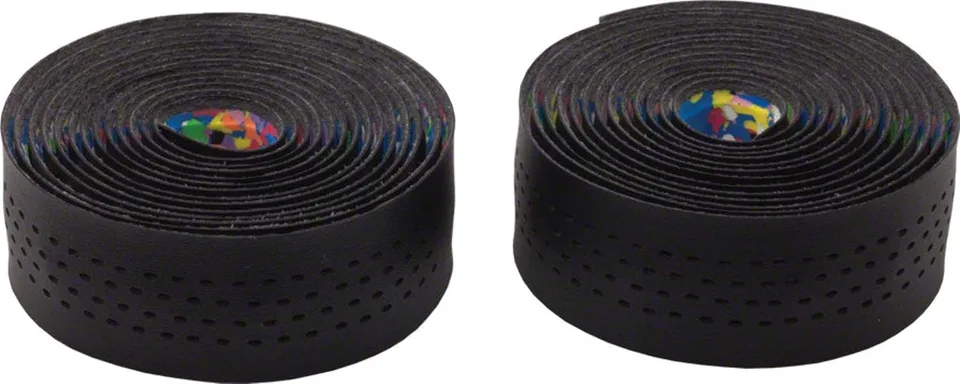
Cinelli
Cinelli Caleido Cork Tape
Standard drop-bar tape 23.8mm. 2m roll. Classic Italian aesthetic with natural materials.
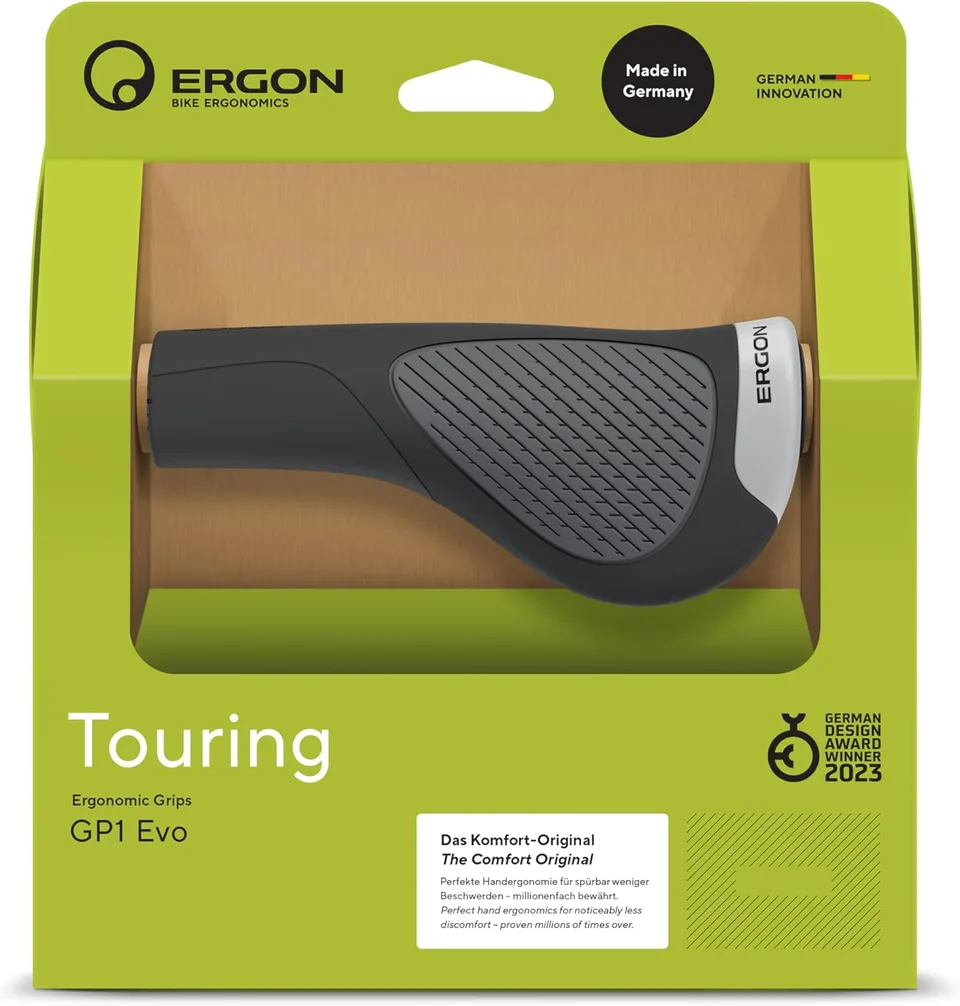
Ergon
Ergon GP1 Ergo Grip
Flat bar 22.2mm diameter. 130mm length with aggressive ergonomic molding for hand support.
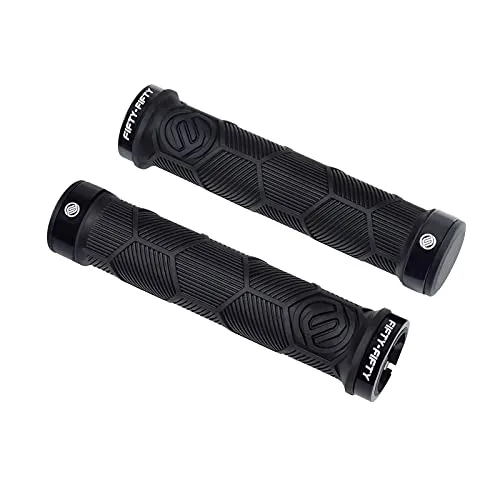
Fifty Fifty
Fifty Fifty FIFTY-FIFTY Double Lock-On MTB Grips
Standard 22.2 mm (7/8") bar diameter - fits any MTB or hybrid flat bar. The double lock-on design (two clamps per grip) is more secure than single-clamp grips when running soft compounds or riding in wet conditions. Direct alternative to Ergon GA2 or ODI Ruffian.
As an Amazon Associate we earn from qualifying purchases. This helps support our free calculators.
Frequently Asked Questions
Conclusion
Winter cycling isn't about toughing it out - it's about preparation. The riders who happily log miles all season are the ones who've invested an afternoon in tire selection, drivetrain protection, lights, and a layering system that actually works for their local climate. Spend a weekend setting the bike up properly in October and you'll ride more in January than you ever thought possible.
Key Takeaways
- Match tires to surface:Studs for ice, knobbies for snow, fat bike for deep snow. Don't over-tire if your roads are mostly clear.
- Drop pressure 5-10 psi: Bigger contact patch = better grip. Tubeless tolerates this best with winter-rated sealant.
- Switch to wet lube: Re-lube weekly, wipe down after every salty ride, and rinse the bike before storing.
- Light up day and night:400 lumens minimum front, 50 lumens minimum rear, daytime running lights whenever you're on the road.
- Layer in three: Wicking base, insulating mid, wind-blocking outer - with vents you can open on climbs.
- Protect hands and feet: Pogies plus liner gloves beat lobster mitts; neoprene toe covers above freezing, full shoe covers below.
- Eat and drink more: Insulated bottles with warm fluid, gels in inner pockets, and 10-25% more calories than summer.
- Know when to go indoors: Black ice and sub-zero windchill are not training opportunities. Set up a trainer for those days.
Ready to dial in your winter setup? Start with our Tire Pressure Calculator to find your cold-weather PSI, confirm your glove size and helmet fit before buying winter gear, and check out our Bike Tire Pressure Guide for a deeper look at how temperature changes ideal pressure all year round.
Related Calculators & Tools
Dial in winter pressures for grip on snow and ice
Find the right glove size for warm winter layers
Make sure your helmet fits over a winter cap
Confirm MTB or fat-bike frame size before winter season
Quick frame-size check for your winter commuter
Size a gravel bike that doubles as a winter trainer
Continue Reading
Reach, stack, and trail-specific sizing explained
Pick a bike that fits both summer and winter riding
Adjust saddle, reach, and bars for thicker winter clothing
How temperature, terrain, and width change ideal pressure