Indoor Bike Trainer Setup & Fit Guide 2026 | Smart Trainers
How-To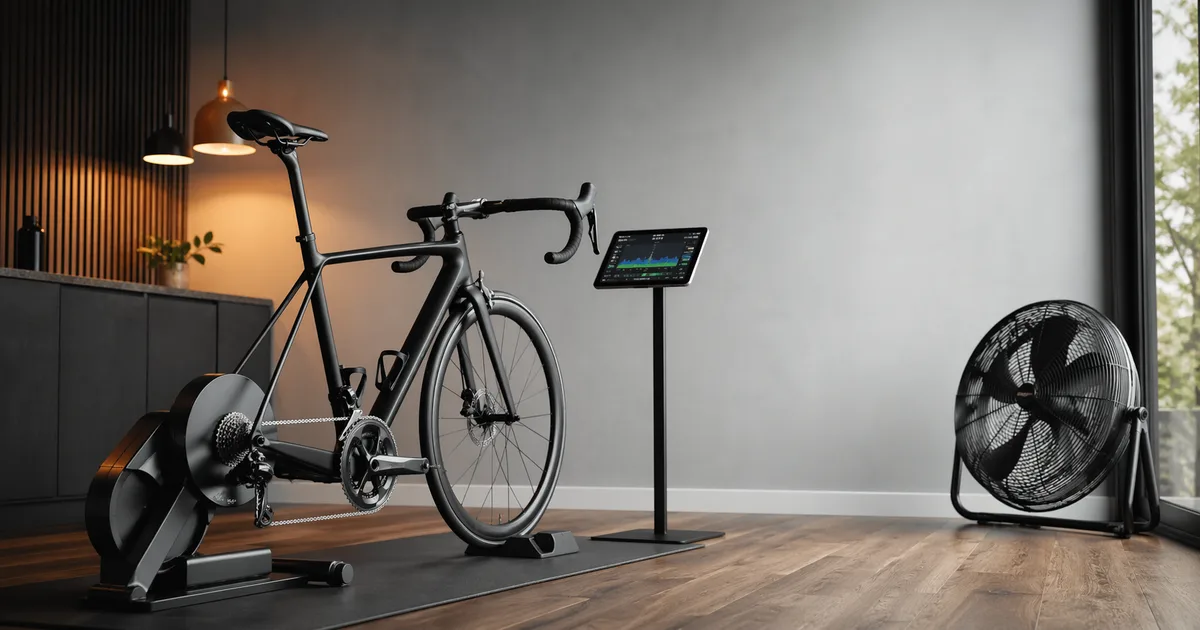
An indoor trainer turns any bike into a year-round training tool, but the experience is nothing like riding outside. The bike never leans, the wind never cools you, and your contact points carry load minute after minute without the micro-breaks that real terrain provides. That steadier, hotter, more punishing environment exposes every fit compromise you have. This guide walks through choosing a trainer, mounting your bike safely, adjusting fit for indoor demands, and wiring everything into Zwift, TrainerRoad, or your favourite app so sessions feel responsive rather than frustrating.
Quick Answer
For most riders, a direct-drive smart trainer paired with a large fan, a sweat cover, and bars raised 5-10 mm over your outdoor position delivers the best balance of accuracy, comfort, and longevity. Use ERG mode for structured intervals and simulation mode for Zwift races. Confirm your baseline with our Saddle Height Calculator and FTP Calculator before your first session.
Indoor Trainer Tools & Calculators
Before clamping your bike into the trainer, lock in the numbers that define a good session: saddle height, FTP, projected power, and cockpit reach. These four calculators give you a starting point for the rest of this guide.
Set saddle height precisely - indoor pedalling magnifies any error within minutes
Estimate functional threshold power so ERG-mode targets land in the right zones
Translate indoor watts into outdoor speed and climbing performance
Confirm cockpit position before steady-state load amplifies any mismatch
Trainer Types Explained
Indoor trainers fall into four broad categories. The right choice depends on budget, available space, the bike you plan to mount, and whether you intend to race virtually.
Direct-Drive Smart Trainers
These trainers replace your rear wheel entirely. You remove the wheel, slide the frame onto a built-in cassette, and pedal directly into the flywheel. Examples include the Wahoo KICKR, Tacx Neo 3M, Saris H4, and Elite Justo. Power accuracy is typically within ±1-2%, road feel is the most realistic in the category, and noise drops dramatically because the tire is removed from the equation.
Wheel-On Smart Trainers
Wheel-on units press a roller against your rear tire. They're cheaper, lighter, and easier to set up - you mount the bike in seconds without touching the wheel. The trade-off is more noise, slightly lower power accuracy (typically ±3-5%), and accelerated tire wear unless you fit a dedicated trainer tire. Calibration also drifts more, so plan on a spindown before each ride.
Classic Fluid & Magnetic Trainers
“Dumb” trainers without electronics still have a place. They're inexpensive, bombproof, and ideal as a quick warm-up platform at races. Resistance comes from a fluid or magnetic flywheel, and you control intensity via your gears rather than an app. They don't broadcast power, so pair with a power meter or speed sensor for any serious training data.
Smart Bikes
Self-contained smart bikes such as the Wahoo KICKR Bike, Stages SB20, Tacx Neo Bike Plus, and Wattbike Atom remove your bike from the equation entirely. Adjustable geometry lets multiple riders share one unit, integrated grade simulation tilts the front end up to roughly 20%, and there's no setup ritual. The catch is price and the fact that you can't train on the same fit you race on outdoors unless you replicate it carefully.
Choosing Between Direct-Drive vs Wheel-On
Direct-drive units have become the default for serious indoor riders, but wheel-on still wins for some use cases. Compare the categories before spending.
Decision Snapshot
- Pick direct-drive if you train more than two hours a week, race on Zwift, or care about sub-1% power accuracy.
- Pick wheel-on if budget is the deciding factor, you want quick mount/dismount, or you only ride indoors a handful of times per month.
Power Accuracy
Direct-drive trainers measure torque at the cassette, removing tire slip from the equation. Wheel-on units estimate power from roller speed and resistance - accurate enough for general training, but variable when tire pressure or tension changes. If you base intervals on a power meter elsewhere, the discrepancy will show up.
Noise & Road Feel
Direct-drive flywheels coast like a real bike on flat tarmac, while wheel-on tires hum and thump through the floor. Apartments, early-morning sessions, and shared walls strongly favour direct-drive for that reason alone.
Cassette Compatibility
Direct-drive units ship with a freehub body that must match your bike's cassette - Shimano HG, SRAM XDR, or Campagnolo. You'll either buy a cassette to live on the trainer (best for fast swaps) or move yours back and forth. Wheel-on sidesteps this entirely because the bike keeps its rear wheel.
Mounting Your Bike Safely
Modern frames are stiff but not invincible. A poorly clamped bike creaks, twists the dropouts, and in worst cases cracks the chainstay. Spend a few minutes on the mount and you'll save the frame.
Skewer & Thru-Axle Adapters
Quick-release frames typically need the steel skewer included with the trainer rather than the lightweight one that came with the wheel - alloy skewers can deform under clamping load. Thru-axle bikes require an adapter matched to your axle (usually 142 × 12 mm for road and 148 × 12 mm Boost for many gravel and MTB frames). Check the trainer's compatibility page before ordering.
Frame Protection
Slip a trainer block, foam wrap, or piece of helicopter tape under the chainstay if your trainer's adapter touches the frame. Carbon frames especially benefit from a soft buffer between the clamp and the dropout. Re-check after each ride for clearcoat scuffs.
Checking Dropout Torque
Tighten the trainer skewer or thru-axle to the manufacturer's spec - usually around 12 Nm for thru-axles and just enough on a quick-release that the lever takes firm pressure to close. Over-tightening can pre-load the rear triangle and creates ghost creaks during sprints. After mounting, lift the front wheel and rock the bike side to side; any audible play means the clamp isn't seated.
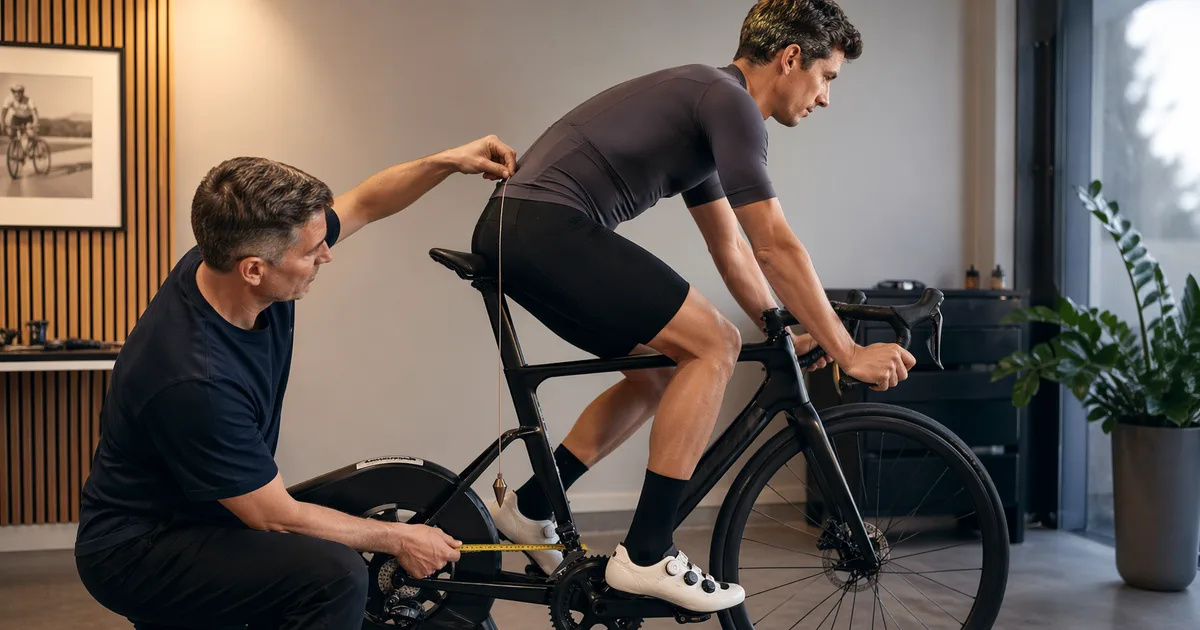
Trainer Bike Fit Differences
Outdoor riding constantly redistributes load - you stand on rollers, weight the bars in turns, and shift weight on every climb. Indoors, none of that happens. The bike is fixed, the road never bends, and your contact points absorb every minute of every interval. That changes which fit choices matter most.
Bars 5-10 mm Higher
Most riders benefit from raising the bars slightly - a single spacer or a few millimetres of headset shim - to compensate for the lack of road buffeting. The same drop that feels natural during a fast group ride feels punishing across a 90-minute Zwift session. Our Complete Bike Fitting Guide covers stack adjustments in depth.
Saddle Pressure Increases
Indoors you sit in essentially one position for the entire ride. Saddle pressure climbs steadily, and small width or tilt errors that you'd never notice outdoors become impossible to ignore by minute 45. Our Bike Saddle Width & Fit Guide and Saddle Comfort Tips are worth a re-read before a winter block. If the numbers feel off, re-run our saddle width calculator to confirm the width matches your sit bones. If the indoor block is the nudge you needed to upgrade, Fizik and Selle Italia cutout models are the most common upgrades among Zwift racers, while Ergon leans wider and more padded for long Sweet Spot blocks - see our best saddles for 2026 for picks across riding styles.
Cleat & Foot Angle Review
Steady-state pedalling reveals cleat alignment issues outdoor riding might mask. If a knee tracks slightly inward on long climbs, indoor intervals will turn that into a hot spot or IT-band tightness inside a week. Re-check float and fore/aft position before starting a structured plan.
Reach Sanity Check
With no road wind to push against, you naturally lean less on the bars indoors. If your stem felt borderline-long outside, it will feel longer indoors. Run the numbers through our Reach & Stack Calculator and our Bike Stem Length Guide before committing to a winter on the trainer.
Tire & Cassette Setup
Wheel-On: Use a Trainer Tire
A regular road tire on a wheel-on trainer wears flat, sheds rubber dust, and grows louder as it overheats. A dedicated trainer tire (Continental Hometrainer, Tacx Trainer Tyre) uses a compound built for steady contact with a steel roller. Pump it to the manufacturer spec - usually 100-110 psi - and re-check weekly. Underinflated tires slip and skew power readings.
Direct-Drive: Match Your Cassette
Buy a cassette that matches the one on your outdoor wheels so shift ramps line up and chain length stays correct. An 11-speed Shimano 105 cassette on the trainer paired with an 11-speed Ultegra outside is generally fine, but mixing 11- and 12-speed will cause skipping. Pre-lube the freehub and torque the lockring to roughly 40 Nm before the first ride.
Tubeless Sealant Considerations
On a wheel-on trainer, tubeless sealant slowly accumulates at the tire's contact patch as the wheel sits motionless after each ride. Rotate the wheel a quarter-turn at the end of every session, or store the bike off the trainer between rides, to avoid a permanent flat spot. Direct-drive owners avoid this entirely - another reason the format keeps gaining ground.
Cooling, Sweat & Frame Protection
The Hidden Killer: Heat
Without the wind that cools you outdoors, core temperature rises fast. Sustained sessions above 200 W will push most riders into heat strain within 20 minutes. Adequate cooling isn't optional - it's the difference between a productive workout and a session you abandon.
Fan Setup
One large floor fan aimed at your chest is the minimum. Two fans - one on the chest, one across the back of your neck - is the sweet spot for most riders. Industrial-style 20-inch fans outperform tower fans for indoor cycling because they move air, not just push it. Position the primary fan around 1.5 m away at head height.
Sweat Protection
Sweat is salty and corrosive. Drape a sweat catcher or thin towel across the top tube and stem; even better, use a purpose-built sweat cover that wraps the bars and headset. Wipe down the bike after every ride with a damp cloth, then dry with a towel. Pay particular attention to the stem bolts, headset, and brake lever pivots - these are where corrosion shows up first.
Salt Corrosion & Bolt Care
Even with a sweat cover, salt eventually finds its way onto the bike. Once a month, pull the stem cap and faceplate, wipe the contact surfaces, apply a thin layer of grease or carbon paste, and re-torque to spec. Inspect bar tape for staining - that's a sign sweat is working its way into the bars. Riders skipping this routine often discover seized stem bolts the following spring.
ERG Mode vs Simulation Mode
Smart trainers offer two control modes, and choosing the right one for the workout makes a noticeable difference in adaptation and enjoyment.
ERG Mode for Structured Intervals
In ERG mode the trainer holds power to a target regardless of cadence or gear. The trainer adjusts resistance automatically - spin slower and it gets harder, spin faster and it eases off. This makes ERG ideal for structured workouts in TrainerRoad or Zwift Workouts because you can't cheat the target. Keep cadence between 85 and 95 rpm to avoid the dreaded “spiral of death,” where a dropping cadence causes resistance to spike and stalls you out.
Simulation Mode for Group Rides & Races
In simulation (or SIM) mode the trainer responds to virtual gradient rather than a fixed wattage. You shift gears, attack climbs, and coast on descents the way you would outside. This is the mode for Zwift races, group rides, and free riding because tactics - timing a sprint, drafting, picking the right gear before a kicker - actually matter.
Trainer Difficulty Setting
Inside Zwift, the “trainer difficulty” slider scales how much of a virtual gradient the trainer reproduces. At 100% a 10% climb feels like 10%; at 50% it feels like 5%. Lower the slider toward 50% if you don't have a wide-range cassette - you'll keep cadence in a usable range without losing the relative difficulty between climbs.
Software & App Integration
Zwift, TrainerRoad, Rouvy, MyWhoosh
Each platform serves a different motivation. Zwift excels at gamified group rides and races. TrainerRoad is the gold standard for structured, plan-driven training with adaptive workouts. Rouvy layers your avatar onto real-world video for outdoor immersion. MyWhooshmatches Zwift's feature set with no subscription. Many riders run two simultaneously - for example, a TrainerRoad workout broadcast over Zwift for the social ride.
ANT+ vs Bluetooth
Most modern smart trainers broadcast on both protocols. ANT+ supports unlimited simultaneous connections; Bluetooth historically allowed only one but newer trainers (Wahoo with WiFi, Tacx Neo 3M) support multiple Bluetooth links. If you ride on Apple TV (no ANT+ out of the box), Bluetooth is mandatory. If you also pair a power meter, heart-rate strap, and cadence sensor on a PC, ANT+ keeps the signal stack from collapsing.
Pairing Tips & Calibration
Update trainer firmware before your first ride - manufacturers push regular accuracy improvements. Run a spindown calibration after a 10-minute warm-up so internal temperature is stable; cold trainers read low. Direct-drive owners with newer Wahoo, Tacx Neo, and Saris H4 units can usually skip manual calibration thanks to factory power matching, but it never hurts to verify monthly. Confirm wattage against an independent power meter when possible.
Common Indoor Setup Mistakes
Mistakes That Quietly Wreck Sessions
- Under-cooling:A small desk fan isn't enough. Invest in real airflow before any other upgrade.
- Ignoring fit changes: Treating indoor and outdoor positions as identical leads to neck pain, hot spots, and saddle sores.
- Over-relying on ERG: Always riding ERG removes the gear-shift skill required for races and group rides.
- Wrong cassette: Mixing speeds or worn cassettes creates skipping under load and inconsistent power readings.
- Tire pressure too low: Soft tires on wheel-on trainers slip, overheat, and shed rubber across your floor.
- Skipping post-ride wipe-down: Salt corrosion is cumulative; a 30-second towel pass after every ride saves the stem and headset.
If you're moving outdoors for spring, our Complete Bike Fitting Guide is the right reset before your first long ride. And if you're weighing whether to brave the cold instead of training inside, the Winter Cycling Setup Guide covers the outdoor alternative.
Indoor Comfort Picks
Saddles and bar tape that ease the longer indoor sessions.
Avasta
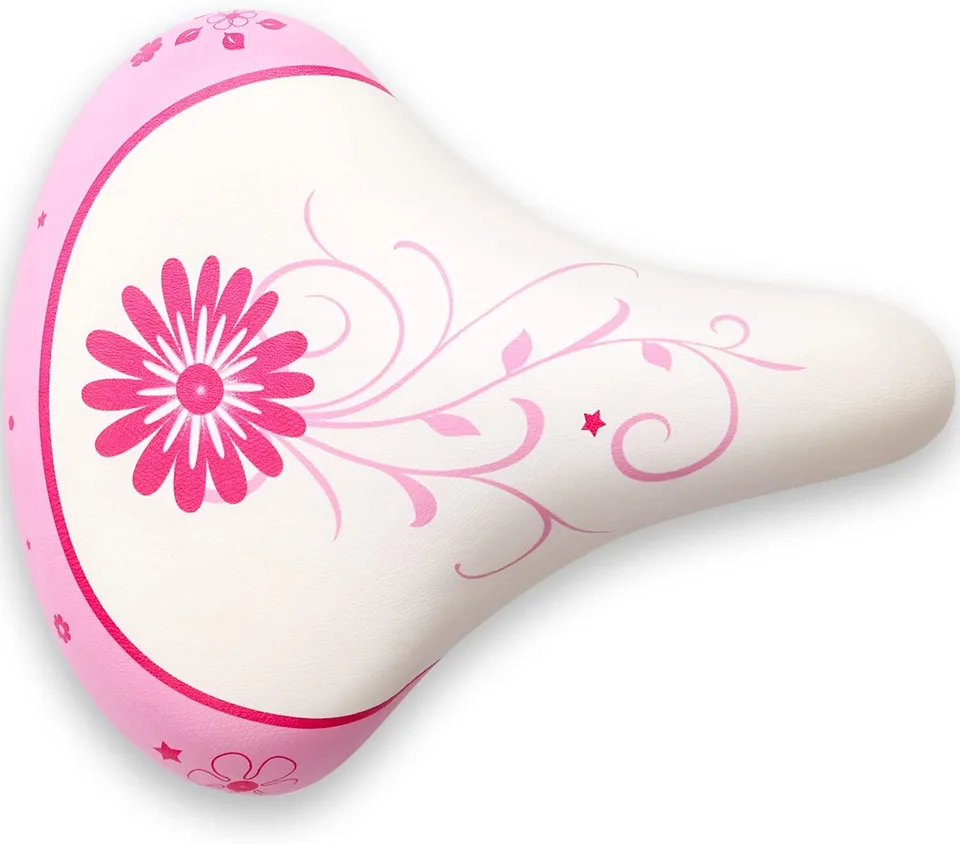
AVASTA Kids Bicycle Saddle
Standard saddle rail spacing fits most kids' seatpost clamps. Designed primarily for 12-20" wheel kids' bikes; larger riders may prefer a wider adult saddle.
Bell
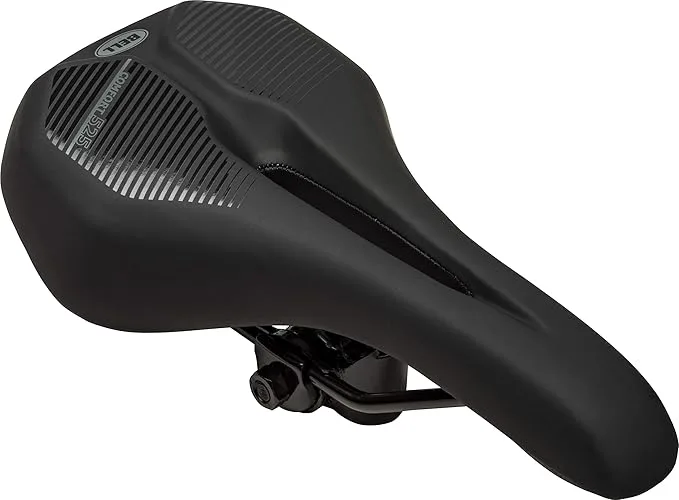
Bell Comfort 525 Sport Saddle
Comfort sport profile for road, mountain, and hybrid bikes; confirm rail compatibility with your seatpost.
Brooks England
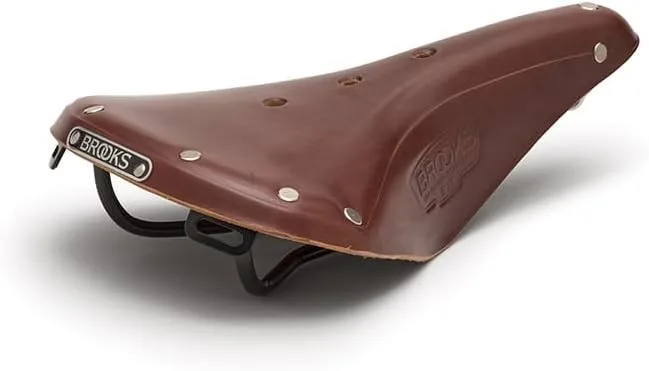
Brooks England Brooks B17
Fixed width 155 mm; fits sit-bone 130-160 mm; requires break-in period (50-100 miles)
Cinelli
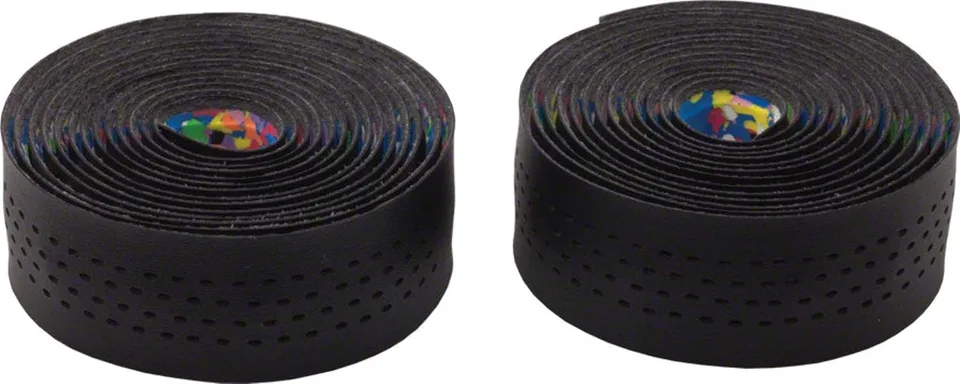
Cinelli Caleido Cork Tape
Standard drop-bar tape 23.8mm. 2m roll. Classic Italian aesthetic with natural materials.
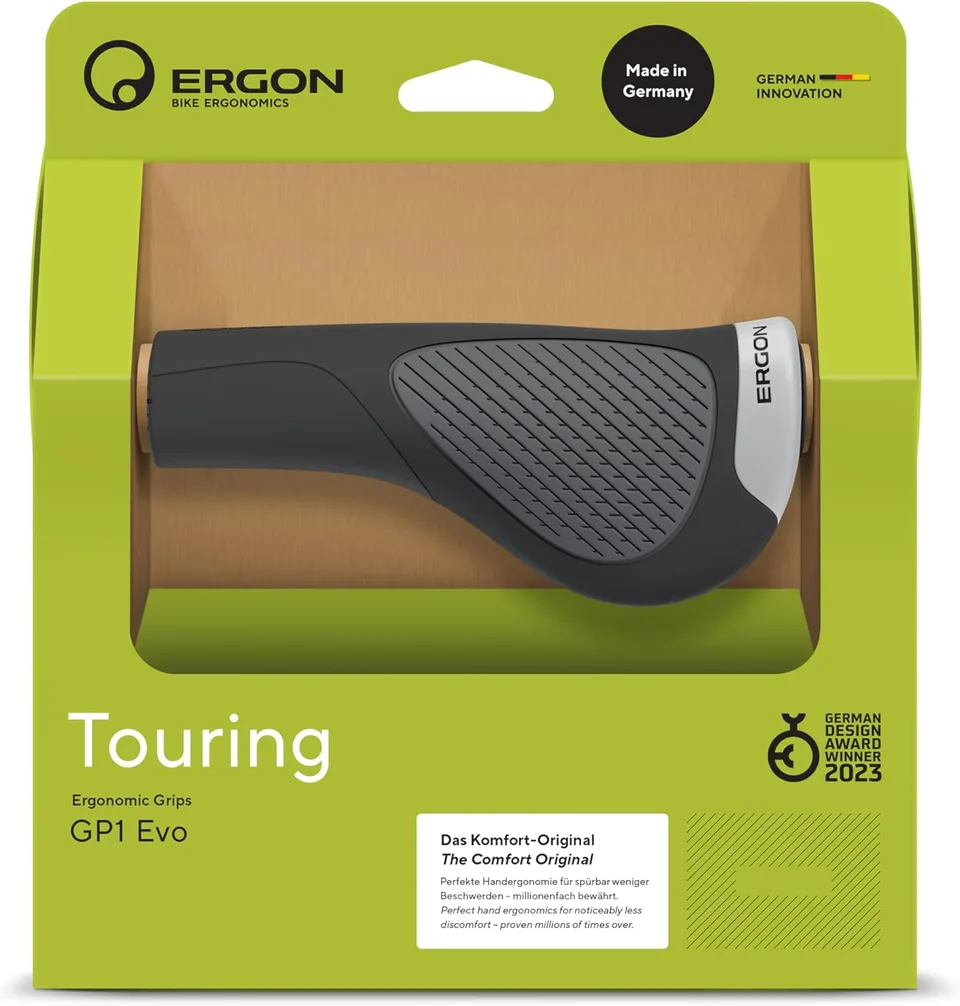
Ergon
Ergon GP1 Ergo Grip
Flat bar 22.2mm diameter. 130mm length with aggressive ergonomic molding for hand support.
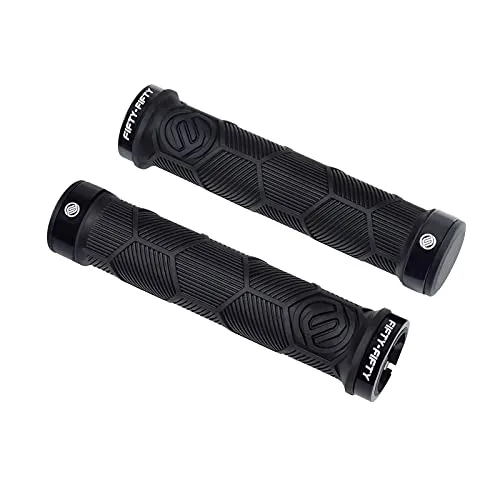
Fifty Fifty
Fifty Fifty FIFTY-FIFTY Double Lock-On MTB Grips
Standard 22.2 mm (7/8") bar diameter - fits any MTB or hybrid flat bar. The double lock-on design (two clamps per grip) is more secure than single-clamp grips when running soft compounds or riding in wet conditions. Direct alternative to Ergon GA2 or ODI Ruffian.
As an Amazon Associate we earn from qualifying purchases. This helps support our free calculators.
Frequently Asked Questions
Conclusion
A well-set-up indoor trainer is one of the most reliable ways to build fitness through bad weather, dark evenings, and busy seasons. The pieces that matter most aren't glamorous - airflow, sweat protection, a fit tweaked for sustained load, and the right control mode for the session - but together they turn the trainer from a punishment into a tool you'll actually use.
Key Takeaways
- Pick the right trainer: Direct-drive for accuracy and noise, wheel-on for budget and quick swaps, smart bikes for shared households.
- Mount carefully: Use the supplied steel skewer or correct thru-axle adapter, torque to spec, and protect the chainstay.
- Adjust the fit:Bars 5-10 mm higher, cleat angle reviewed, saddle pressure addressed before long sessions.
- Cool aggressively: One large fan minimum, two ideal - heat is the leading cause of abandoned indoor workouts.
- Protect from sweat: Sweat cover, post-ride wipe-down, monthly bolt inspection to prevent corrosion.
- Match the mode to the session: ERG for structured intervals, simulation for races and group rides.
- Calibrate and update: Run a warm spindown, update firmware regularly, and verify against another power source when possible.
Ready to dial in the rest of your setup? Start with our Saddle Height Calculator, confirm your training zones with the FTP Calculator, and revisit the Complete Bike Fitting Guide before your next block. A few small adjustments now make every future session better.
Related Calculators & Tools
Dial in saddle height for steady indoor efforts
Estimate FTP to set ERG mode targets
Translate watts to outdoor performance
Compare indoor cockpit positioning
Refine reach for trainer comfort
Match cadence to virtual gradients
Continue Reading
Frame sizing fundamentals before mounting on a trainer
The outdoor counterpart for cold-weather training
Tune reach before locking your bike into a trainer
Foundational fit principles that carry over indoors