Does This Used Bike Fit Me? Seller Measurement Checklist
GuideLast reviewed
Get the evidence before arranging a viewing.
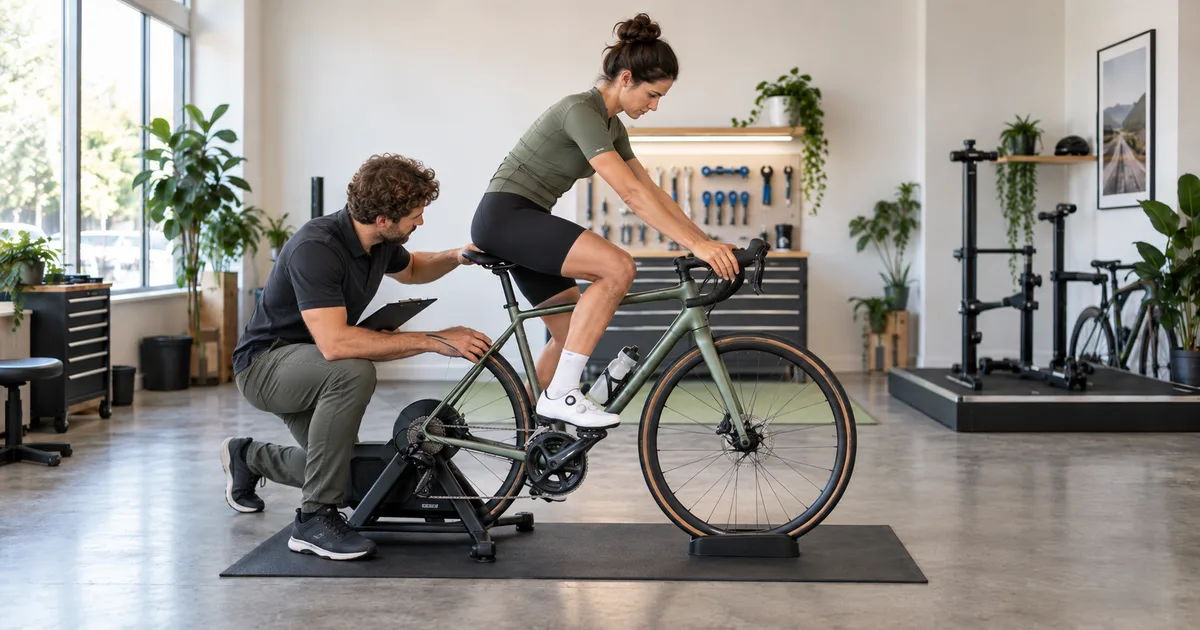
A used bike is worth viewing when its identity is clear and your intended position appears possible within the frame and component limits. A size label, the seller's height or a side-on photo is not enough to establish that.
This guide is for the stage before you travel or pay a deposit. It covers what to ask the seller, how to make their measurements useful and when the honest answer is “cannot determine yet.” For adjusting a bike you already own, use the bike fitting guide. Fit, mechanical condition and ownership history are separate checks. Passing one does not pass the others.
Start with the exact model, year and size
Ask for the brand, full model name, model year, frame material and the size printed on the frame. Request a photo of that size label and any model identifier. A purchase year is not necessarily a model year: shops sell older stock, and an upgraded drivetrain does not change the frame generation.
Match those details to the manufacturer's archived geometry chart or ask a dealer to help identify the frame. Record the chart URL and the row you used. If two generations remain plausible, keep both possibilities open rather than picking the chart that looks closest. Our guide to size labels and geometry explains why a familiar label can hide a different fit.
“54 cm” is particularly ambiguous. It might be a nominal label, a seat tube measured to its top, or a seller's measurement to the top-tube junction. A sloping top tube also makes its physical length different from effective, horizontal top-tube length. Ask what was measured and between which points. Do not convert an old label into a modern Medium by guesswork.
Ask for photos that answer a question
Request current photos of the actual bike, not stock pictures. Ask the seller to keep the whole bike in frame for the side views, with the camera square to it rather than looking down from above. Photos help identify parts and measurement endpoints; perspective prevents them from replacing a tape measure.
- Both sides of the complete bike, upright on level ground, showing the wheels, saddle and bars.
- The size label, model markings and any identification needed for a private manufacturer or dealer query. Avoid posting a seller's personal documents publicly.
- Seatpost and clamp, saddle rails and clamp position, plus the seatpost model. Ask whether the post moves freely; a seized post makes its theoretical adjustment range irrelevant.
- Stem markings, headset spacers and the top of the steerer assembly. A short-cut steerer can limit bar-height changes.
- Handlebar and brake-control models, crank-length markings and tire sidewall sizes. These may differ from the original build.
- Close-ups of disclosed damage, repairs, corrosion and wear. These document concerns; they do not prove the absence of hidden damage.
Use the same measurement endpoints
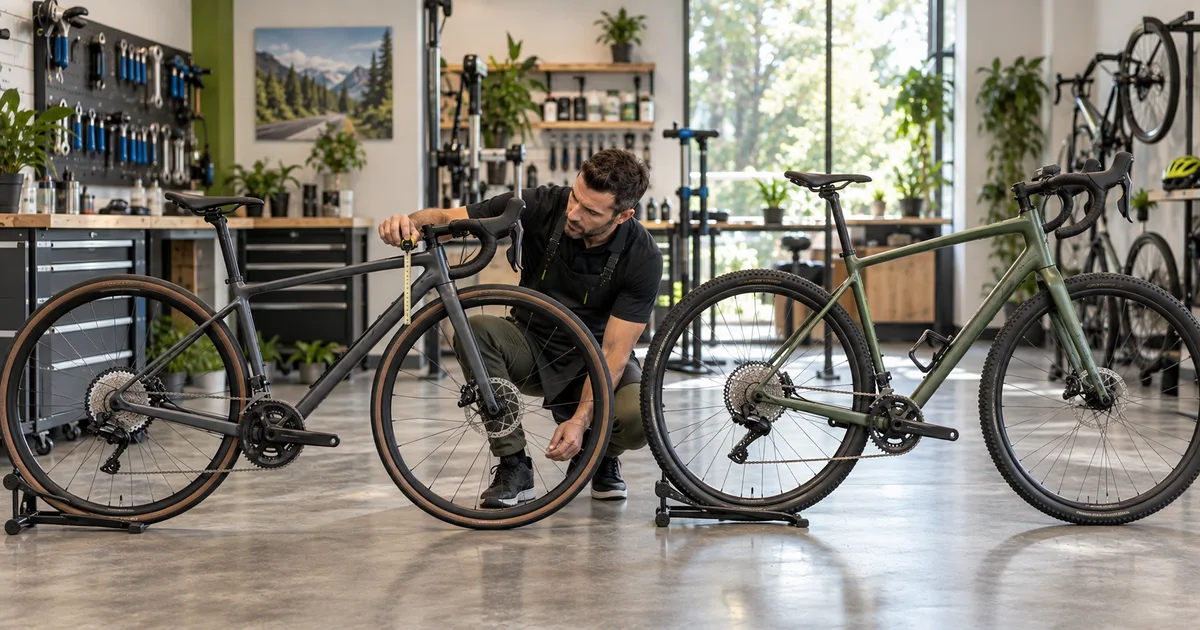
Have the seller use millimeters, keep the bike upright on level ground and photograph the tape endpoints. Record whether the suspension is unweighted or loaded. Do not compare a sagged mountain bike with an unweighted geometry drawing as though they were the same setup.
Park Tool's road positioning chart and MTB positioning chart explain repeatable reference points and why the method and units need to be written down. Use their principles to collect these measurements:
- Saddle height: bottom-bracket center to the top of the saddle along the seat-tube direction, using a straightedge on the saddle. Note the saddle model, tilt and measurement point.
- Saddle setback: the horizontal distance between a vertical line through the saddle nose and bottom-bracket center. Record whether the nose is behind or ahead of the bracket.
- Bar height: measure vertically from the ground to the bar top at the stem clamp, and from the ground to the saddle reference. Record whether the bars are below or above the saddle.
- Saddle-to-bar distance: saddle nose to bar center at the stem. This is a setup reference, not frame reach. Different saddle noses, bar shapes and hood positions change the comparison.
- Standover: ground to top-tube surface where you would actually straddle it. Request the location in a photo, not just the lowest point on a sloping tube. Confirm clearance in your riding shoes at the viewing; do not treat a barefoot inseam subtraction as a fit certificate.
- Adjustment evidence: current spacer arrangement, stem length and angle, seatpost offset and manufacturer-permitted saddle/post limits. Ask for documentation, not a seller's estimate of how far a post “should” extend.
Do not ask an inexperienced seller to dismantle a cockpit or pull a routed dropper just to answer a message. If insertion depth or a steerer limit requires disassembly, mark it unknown and arrange a competent shop check. For an MTB, use the mountain-bike sizing guide to check seated fit, standing room and dropper feasibility separately.
Compare with a bike that already works for you
Measure your current bike using the same endpoints. Copying an uncomfortable position only copies the problem. Without a useful reference, use a height-based size shortlist and a test ride or fit assessment rather than inventing target coordinates.
Enter the identified frames in geometry comparison to understand stack and reach differences. If a model is unavailable, use verified manufacturer dimensions where the tool supports manual entry; do not substitute a neighboring generation. Read the reach and stack guide before treating those frame measurements as your hand position.
The fit-transfer calculator takes measured hand and saddle targets relative to the bottom bracket and compares them with entered adjustment limits. Ground-based seller measurements need conversion to that reference; a saddle-to-bar tape reading is not a hand-coordinate input. Keep the tool's bar, hood and saddle assumptions in view.
For example, suppose a seller's measured saddle height is 20 mm above your existing position. That does not automatically make the frame too big. It asks a narrower question: can this saddle reach your target without exceeding insertion, rail or frame limits? If the seller cannot confirm that, the result stays unresolved. Conversely, matching saddle height does not establish that the bars are reachable.
Compare a proposed stem change with stem comparison and the stem length guide. A mathematical position match does not establish component compatibility or identical handling. Do not move the saddle forward solely to conceal an overlong cockpit.
Keep three possible outcomes
- Worth a viewing: identity is established and your intended position appears achievable inside documented limits. Confirm measurements, control access and handling in person.
- Not a viable fit as configured: a confirmed limit prevents your required position, or you cannot straddle or control the bike. Evaluate a documented compatible change or another bike.
- Cannot determine: model year, measurement endpoints, insertion limits or another required input is missing or contradictory. Ask for evidence. A blank is not a pass.
At the viewing, follow the bike fit checklist. With permission and only after condition checks, try starting, stopping, turning and reaching the brakes in a controlled area. A short ride can expose a problem but cannot guarantee comfort on a long ride. For gravel riding, the gravel sizing and fit guide adds loaded-riding and tire-clearance questions.
Fit evidence is not a safety inspection
Ask about crashes, transport impacts, repairs and replaced structural parts. Trek's Carbon Care guidance warns that carbon can conceal damage and that a normal appearance after an impact does not mean it is safe to ride. Seller photos, squeezing a tube and home tap tests cannot certify carbon safety. Suspected damage is a reason to stop, seek qualified inspection and follow the manufacturer's replacement guidance, not take a test ride to see whether it holds.
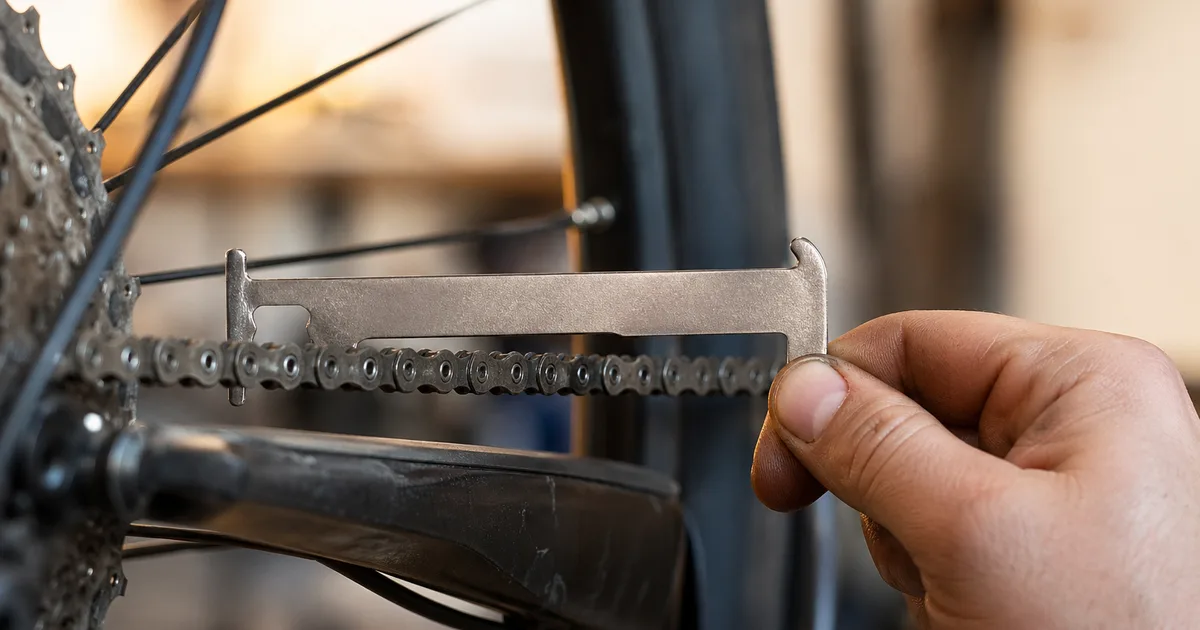
Request a chain-wear reading with the checker model, chain type and a photo of how it was used. A clean drivetrain is not evidence of low wear. The chain inspection and replacement guide explains the next checks; the pre-ride M-check is a starting screen, not a substitute for a pre-purchase inspection.
Once fit and condition questions are separated, use the used-bike deal calculator for your own purchase and repair estimates. Leave unquoted work unresolved. A favorable cost estimate cannot make an unsuitable or potentially damaged bike a sensible purchase.
Message to send the seller
Could you confirm the exact model, model year, frame material and labeled size, with a photo of the size marking? Please send current full-bike photos from both sides, plus the stem/spacers, seatpost and saddle clamp, crank-length marking and any damage or repairs.
With the bike upright on level ground, could you record saddle height from bottom-bracket center, saddle setback, saddle and bar heights from the ground, and saddle-nose-to-bar-center distance, all in mm? Please photograph the tape endpoints and note where you measured standover. I also need the post/stem models and any known adjustment limits. Unknown is fine; please do not dismantle parts.
Has it had crashes, transport impacts, structural repairs or a seized seatpost? Do you have service records and a chain-wear reading with the checker model? If the measurements look suitable, can we arrange an inspection and, if safe, a test ride?
Used-bike fit questions
Sources and review
Reviewed November 4, 2026 against Park Tool's road and MTB positioning instructions and Trek's Carbon Care guidance, linked above. The worked measurement example is hypothetical, not a manufacturer fit recommendation. Use the exact bike's manuals for its adjustment and inspection requirements.