How to Replace Brake and Shift Cables (Inner Cables & Housing)
How-To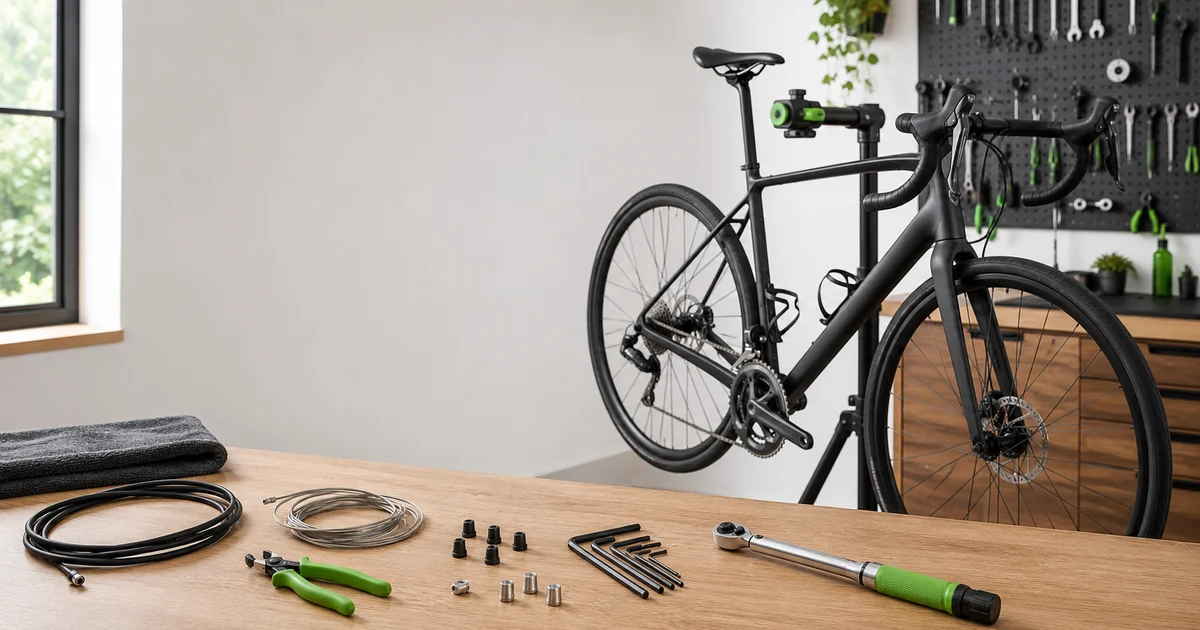
Sticky shifting and a brake lever that pulls halfway to the bar are usually not a sign that your bike is worn out. Most of the time the inner cable is corroded and the housing is gummed up with old grease and grit. New cables and housing cost about $20-$40 for the whole bike, take an hour the first time, and they bring back that crisp, instant feel you forgot the bike ever had. This guide covers both jobs - shift cables and brake cables, inner wire and outer housing - because the method is nearly identical once you understand how the parts work together.
At a glance
- Time: about 60 minutes the first time, 25 once it clicks
- Skill level: beginner-to-intermediate
- Cost: $20-$40 in cable and housing for the whole bike
- The one tool you must own: a proper cable cutter
Quick answer
Replace a brake or shift inner cable when it feels gritty, shifting has gone vague, or you can see a frayed strand at the lever or anchor bolt. Replace the housing at the same time - a fresh wire inside crushed, dirty housing still drags.
The job in one line: release tension, pull the old cable, cut new housing to match the old lengths, thread a lubricated new cable, set tension, then index the gears or center the brake. Full walkthrough below.
First, check what kind of brakes you have
This guide is for mechanical (cable-pull) brakes and all standard derailleur shifting. If your brake levers connect to the calipers with a sealed hose full of fluid, those are hydraulic and have no cable to swap - you would bleed them instead. Electronic shifting (Di2, AXS) also has no shift cable.
Who this is for
- Riders with vague, lazy shifting that no amount of barrel-adjuster fiddling will fix
- Anyone whose brake lever feels gritty or pulls closer to the bar than it used to
- New owners of a used bike who want a clean baseline before chasing other problems
- Home mechanics who already clean their own chain and drivetrain and want the next skill in the yearly service routine
How a cable system works
A cable system has two parts that do different jobs. The inner cable is the thin braided steel wire that you pull when you squeeze a lever or push a shifter. The outer housing is the flexible tube the cable runs through between fixed points on the frame. The housing has to resist being squashed so that all of your hand effort goes into moving the cable, not crushing the tube.
Here is the part that trips people up: brake housing and shift housing are built differently and are not swappable.
| Housing type | How it is built and where it goes |
|---|---|
| Brake housing (coil-wound) | A tight steel coil wrapped in plastic. It handles the high pull forces of braking but compresses a little, which is fine for a brake. Use it only for brakes. |
| Index housing (compressionless) | Many parallel strands running lengthwise so it barely compresses. That precision is what lets indexed shifting land on the right cog every time. Use it only for shifting. |
Inner cables differ too, but only at the end that anchors in the lever. Road brake levers take a round mushroom head, while flat-bar brake levers and almost all shifters take a smaller barrel (or pear) head. Many cables ship with both ends so you just snip off the one you do not need. Shift cables are thinner (1.1 mm) than brake cables (1.5 mm or 1.6 mm), so do not mix them up.
Why this matters
Put a shift cable in coil brake housing and your shifting will feel spongy and never quite index, because the housing flexes every time the derailleur spring pulls back. Park Tool's own service guides make the same point: compressionless housing exists specifically so indexed systems hold their tension. Match the housing to the job and half your future tuning headaches disappear.
When to replace cables
Cables wear from the inside out. Water wicks past the end caps, the wire corrodes, and the housing liner fills with a paste of old lube and road grit. You feel the result long before you see it: shifts that hesitate, a lever that springs back slowly, or a thumb shifter that needs a firm shove to drop a gear.
Replace now if
- You can see frayed strands at the anchor bolt or poking out of the lever
- Shifting is vague or slow even after a fresh indexing tune
- The brake lever feels gritty, sticky, or returns sluggishly after you let go
- The housing is cracked, kinked, or rusty at a cut end
- You just bought a used bike and have no idea how old the cables are
On a bike ridden year round, most mechanics swap cables once a season or once a year. If you mostly ride in the dry and store the bike inside, you can stretch that to every couple of years. Either way, a fraying cable is a safety item on a brake, so do not ride it “just one more week.” Pair this check with the brake-and-shift section of the M-check and you will catch problems on the stand instead of on a descent.
Tools & parts
You almost certainly own the hex keys already. The one tool worth buying is a real cable cutter. Side cutters and kitchen scissors crush the cable and shred the housing, and a crushed housing end is the single most common reason a fresh cable still feels rough.
| Tool | Why you need it |
|---|---|
| Cable & housing cutter | Square cuts on housing, clean cuts on cable, and a built-in crimper for end caps. The job lives or dies on this one tool. |
| 4 and 5 mm hex keys | The pinch bolts at derailleurs and brake calipers, plus most cable stops |
| Needle-nose pliers | Pulling the cable taut before you tighten the anchor bolt |
| Pick or small awl | Re-opening a housing end and the inner liner after cutting |
| Repair stand (optional) | Holds the bike at working height and frees both hands - a real comfort upgrade for a job this fiddly |
| Parts | Notes |
|---|---|
| Inner cable (brake or shift) | Match the head to your lever. Stainless lasts longer than galvanized; slick-coated cables feel lighter but the coating can flake over years. |
| Outer housing | Coil-wound for brakes, compressionless for shifting. Buy a little extra - you will waste some on the first cut. |
| Ferrules | The small caps on each housing end. They seat the housing squarely in the cable stops; never run housing without them. |
| Cable end caps | Crimp one on every cut cable end so it cannot fray |
Most riders buy a complete kit - a Shimano, SRAM, or Jagwire cable set bundles the right cable, housing, ferrules, and end caps for a fraction of the cost of a shop service. If you are building up a home workshop, a full mechanic kit covers the hex keys and pliers in one box. Whatever you choose, get the cables from the same family of parts as your shifters so the cable head fits.
Replace a shift cable, step by step
I will use the rear derailleur as the example because it is the cable people kill first. The front derailleur and any thumb or trigger shifter follow the same pattern.
Step 1 - Match the parts and shift to the small cog
Confirm you have a 1.1 mm shift cable with the right head for your shifter and a length of compressionless index housing. With the bike in the stand, shift to the smallest cog at the back (the highest gear). That winds the cable in completely so it goes slack once you undo the anchor.
Step 2 - Photograph the routing before you touch anything
Take a few photos of how the housing loops into the rear derailleur, where it enters the frame, and how long each segment is. The old setup is your template. The single biggest rookie mistake is guessing the rear loop length, so copy what the factory did unless it was obviously too tight or too long.
Step 3 - Snip the end cap and undo the anchor bolt
Cut off the crimped end cap, then loosen the 4 or 5 mm pinch bolt where the cable clamps to the derailleur. Note exactly where the cable sat in the anchor groove - reusing that path keeps your tension predictable.
Step 4 - Pull the old cable out through the shifter
Click the shifter to its released position and push the cable forward to pop the head out of the shifter body. Draw the whole cable out. Slide the old housing segments off and keep them lined up on the bench in order - they are your cut-length references.
Step 5 - Cut new housing to length and fit ferrules
Lay each new housing segment next to its old twin and cut it to the same length with the cutter. Cut square. A diagonal cut will not seat in a ferrule and it telegraphs straight into your shifting. After each cut, the inner liner usually pinches shut, so open it back up with a pick, then press a ferrule onto the end. Compressionless housing especially needs a clean, square face here.
Expert tip
Cut housing so each segment makes a smooth arc into the cable stop with no tight kinks. A housing that is a touch too long and gently curved beats one that is “exactly right” but kinked. Tight bends add friction the moment you load the cable, and friction is what you are trying to remove.
Step 6 - Lube and thread the new cable
Wipe the new inner cable, add a thin smear of light cable lube or grease (skip this only if the cable is factory-coated and the maker says so), and seat the head fully in the shifter. Feed it through each housing segment and frame stop. Go slowly so the cable does not catch and birds- nest a strand at the housing entry.
Step 7 - Set tension and anchor the cable
Wind the barrel adjuster on the derailleur (or shifter) almost all the way in, then back it out one full turn so you have room to fine-tune later. Pull the cable taut with needle-nose pliers, drop it into the anchor groove, and tighten the pinch bolt to roughly 5-7 Nm. Do not crank it - over-tightening can splay the cable strands.
Step 8 - Trim and crimp
Leave about 30-40 mm of cable past the bolt, cut the rest, and crimp an end cap on. This is not optional. A bare shift cable end frays into a tiny wire brush that will find your fingertip every single time.
Step 9 - Index the gears
New cable, fresh tension - now make it shift. Run through the gears and use the barrel adjuster to dial in each shift until it is instant in both directions. New cables also stretch a little (really the system settles) over the first few rides, so expect to add a quarter turn of tension after your first ride. The full process is in our derailleur indexing and limit screws guide, and you can sanity-check your gearing with the gear ratio calculator if a swap felt off.
Replace a brake cable, step by step
A brake cable is the same idea with thicker parts and a different head. The big difference is the finish: instead of indexing gears, you set the pad clearance and lever feel. Take this one seriously - it is the cable that stops you.
Step 1 - Open the brake and free the cable
Open the brake's quick-release so the pads sit wide. On a road caliper that is a small lever on the side; on a V-brake you unhook the noodle; on a mechanical disc you may just need slack. Snip the end cap and undo the pinch bolt at the caliper.
Step 2 - Pull the old cable out at the lever
Squeeze the brake lever to expose the cable head inside it, push the cable to pop the head free, and pull the whole cable out. As with shift cables, keep the old housing segments in order on the bench.
Step 3 - Cut coil brake housing to length
Match the new coil-wound brake housing to the old segments and cut square. Open the end, fit a ferrule, and check that the run into the lever and caliper curves smoothly without pinching. Brake housing forgives a slightly long segment far more than a kinked one.
Step 4 - Thread the cable and seat the head
Add a touch of lube, seat the mushroom or barrel head firmly in the lever, and feed the cable through the housing and any frame guides. Double-check the head is fully home before you pull tension - a partially seated brake cable head is dangerous.
Step 5 - Set pad clearance and anchor
Hold the pads close to the rim or rotor (a common trick is to squeeze them in with one hand or wrap a thick rubber band around the caliper), pull the cable snug with pliers, and tighten the pinch bolt to about 6-8 Nm. Close the quick-release. You want a firm lever that does not bottom out against the bar.
Step 6 - Trim, crimp, and test hard
Leave 30-40 mm past the bolt, cut, and crimp an end cap. Then squeeze the lever hard a dozen times to seat the cable and housing, and re-check tension - it will drop slightly on the first few pulls. Spin the wheel and confirm the pad does not rub. If your pads are also worn, handle that in the same session with our brake pad guide.
Safety check before you ride
Lift the bike and spin each wheel. Pull each lever and make sure the wheel locks, then confirm it spins freely when you release. Roll the bike forward and brake at walking pace before you trust it at speed. If a lever pulls to the bar even after fresh cable and good pads, stop and find out why.
Cutting housing properly
This deserves its own section because it is where most home jobs go sideways. Three things make the difference between shifting that feels factory-fresh and shifting that never quite settles.
Cut square. A proper cutter shears the housing in one squeeze and leaves a flat face. Diagonal pliers fold the housing over and leave a ragged oval that will not sit straight in a ferrule.
Reopen the liner. Even a good cut squishes the inner plastic liner. Push a pick or a spare piece of cable through to round it back out before you fit the ferrule, or the cable will drag at that spot.
Always use ferrules. The little end caps spread the load and keep the housing square in the cable stop. Running housing without a ferrule is the fast track to a rough cut chewing into the frame and a vague, mushy feel.
Cable Tools and a Home Workshop
The cable cutter does the real work here. The rest turn a fiddly job into a relaxed one.
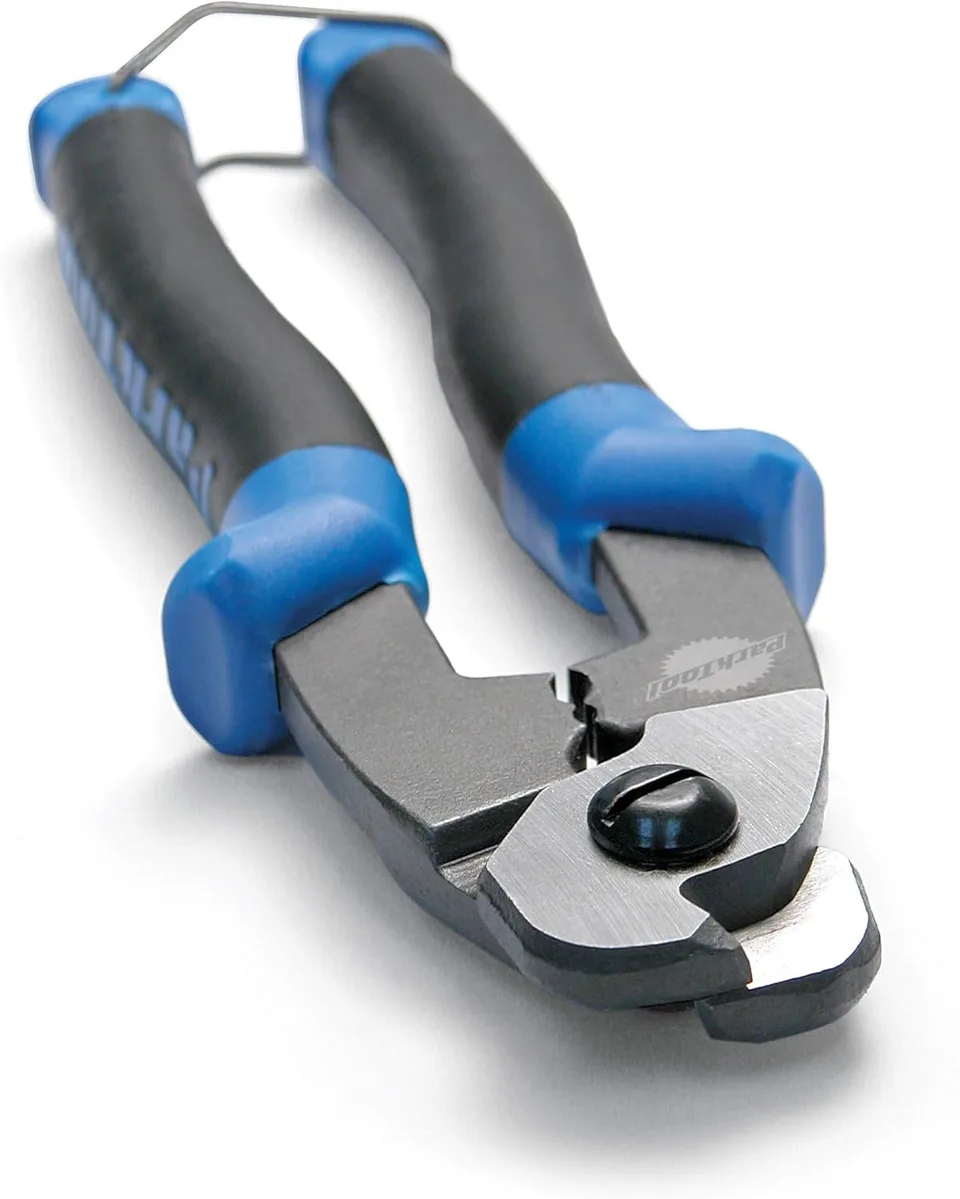
Park Tool
Park Tool CN-10 Professional Cable & Housing Cutter
Universal for any cable-actuated bike. Significantly cleaner cuts than diagonal pliers - leaves housing ends square so ferrules seat properly. Do not use on hydraulic brake hose (use the HBT-1 hose cutter for that).
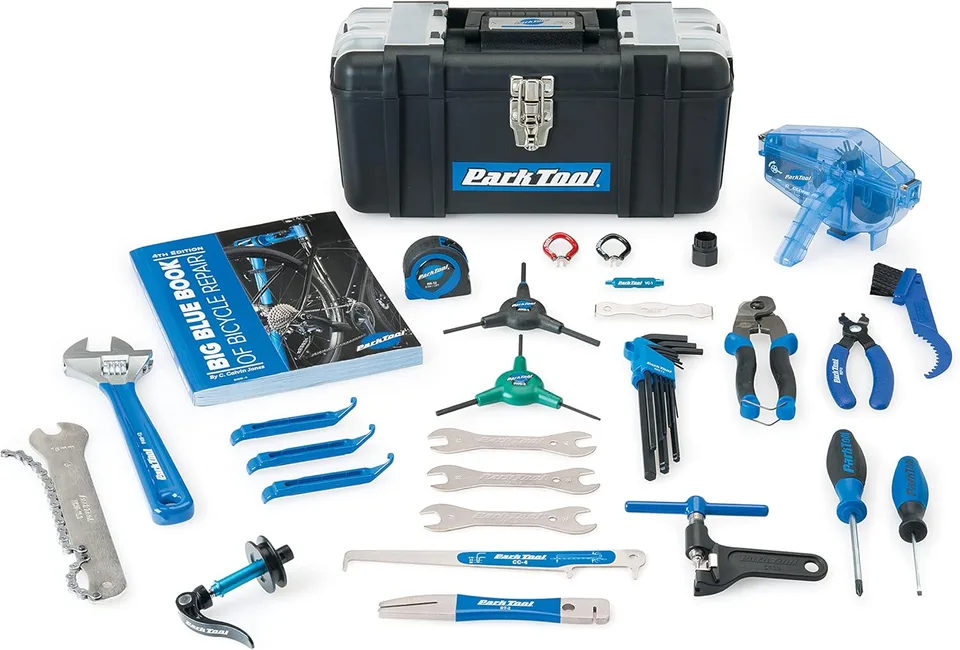
Park Tool
Park Tool AK-5 Advanced Mechanic Tool Kit
Complete drivetrain + brake + cockpit tool kit for serious home mechanics. Step up from the SK-4 starter kit; step down from the pro-shop EK kits. Hex/Torx range covers virtually every modern bike fastener.
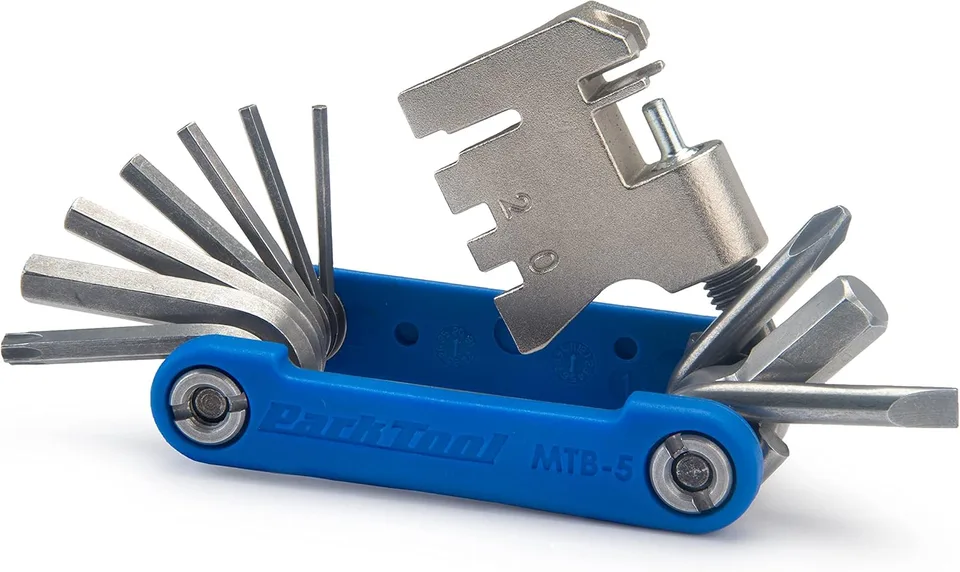
Park Tool
Park Tool MTB-3.2 Multi-Tool
Trail-ready multi-tool with disc-brake-specific helpers (rotor truing, pad spreader). Slightly heavier than a stripped-down road multi-tool, but covers every adjustment a modern MTB needs out on the trail.
Park Tool
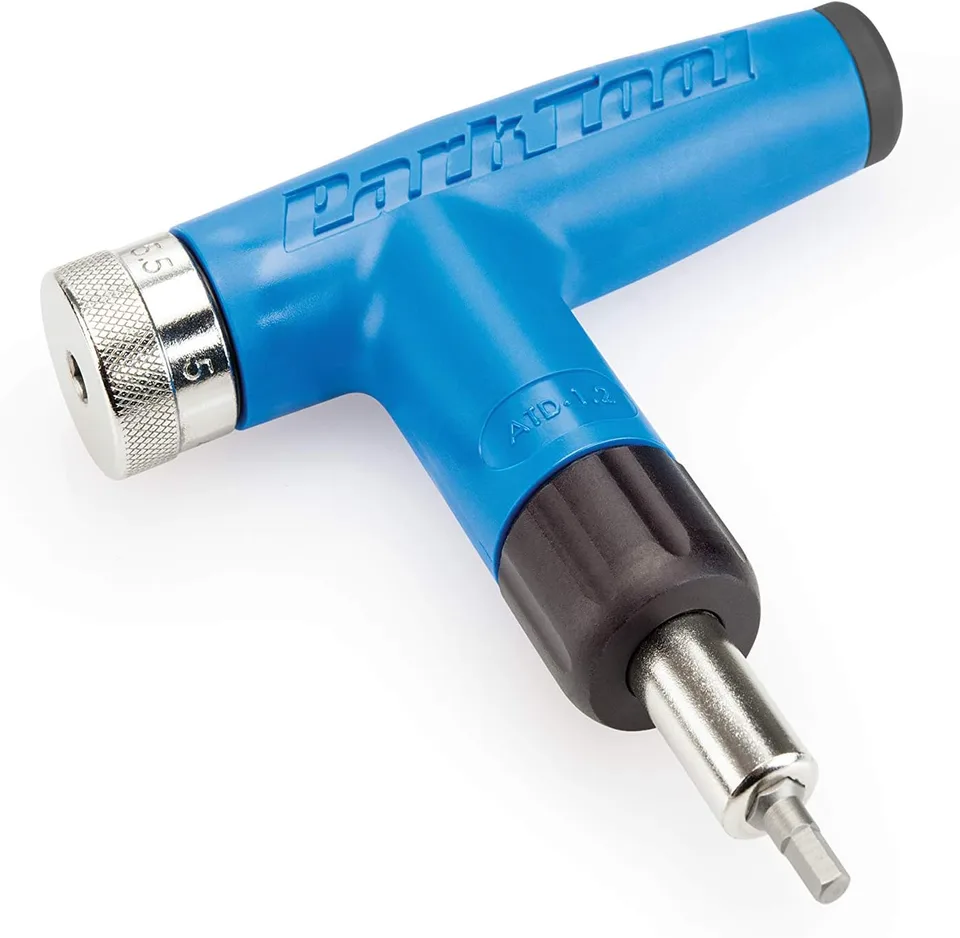
Park Tool ATD-1.2 Adjustable Torque Driver
Critical for modern carbon stems, seatposts, and handlebar clamps where over-tightening cracks the part. Range covers virtually every modern cockpit bolt; for higher-torque bolts (cassette lockrings, BB cups) use the TW-5.2 or TW-6.2 instead.
Park Tool
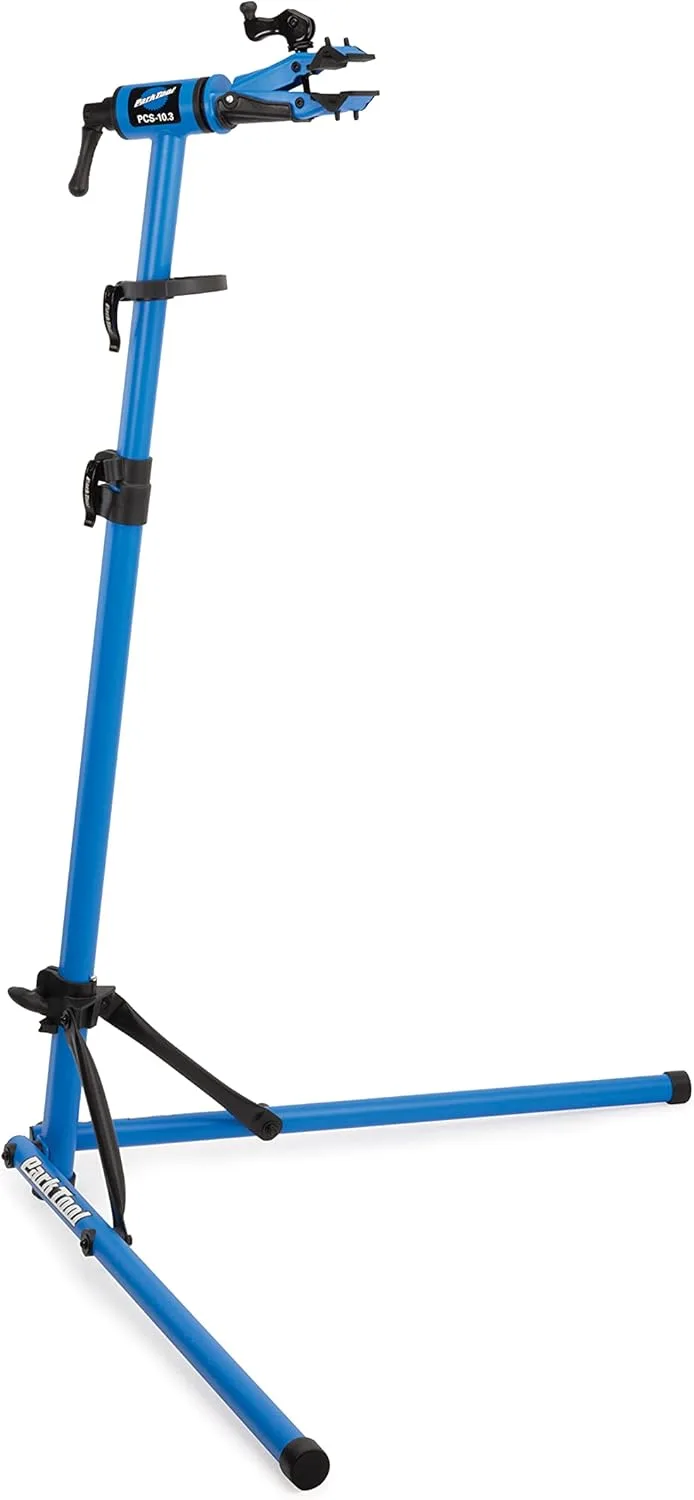
Park Tool PCS-10.3 Deluxe Home Mechanic Repair Stand
The deluxe big brother to the PCS-9.3 - wider clamping range, taller maximum height, and micro-adjustable cam. A better pick for tall riders who want bottom-bracket-height clamping or anyone working on aero/oval seatposts.
As an Amazon Associate we earn from qualifying purchases. This helps support our free calculators.
Common mistakes
- Using brake housing for shifting (or vice versa). The number one cause of shifting that will not index. Match the housing to the job.
- Cutting with side cutters. A crushed housing end drags no matter how new the cable is.
- Skipping ferrules or end caps. Ferrules keep the housing square; end caps keep the cable from fraying. Both are twenty-cent parts that fix dollar problems.
- Guessing the housing length. Too short kinks at the bars when you steer; too long flops around. Copy the old lengths.
- Over-tightening the pinch bolt. Past spec you splay and weaken the cable strands right where they take the load.
- Forgetting cables settle in. Add a touch of tension after the first ride and your shifting stays sharp.
Troubleshooting
| Symptom | Likely fix |
|---|---|
| Shifting still vague after a new cable | Check you used compressionless housing, then re-index with the barrel adjuster |
| Cable feels rough or notchy | A crushed or unsquared housing cut, or a strand caught at a housing entry - recut and reseat |
| Brake lever pulls to the bar | Cable not pulled tight enough at the anchor, or the pads are worn - re-tension and check pad thickness |
| Shifting drifts after the first ride | Normal settling - add a quarter turn of tension at the barrel adjuster |
| Housing rubs or rattles on the frame | Missing ferrule or a segment cut too long - add the ferrule or trim to a smooth arc |
When to call a shop
Most external-routed bikes are a great first cable job. A few setups are worth handing to a mechanic, at least the first time. Fully internal routing through the frame can be a wrestling match without the right magnet or guide tools. Many integrated cockpits on modern road bikes route cables through the bar and stem, which can mean re-taping and re-bleeding to do a single cable. And if the bike is electronic or hydraulic, there is no cable to replace - that is a different service entirely. If any of that describes your bike, a shop will sort it quickly, and you can still do the easy external bikes in your stable yourself.
Frequently asked questions
Key takeaways
- Match the housing to the job: coil-wound for brakes, compressionless for shifting. They are not swappable.
- Copy the old lengths: the factory routing is your template for where to cut.
- Cut square, reopen the liner, fit a ferrule: that is what makes a fresh cable feel crisp.
- Crimp an end cap every time so the cable cannot fray.
- Finish the job properly: index the gears or center the brake, and re-tension after the first ride.
Related Calculators & Tools
Sanity-check your gearing after a fresh shift cable - it makes indexing problems easier to spot
Doing a full drivetrain refresh? Get the chain length right while the bike is already in the stand
See how each gear translates to speed once your shifting is crisp again
Inherited the bike with the worn cables? Confirm the frame actually fits you
Continue Reading
A new shift cable always needs indexing - this is the companion guide for the final tune
Where cable replacement fits in a yearly service - the flagship home tune-up schedule
Hydraulic brakes have no cable to replace - if that is what you have, this is the job instead
A rubbing rim brake is sometimes a bent wheel, not a cable - rule it out first