Bike Maintenance Basics: A Complete Home Tune-Up Schedule
How-To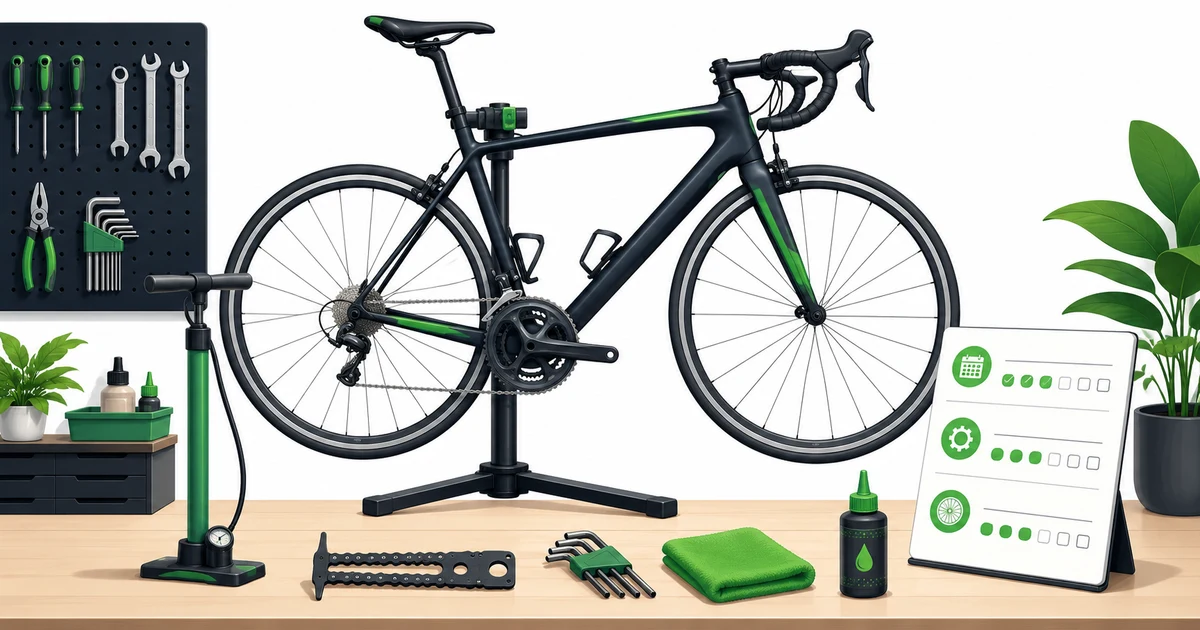
Most bikes do not break down because something is hard to fix - they break down because nothing ever gets checked. The good news is that keeping a bike safe, quiet, and fast is a short, repeatable routine, not a mechanic's diploma. This flagship guide is the home base for that routine: a maintenance schedule split into “before every ride,” “weekly,” “monthly,” and “yearly” tiers, the small kit of tools that covers 90% of jobs, and a step-by-step monthly tune-up you can run in about half an hour. Each task links out to a deeper how-to when you want the full detail.
At a Glance
- Before every ride: 60-second M-check (air, brakes, quick-releases)
- Weekly: wipe and lube the chain, top up tyre pressure
- Monthly: wash, degrease, full tune-up and bolt check (~30 min)
- Yearly: bearings, cables/bleed, full drivetrain audit (DIY or shop)
Quick Answer
Run the ABC quick check (Air, Brakes, Chain) before every ride, clean and lube the chain weekly or after any wet ride, and do a 30-minute monthly tune-up: wash, degrease, check chain wear and tyre pressure, test brakes and shifting, and confirm key bolts are torqued. Save bearing service, cable replacement, and brake bleeds for an annual deep clean.
The one habit that matters most: keep the chain clean and lubed. A gritty chain wears out the whole drivetrain and is the source of most “my bike feels slow” complaints.
Who This Is For
- New riders who just bought a bike and want a simple routine that keeps it safe and under warranty
- Commuters riding in all weather who need the bike to start every morning without drama
- Returning cyclists dusting off a bike that has sat in the garage for a season or three
- Parents keeping a family fleet of bikes rolling without a monthly shop bill
Why Follow a Schedule Instead of Fixing Things When They Break
Reactive maintenance is expensive. A chain costs about $25 and is designed to wear out; if you ignore it, the worn chain chews into the cassette and chainrings, and a $25 job becomes a $150 one. The same logic applies across the bike - dry bearings, contaminated brake pads, and frayed cables all start cheap and get pricey when left alone. A light, regular routine catches these while they are still small.
Safety is the other half of the argument. Brakes that pull to the bar, a loose stem bolt, or a tyre worn to the casing are not “someday” problems - they are the difference between a near miss and a crash. A scheduled check means you find them in your garage, not at 40 km/h on a descent. Pair this routine with the right bike fit and you have a machine that is both safe and comfortable for the long haul.
The Maintenance Schedule at a Glance
Print this, tape it inside a cabinet, and you have a complete home program. Frequencies assume a few rides a week in mixed conditions; ride more, ride in the wet, or ride off-road and you move everything up a tier.
| Frequency | Tasks | Time |
|---|---|---|
| Before every ride | ABC quick check: Air, Brakes, Chain & quick-releases (the M-check) | ~1 min |
| Weekly / after wet rides | Wipe & re-lube the chain, top up tyre pressure, quick wipe-down | ~10 min |
| Monthly | Full wash, degrease & deep-lube drivetrain, check chain wear, test brakes & gears, torque bolts | ~30 min |
| Yearly | Bearing service (hubs, BB, headset), cable/housing replacement or brake bleed, full safety audit | 2-4 hr (or shop) |
Before Every Ride: The ABC Quick Check
Mechanics teach beginners the “ABC” check because it covers the three things most likely to ruin a ride, and it takes under a minute:
- A is for Air. Squeeze both tyres. Soft tyres are the number-one cause of pinch flats and sluggish rides. If you are not sure of the right number, our Tire Pressure Calculator sets a target from your weight and tyre width.
- B is for Brakes. Roll the bike forward and squeeze each lever. Both should stop the wheel firmly and return crisply. A lever that touches the bar means low pads, a stretched cable, or air in a hydraulic line.
- C is for Chain & Cranks. Glance at the chain - it should look clean and lightly oiled, not rusty or bone dry. Give the cranks and wheels a wobble to confirm nothing is loose.
For the full version, the M-check walks the bike from front wheel to rear wheel in an “M” shape so nothing gets skipped. It is worth doing in full whenever you pull the bike out after a few days off.
Weekly Tasks: Chain Love and Pressure
If you only do one thing on a schedule, make it this. A clean, lubed chain is quieter, shifts better, lasts far longer, and protects the expensive parts it drives. Once a week - or after any ride in rain or dust - wipe the chain down with a rag, apply a fresh drop of lube to each roller, backpedal to spread it, then wipe off every bit of excess from the outside. Lube belongs inside the rollers; lube on the outside is just glue for grit.
Match the lube to the weather
Use a dry lube for dusty, dry conditions, a wet lube for rain and mud, and a wax-based lube if you want the cleanest, quietest drivetrain and are willing to prep the chain first. Our chain lube types guide breaks down the trade-offs, and our 2026 picks name specific products.
Top up tyre pressure at the same time - latex and even butyl tubes lose a few PSI a week. Riding at the right pressure is the cheapest speed and comfort upgrade there is; the tyre pressure guide explains how width, weight, and surface change the number. Full chain routine here: how to clean and lube a chain the right way.
The Monthly Tune-Up (Step by Step)
Once a month, give the bike a proper half hour. This is the core “how-to” of the whole guide - run these seven steps in order and you will catch almost everything before it becomes a repair. Work on a repair stand if you have one; it turns an awkward floor job into a pleasant one.
- Wash and dry the bike. Rinse off loose grit, then wash frame, wheels, and cockpit with warm soapy water and a soft brush. Keep the hose away from the hubs, bottom bracket, and headset. Working on a clean bike means you actually see worn parts. Details: washing a bike without killing the bearings.
- Degrease and re-lube the chain. Run the chain through a chain cleaner with degreaser, rinse, dry completely, then apply fresh lube. A monthly degrease resets the gunk that a weekly wipe cannot reach.
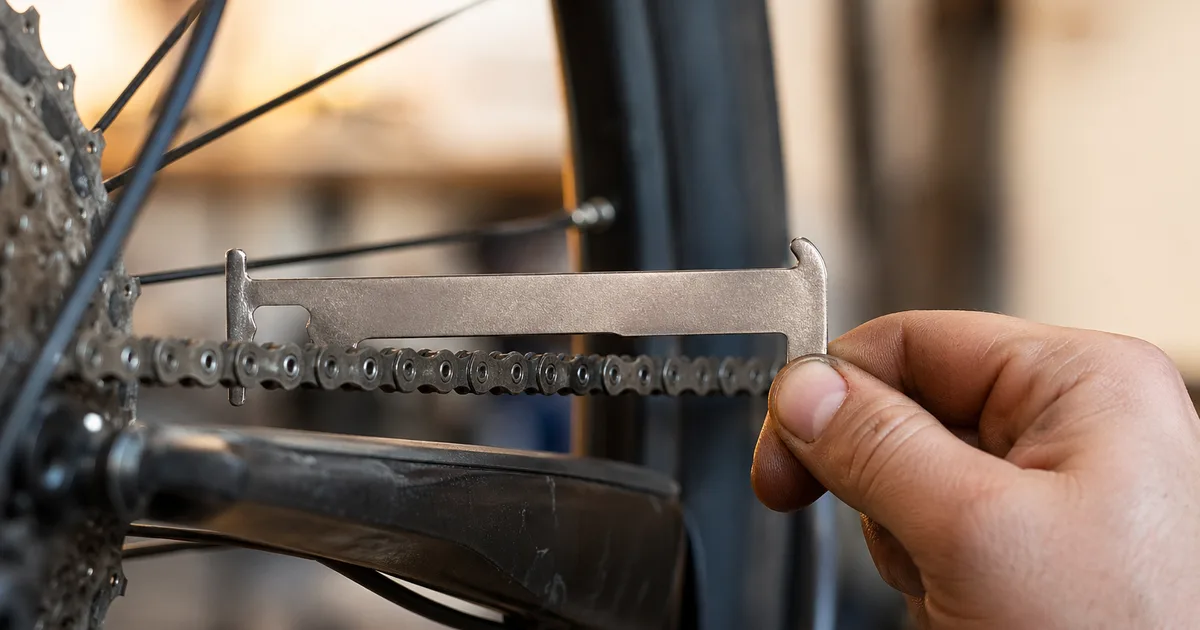
- Check chain wear. Drop a chain checker on. Replace 11- and 12-speed chains at 0.5% and 8- to 10-speed chains at 0.75% (reserve 1.0% for older 6/7-speed and single-speed setups). Catching wear here is what saves your cassette - see the chain wear thresholds and size a new one with the Chain Length Calculator.
- Set tyre pressure and inspect tyres. Pump to your target PSI and run a thumb over the tread to dig out glass or flints. Check the sidewalls for cuts and the tread for the wear indicators.
- Test brakes and pad wear. Each lever should firm up well before the bar. Replace rim pads at the wear line and disc pads under ~1.5 mm of pad plus backing. Step-by-step: replacing brake pads.
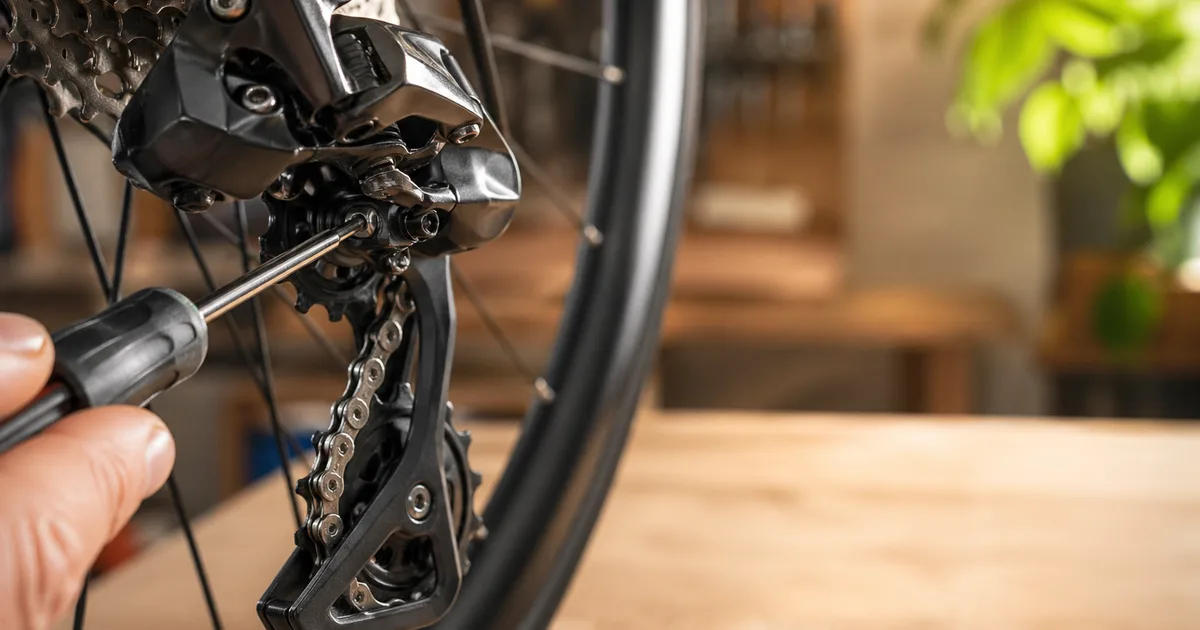
- Run through the gears. Shift across the full range. If it hesitates or rattles, a quarter-turn of the barrel adjuster usually fixes it - derailleur indexing covers the rest.
- Torque the key bolts. Confirm stem, bar, seatpost clamp, and brake bolts match the torque printed on the part. Wiggle the wheels and cranks - any knock means a bearing needs attention. A loose stem bolt is one of the most common and dangerous oversights on a self-maintained bike.
Carbon parts: always use a torque wrench
Over-tightening a carbon seatpost, bar, or stem can crack it - and a cracked carbon part can fail without warning. Most cockpit components are stamped with a torque figure (often 4-6 Nm). A small torque driver is cheap insurance against an expensive and dangerous mistake.
Yearly Deep Service
Once a year - or at the start of a new season - go deeper than the monthly routine. These jobs touch the parts that wear slowly but matter a lot:
- Bearings. Service or at least inspect the hubs, headset, and bottom bracket. Grit and water work their way in over a year; fresh grease keeps them rolling smoothly.
- Cables and brakes. Replace shift and brake cables and housing if shifting has gone vague, or bleed hydraulic brakes if the lever feels spongy.
- Wheels. True the wheels and check spoke tension - a small wobble today is a broken spoke later. If you run tubeless, refresh the sealant per the tubeless setup guide.
- Drivetrain audit. If the chain has been replaced two or three times, the cassette and chainrings are probably due as well. Check freehub engagement while the cassette is off.
Tools You Actually Need
You do not need a pro workshop. A modest kit handles the entire schedule above, and you can build it over time. Here is the order we recommend buying in, from most to least essential:
| Tool | What it covers |
|---|---|
| Floor pump with a gauge | Accurate, fast tyre inflation - the most-used tool you will own |
| Hex + Torx key set | Nearly every bolt on a modern bike, from saddle to brakes |
| Chain checker | Tells you the exact moment to replace the chain and save the cassette |
| Degreaser + chain lube + rags | The weekly and monthly drivetrain routine |
| Torque wrench / driver | Safe tightening of carbon and lightweight alloy parts |
| Repair stand (optional) | Holds the bike at working height - turns chores into easy jobs |
Our best bike tools guide for 2026 and best floor pumps name specific kits worth owning, and the picks below are the exact pieces we reach for most.
Home Maintenance Kit
The stand, tool kit, chain checker, torque driver, cleaning gear, lube, and pump that cover the entire schedule above.
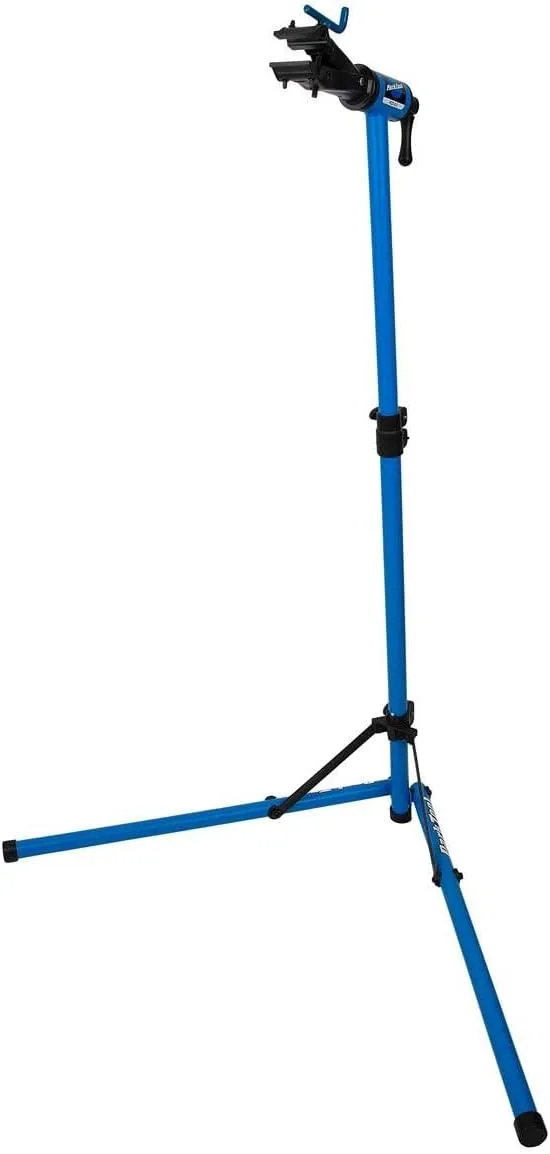
Park Tool
Park Tool PCS-9.3 Home Mechanic Repair Stand
Designed for home use - bench-friendly footprint and folds flat. Clamps any standard round seatpost or top tube. Not as tall as the PCS-10.3 (height adjusts up to ~57" vs 60").
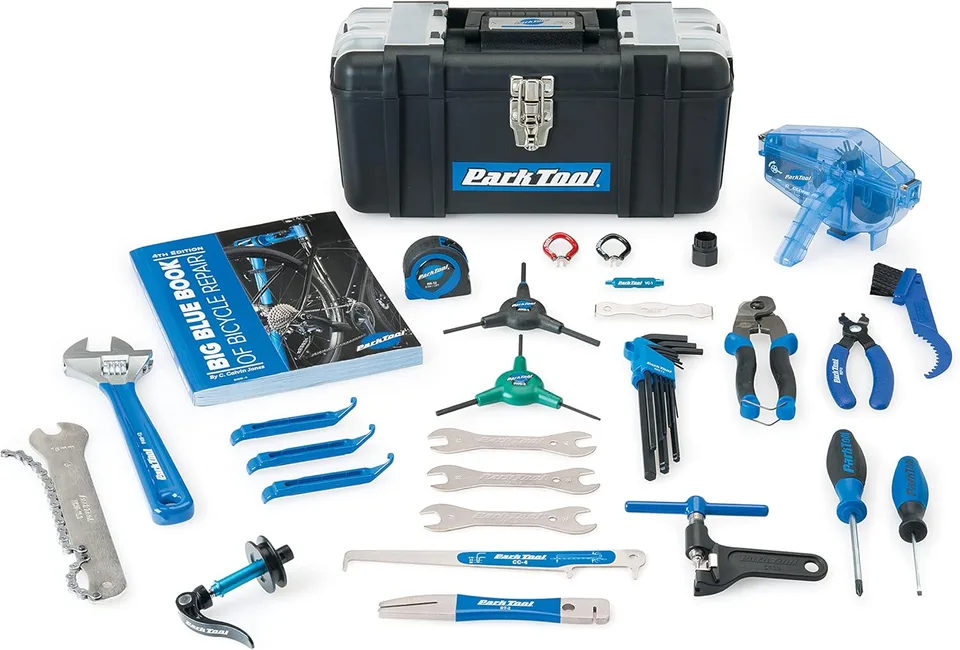
Park Tool
Park Tool AK-5 Advanced Mechanic Tool Kit
Complete drivetrain + brake + cockpit tool kit for serious home mechanics. Step up from the SK-4 starter kit; step down from the pro-shop EK kits. Hex/Torx range covers virtually every modern bike fastener.
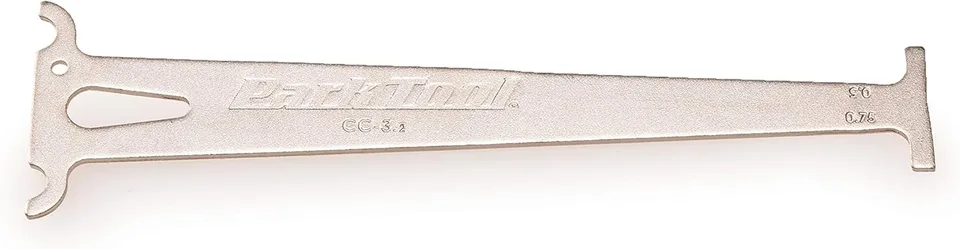
Park Tool
Park Tool CC-3.2 Chain Wear Checker
Replace 10/11/12-speed chains at 0.5% wear; 5-9 speed chains can run to 0.75%. Checking monthly during heavy riding seasons saves expensive cassette and chainring replacements.
Park Tool
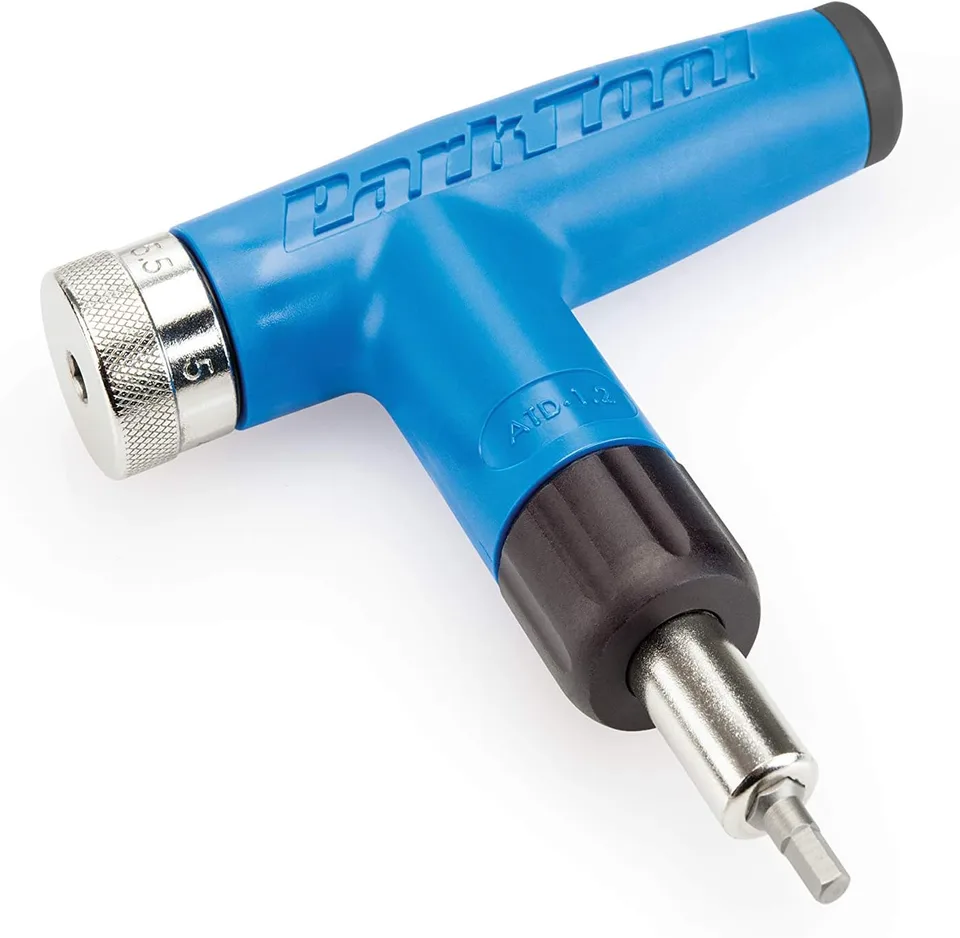
Park Tool ATD-1.2 Adjustable Torque Driver
Critical for modern carbon stems, seatposts, and handlebar clamps where over-tightening cracks the part. Range covers virtually every modern cockpit bolt; for higher-torque bolts (cassette lockrings, BB cups) use the TW-5.2 or TW-6.2 instead.
Park Tool
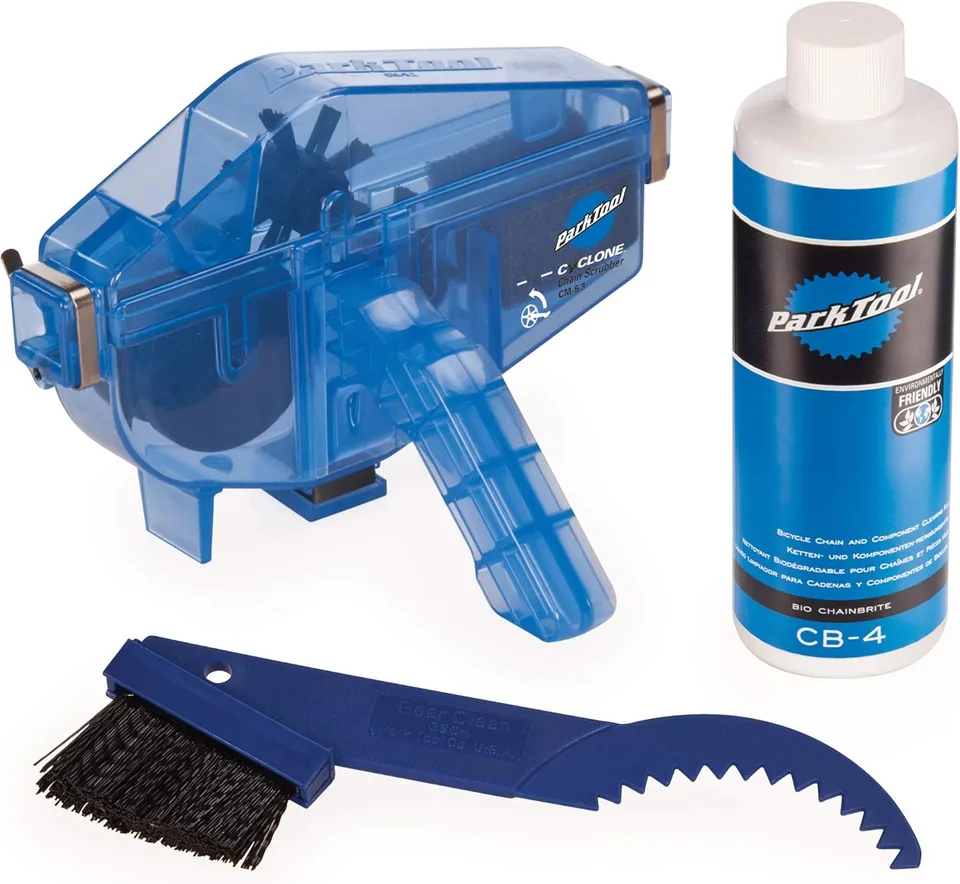
Park Tool CG-2.4 Chaingang Chain Cleaning System
Universal - fits any chain currently mounted on the bike. The standard at-home complete cleaning kit; if you already have a degreaser, the CM-5.3 scrubber is sold separately.
Finish Line
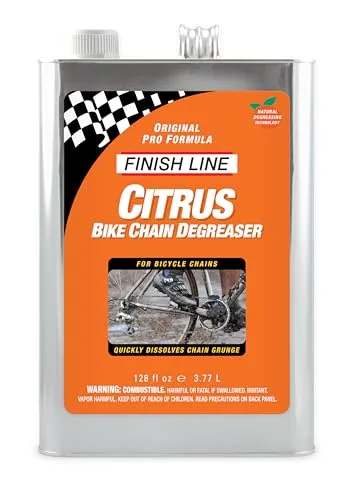
Finish Line Citrus Bike Degreaser
The Amazon listing that still verifies cleanly is the 1-gallon jug, so this one is really for home workshops or anyone maintaining a few bikes at once. It is the right partner when you want to strip old wet lube before starting fresh.
Finish Line
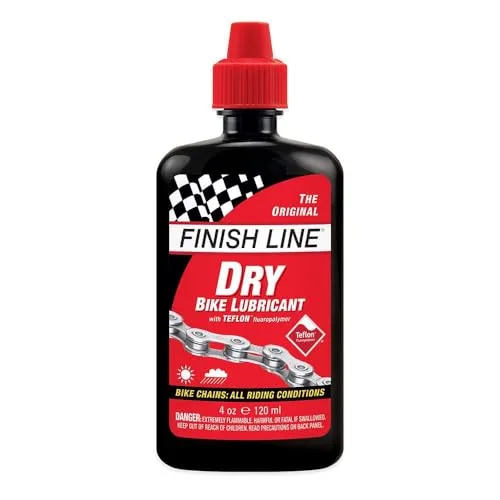
Finish Line Dry Bike Lubricant with Teflon
This is the bottle for dusty miles and cleaner drivetrains. Let it creep into the rollers, then wipe the outside plates well so it stays dry where it should.
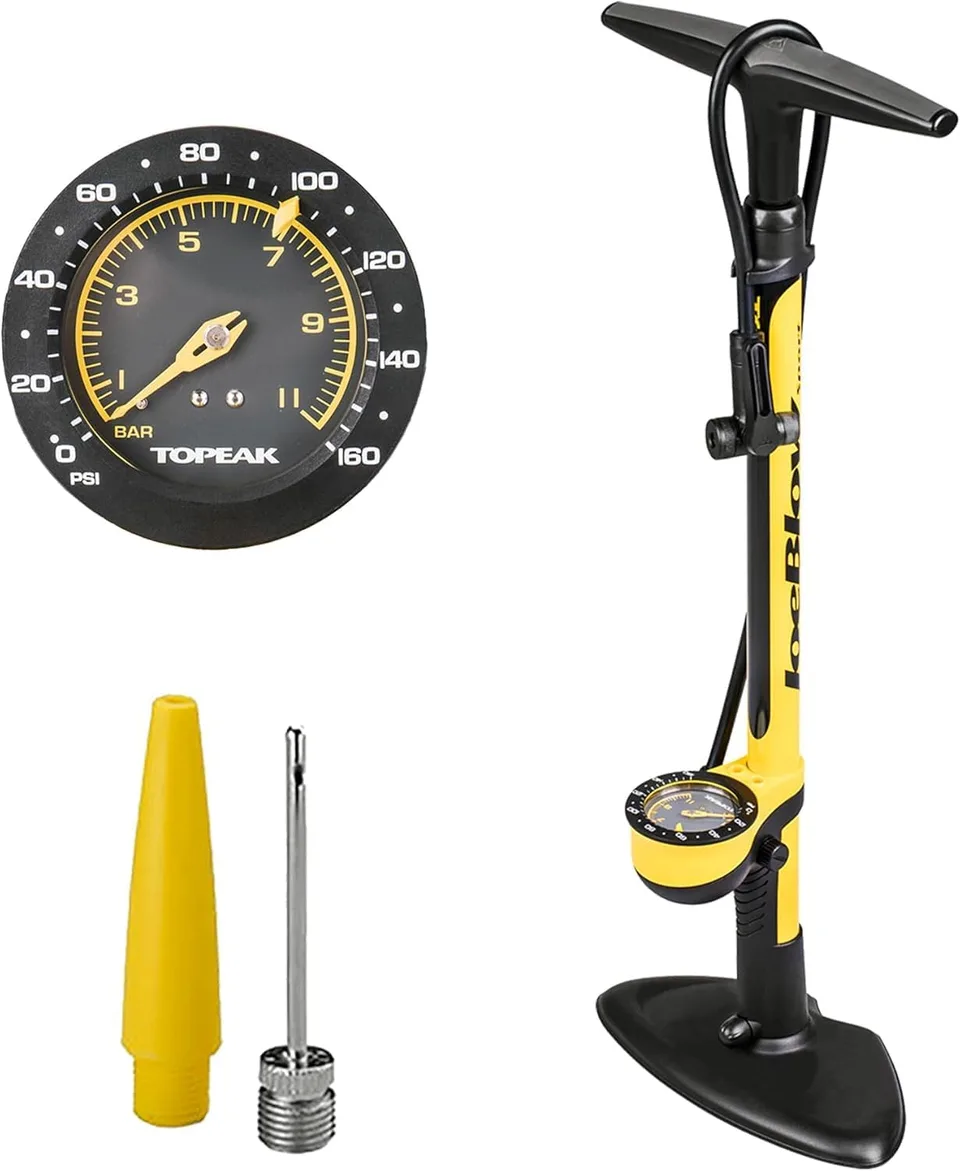
Topeak
Topeak JoeBlow Sport III Floor Pump
Floor pump suits all standard road, MTB, gravel, and hybrid valves. Long hose reaches both wheels without repositioning the bike.
As an Amazon Associate we earn from qualifying purchases. This helps support our free calculators.
Common Mistakes That Wreck Bikes
- Over-lubing the chain. A wet, dripping chain collects grit and grinds itself away. One drop per roller, then wipe the outside dry.
- Pressure-washing the bike. A high-pressure jet blasts grease out of bearings and water in. Use a bucket and a gentle hose at most.
- Ignoring chain wear. A $25 chain ignored becomes a $150 cassette-and-chainring bill. Check it monthly.
- Guessing at bolt torque. Hand-tight is too loose for a stem and too tight for carbon. Use the printed spec.
- Letting tyres run soft. Low pressure causes pinch flats, sluggish rides, and premature casing wear.
When to Call a Shop
Home maintenance handles the routine; some jobs are worth handing to a professional. Take the bike in when you hit a hydraulic brake problem you cannot bleed out, a creak you cannot locate, a bent frame or derailleur hanger, a stuck seatpost, or any bearing that needs pressing. There is no shame in it - a good mechanic is fast, has the right tools, and will often spot something you missed. The goal of this routine is not to avoid the shop entirely, but to make your visits rare, planned, and cheap.
Frequently Asked Questions
Related Calculators & Tools
Set the right PSI for your weight, tyre width, and surface before every ride
Size a new chain correctly when the old one finally hits the wear limit
Check your range after a cassette or chainring swap during a service
Re-set saddle height from your inseam if you ever pull the post for cleaning
Continue Reading

The 60-second inspection that anchors the "before every ride" tier of this schedule
Fix lazy or noisy shifting with a barrel-adjuster tune in ten minutes

How pressure, width, and weight interact - the why behind the weekly pump-up
Exact wear thresholds so you swap the chain before it ruins the cassette